What a Rush!
Creating a 1-minute video with Adobe Premiere Rush

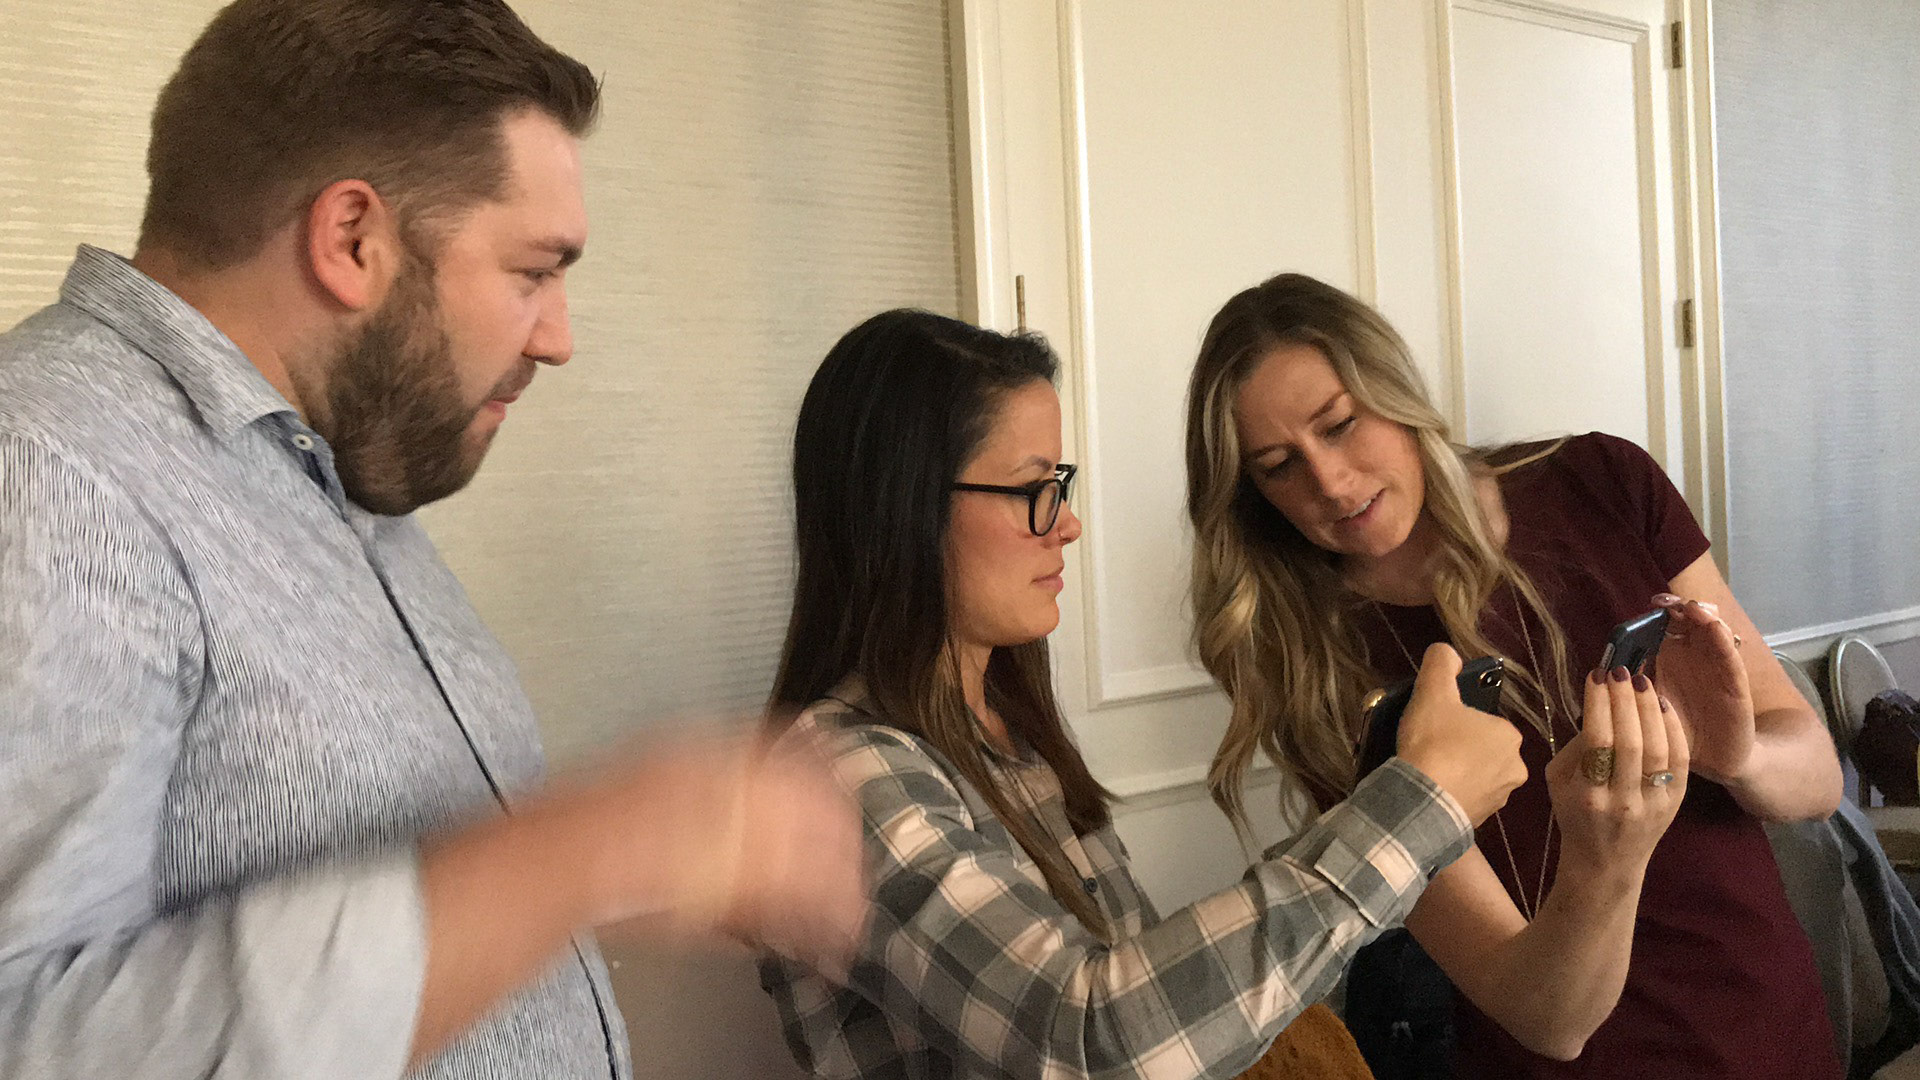
Recently, I participated in a video training workshop at Adobe in San Jose CA, geared towards making us more comfortable not just with video-editing software, but also the process of making videos. All the Digital Media Solutions Consultants (SCs) and Customer Success Managers (CSMs) took part in this training.

Hands down, this training was one of the most relevant and effective uses of my professional development time, to date, at Adobe. Let's face it, to the novice, creating videos can be quite intimidating. But this 2-day workshop, facilitated by the Adobe Video Team, and taught by cinematographer Christoph Geiseler, of Seenfire, made the entire process seem not just approachable, but doable, regardless of skill level. Indeed, every individual in the training was tasked to shoot, edit and produce a 1-minute video by the end of the second day. A task, frankly, I doubted I was up to at first. But I went in with an open mind and was very pleased with the fruits of my labour.
Christoph's and Seenfire's methodology is deceptively simple; break down the process of creating a short, 1-minute (not 59 seconds, 62 seconds) video into easy to understand components, incorporate lots of discussion and hands-on practice time, and then let us loose to do what we will.

I learned many things during this training, including the importance of:
- Having a clear concept of what you want to achieve
- Scripting your dialogue and keeping it to no more than 150 words for a 1-minute video
- Selecting music BEFORE you start editing video, perhaps even before filming. Music sets the tone and pace for your video and is critical to communicating your message
- Making sure your music track is exactly 1-minute long (there are a variety of ways to ensure this)
- Properly holding your camera/phone without a tripod
- Being confident in your message
- Framing your shots
- Clearing clutter from the scene before filming
- Using Adobe Stock footage to provide excellent B-roll for your production
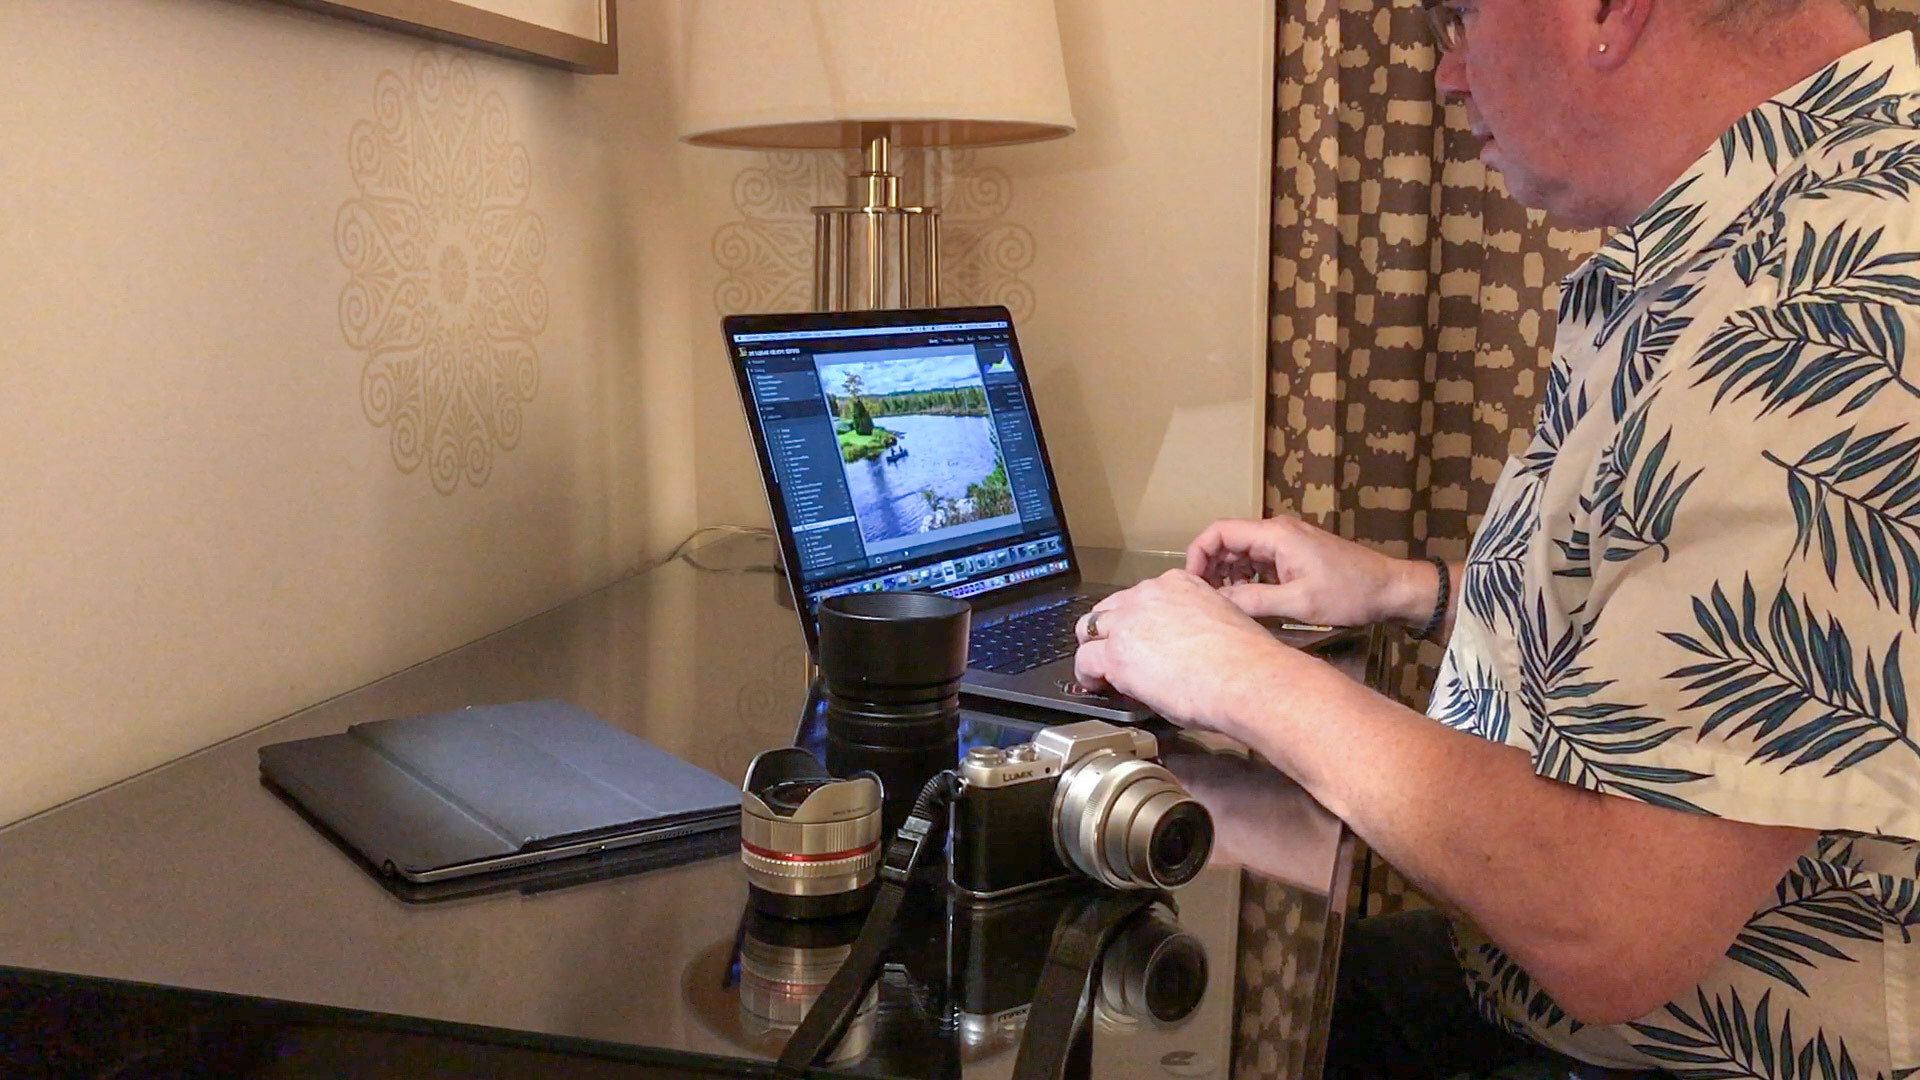
Part of my "homework" was to stage some b-roll footage, that visually tied in various elements of my story. I had quite the little rig, balanced on my suitcase, and lit by hotel room lighting. Thank goodness for the gooseneck reading lamp that was attached to the headboard!
Note: B-roll, or B-reel, is supplemental or alternative footage intercut with the main shot (A-roll). In my case, all my footage was b-roll. The voice-over was truly my A-roll content.
Interestingly, a 1-minute video can be shot, edited and produced in 24 hours and look good, yet a 2-minute video exponentially increases the time commitment to a week or more. Everything increases in scope; as you add more time, you have that much more footage to review and edit.
RUshing into Production
To keep things simple from a technological standpoint, we were encouraged to capture video using our smartphones. The Adobe Video Team made various peripherals available for us to use, to make the recording of audio and video easier and more professional in appearance. From an editing standpoint, the plan was for all of us to use Adobe's new video editing tool, Adobe Premiere Rush. Rush is a new product from Adobe and it makes the process of video editing very user-friendly for the novice. Advanced or practiced users of Premiere Pro might find the tool a little limiting at the moment, but for a version-1 product, it's pretty capable, and only promises to get better.
Note: Just like Lightroom CC didn't have all the bells and whistles of Lightroom Classic CC when it first launched, Rush will only improve and offer more functionality as time goes on. Ironically, the release of Rush has had a very positive impact on my view of Lightroom, too. With the introduction of Rush, Premiere Pro is not going away or ceasing development, so too I believe for Lightroom Classic CC; the introduction and development of Lightroom CC does not signal the end of my much beloved Lightroom Classic, nor should it.
The variety of project ideas within the group was impressive; some focused on work-related stories, others on personal aspects or passions of their lives, observations or philosophies, and others just had fun making a video. In my case, I thought this was the perfect time to create a promotional video for my current photography exhibition at Elmhirst's Resort.
We started the project by recording each other, interview-style. At first, I incorporated that video footage into my project, but later decided the audio quality wasn't good enough, so I added voice-over narration directly within Adobe Rush. That in itself is a cool feature of Rush.
Compiling all my assets was not terribly difficult. After selecting my music track (there were some supplied, but I ended up searching online for a track), filming my extra b-roll segment and re-recording my audio as voice-over within Rush, it was just a matter of locating some of my still images to act as additional b-roll elements. The fun - and challenge - was in putting these elements in the right order and - where possible - tying transitions to changes in the music. Overall, considering the turnaround was 24 hours, I'm pretty pleased.
Other Tips
Music
If you're having trouble finding the right music that's only a minute long, don't dismay. You can trim a music track right within Rush, and use the Fade to Black transition to fade the music at the end. If you want more control, you can also crack open Adobe Audition, and use the Remix feature to blend, condense or extend your audio track.
Storyboarding/Shot List
Never underestimate the importance of storyboarding your project. Even if you don't want to visually map out each scene, take the time to put down a few words for each scene to help crystallize the project in your mind. The clearer you are, the less time you'll spend filming and - possibly - re-recording.
Types of Shots
Having a variety of different shots in your video can add interest and make the video more engaging. Consider including very wide, establishing shots to set the location or mood, wide shots to tie in a specific area, medium shots to bring the viewer closer to the action, and finally close up shots for feature an individual are a narrow area of action (tight shots of someone typing, or sewing, or drawing, for example).
Composition
The shot list and/or storyboards can assist you in how you will frame your video sequences. An added benefit in most cameras (and camera phones) is the ability to superimpose a grid on your view finder or screen. A typical grid breaks your screen into 9 sections. Using the grid, in conjunction with the Rule of Thirds can help you compose your footage so it is more visually appealing and looks more professional.
That's a Wrap!
As they say in the movie world. I hope you've found this project inspiring and that you take the time to create your own 1-minute video. I really enjoyed the process and plan to use what I've learned as a new part of my storytelling toolset.
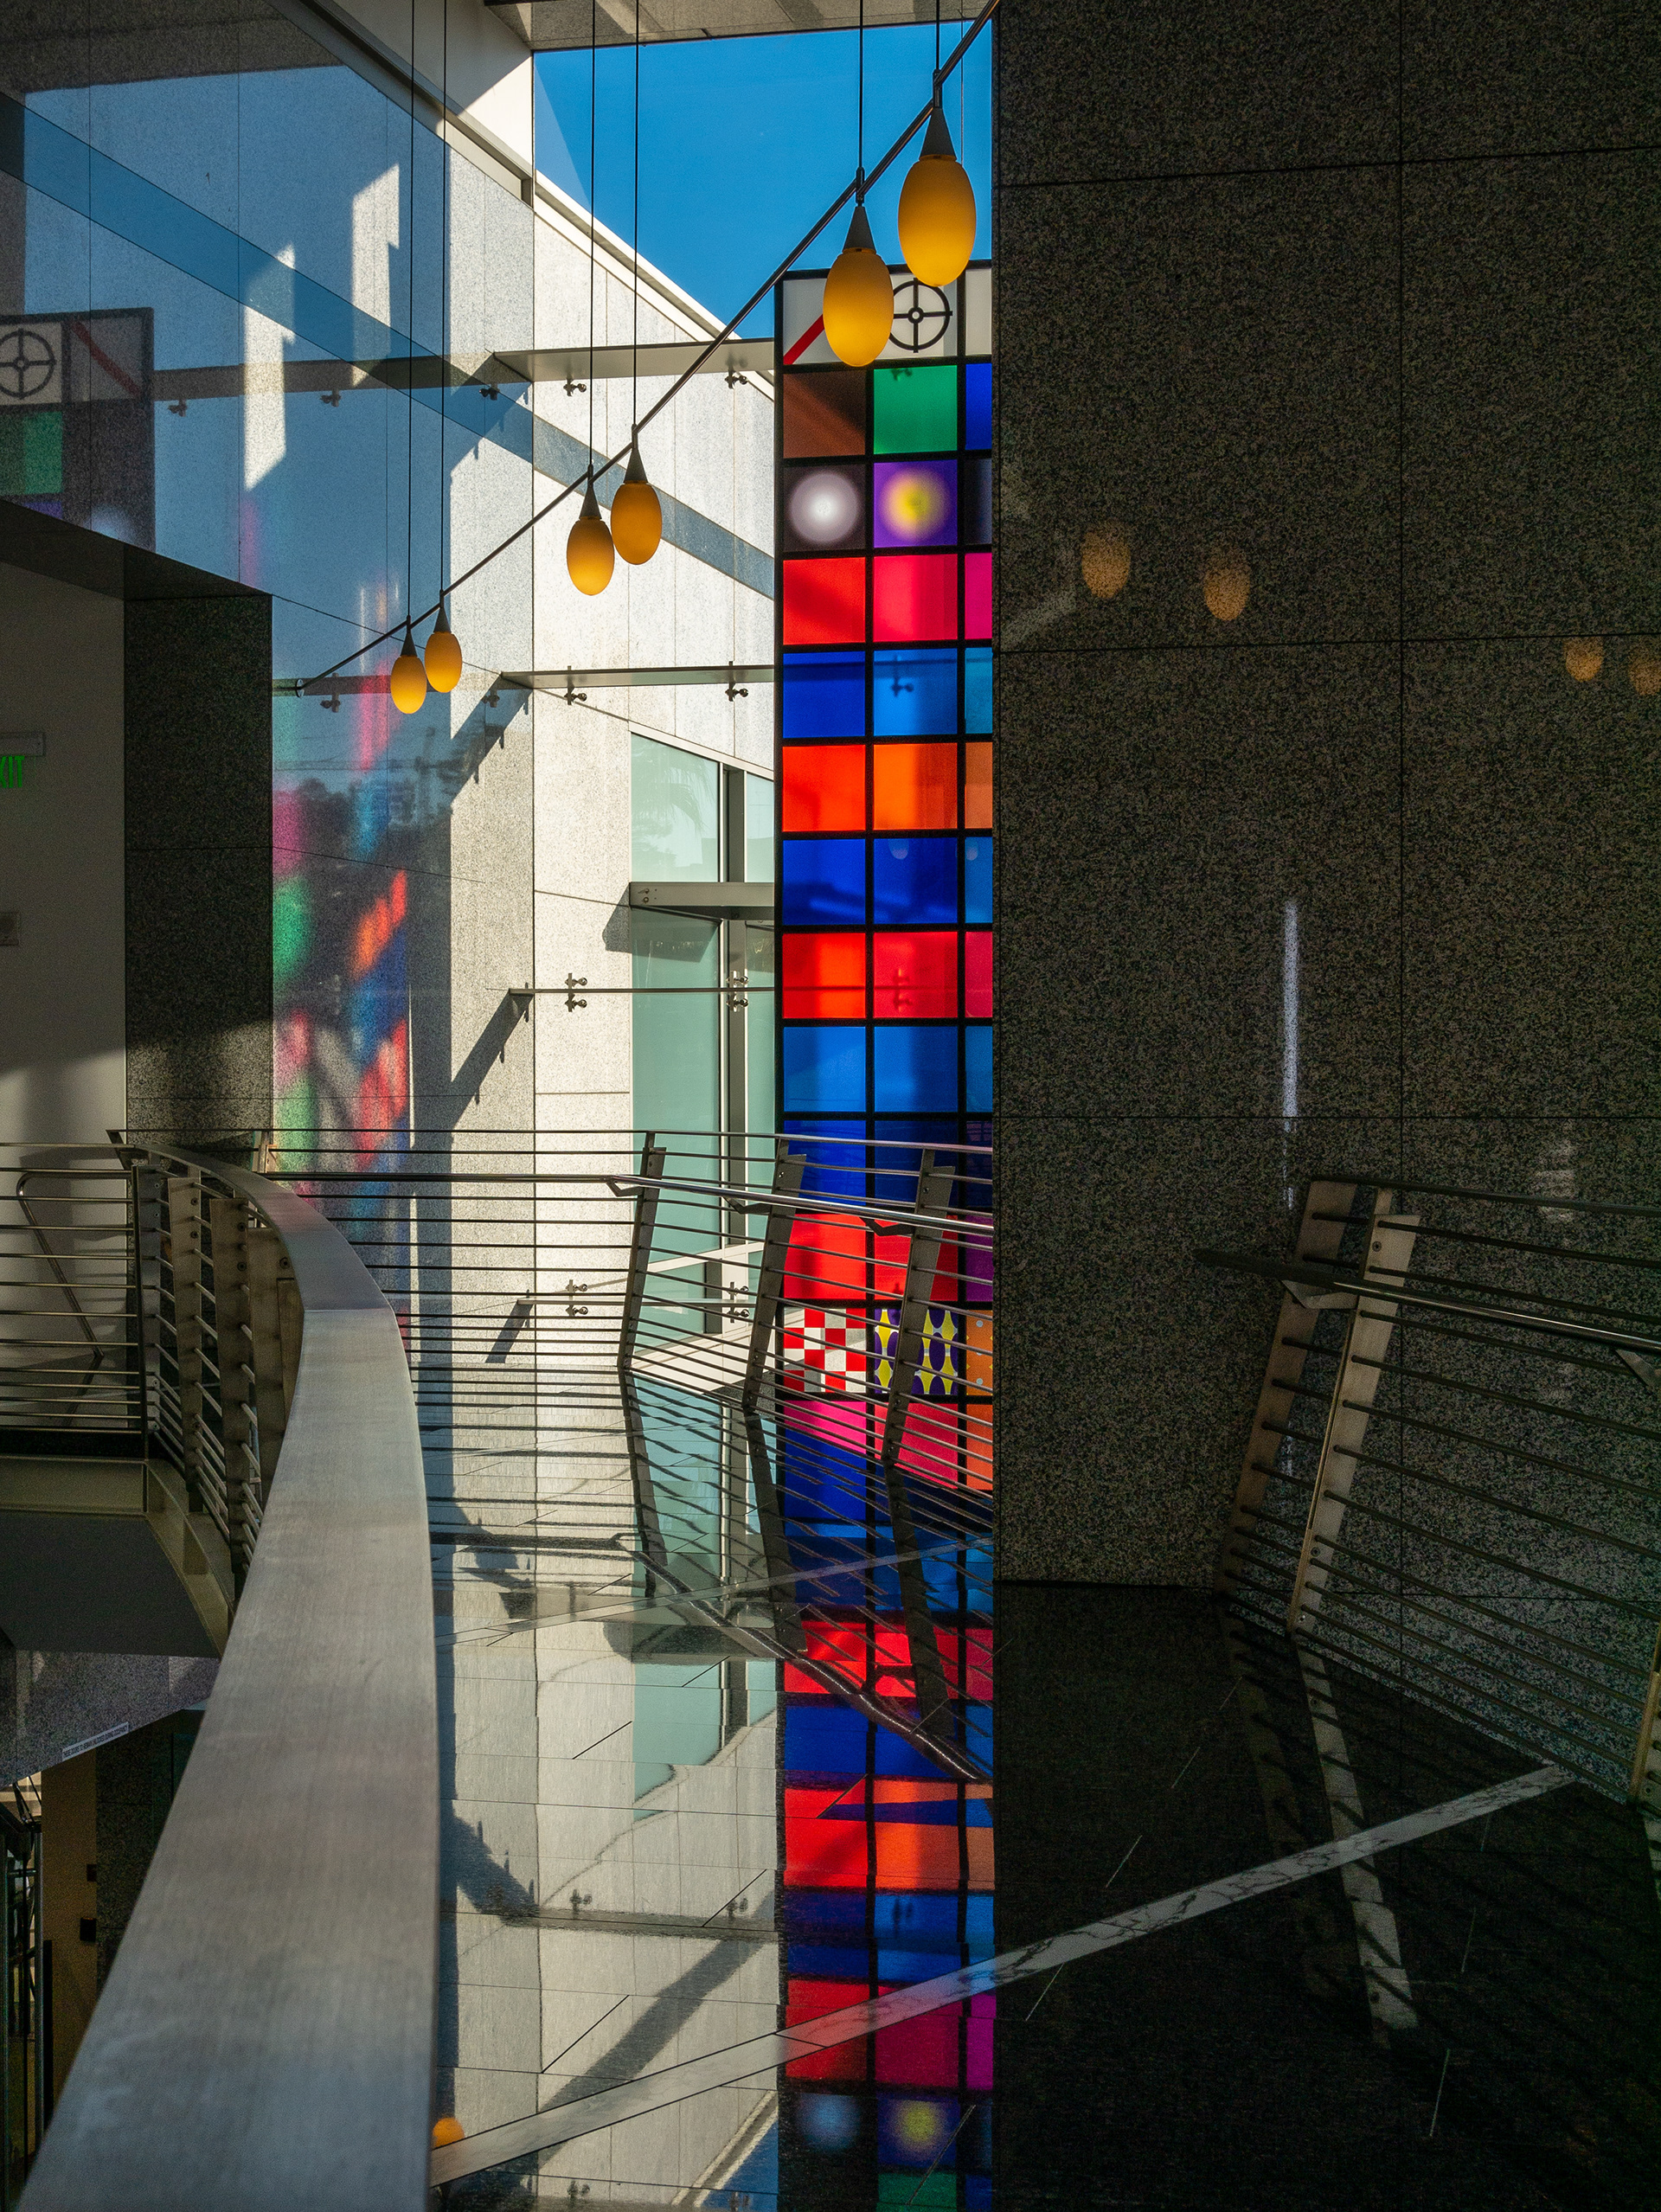
Video training aside, I always find time to make images, wherever I am. It's now my goal to start creating video as naturally as I capture still images.