Using a Custom Domain Name in Adobe Portfolio
When Adobe introduced Adobe Portfolio, I immediately took advantage of the service's capabilities for quickly building a robust portfolio website with no coding. The fact that Portfolio could sync seamlessly with my Behance portal was a huge plus. I did not need to reinvent the wheel; all my existing content could quickly be ported over from Behance, and automated in such a way that as I add new projects to my Behance portal, they automatically get added to my Adobe Portfolio.
I quickly went from a single “portfolio” page of my work, to organizing my work into “galleries”. I added an additional landing page which is a brief intro of me and made use of the Portfolio's easy web-form functionality to create contact form.
By the way, you may notice two words coming up a lot in this writing: quick, and easy. Because Adobe Portfolio is quite frankly, both.
Update
Effective September 2018, you can now purchase and connect custom Domain Names through Adobe Portfolio, without ever leaving the the site, all powered by Namecheap. It’s very easy to do. I've included how start the process, but you can get more details at this link: https://help.myportfolio.com/hc/en-us/articles/360009634593-How-can-I-purchase-a-domain-name-powered-by-Namecheap-
What's in a Name?
For several years now, I have paid for and reserved a few extra web domain names that reflect my own name or include relevant branding for me (including shinyshirt.ca). It’s inexpensive enough to do and keeps my options open for building out new web sites that relate to my current career path, hobbies or perhaps changes in my career.
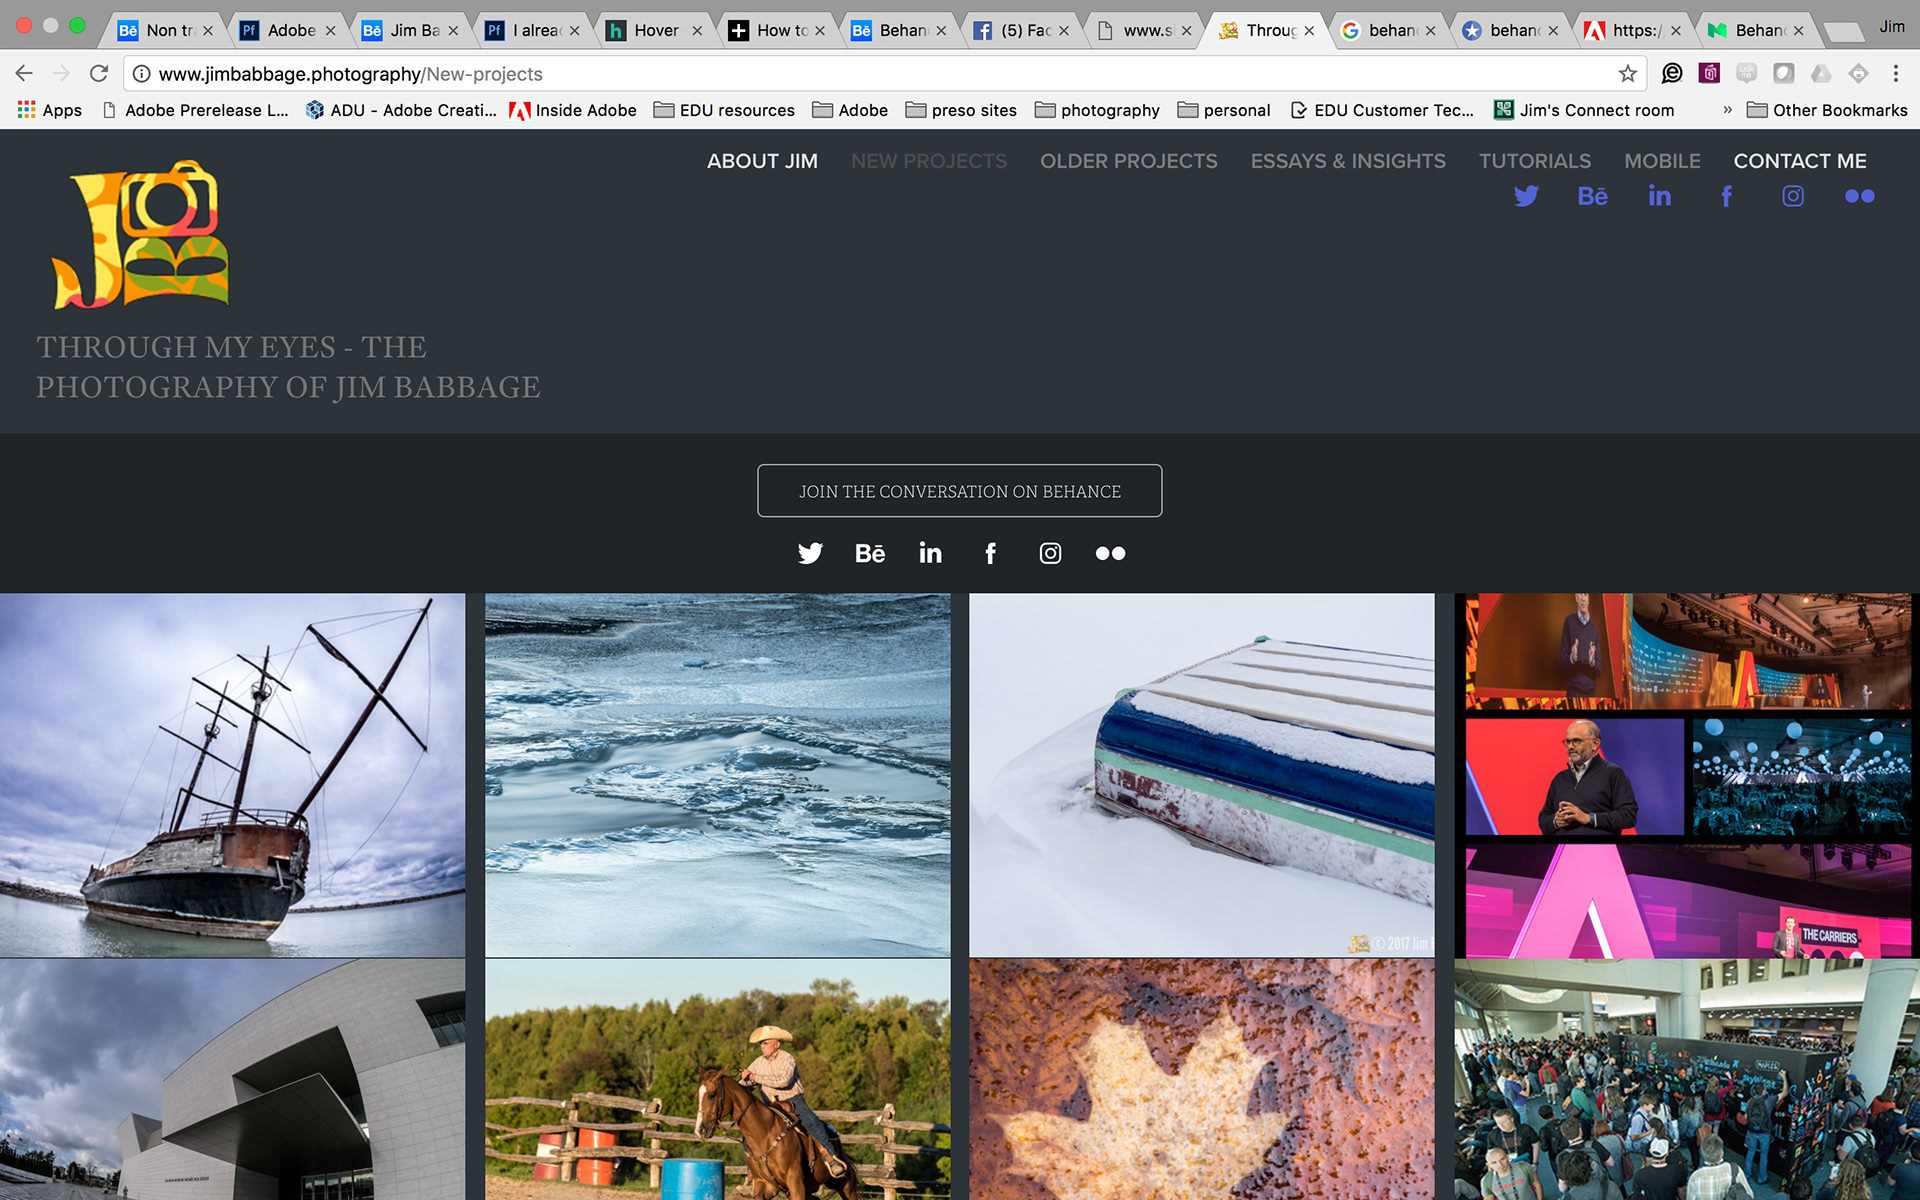
Recently, I decided it was finally time to switch from the my customized Adobe Portfolio domain name - jimbabbage.myportfolio.com - to one of my custom reserved domain names; jimbabbage.photography. I mean, why not? I honestly don’t know why I didn’t think to do this sooner. The process for making this happen - while a little geeky - was not particularly difficult and that is where this tutorial comes in.
Note: If your current site already has a custom domain, you will not see the option to purchase a new domain. You will have to create a new web site on Adobe Portfolio (multiple sites are now supported, too!), or remove your current custom domain.
To purchase a domain within Adobe Portfolio, login to your Adobe Portfolio editor.
Click Settings located on the left side toolbar > click the Domain Name tab > click the "Purchase a domain" button.
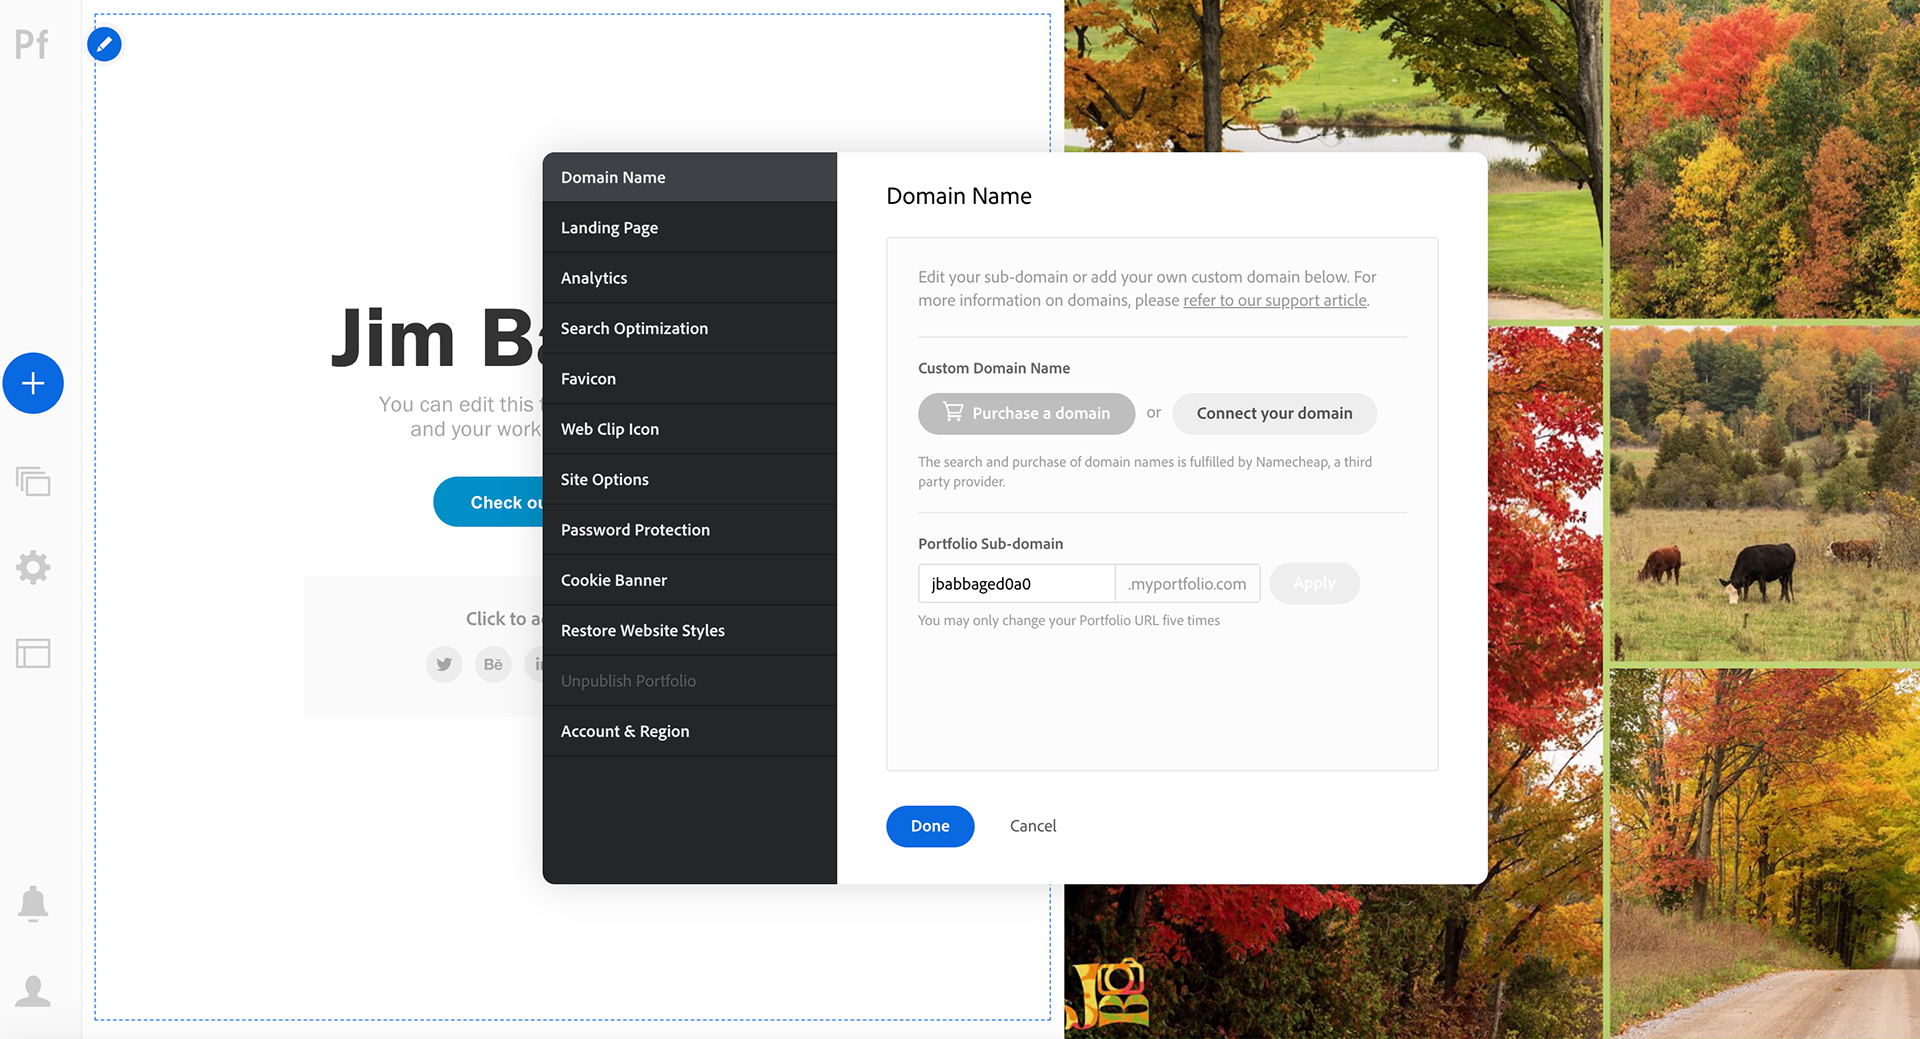
Type to search the domain you would like to purchase and click the "Buy" button.
Follow the prompts to make your purchase.

Back up the Truck, Chuck!
If you're not sure how to tell a domain name from the public domain, this great slideshow from Jamey Hoff can help you out. In short, your domain name is your web address, like www.adobe.com. Essentially, it's a human-friendly pointer to an IP Address. The IP Address is the actual server location of your website.
Getting Started
Note: This tutorial assumes you have set up at least a basic Adobe Portfolio page. Adobe Portfolio is a service included with any paid personal Creative Cloud Subscription. It may also be available to you as part of an Enterprise Agreement that includes Creative Cloud Services.
1) Log into the Adobe Portfolio editor at https://www.myportfolio.com/editor/
2) Choose the Gear Icon in the edit sidebar (Edit your settings)

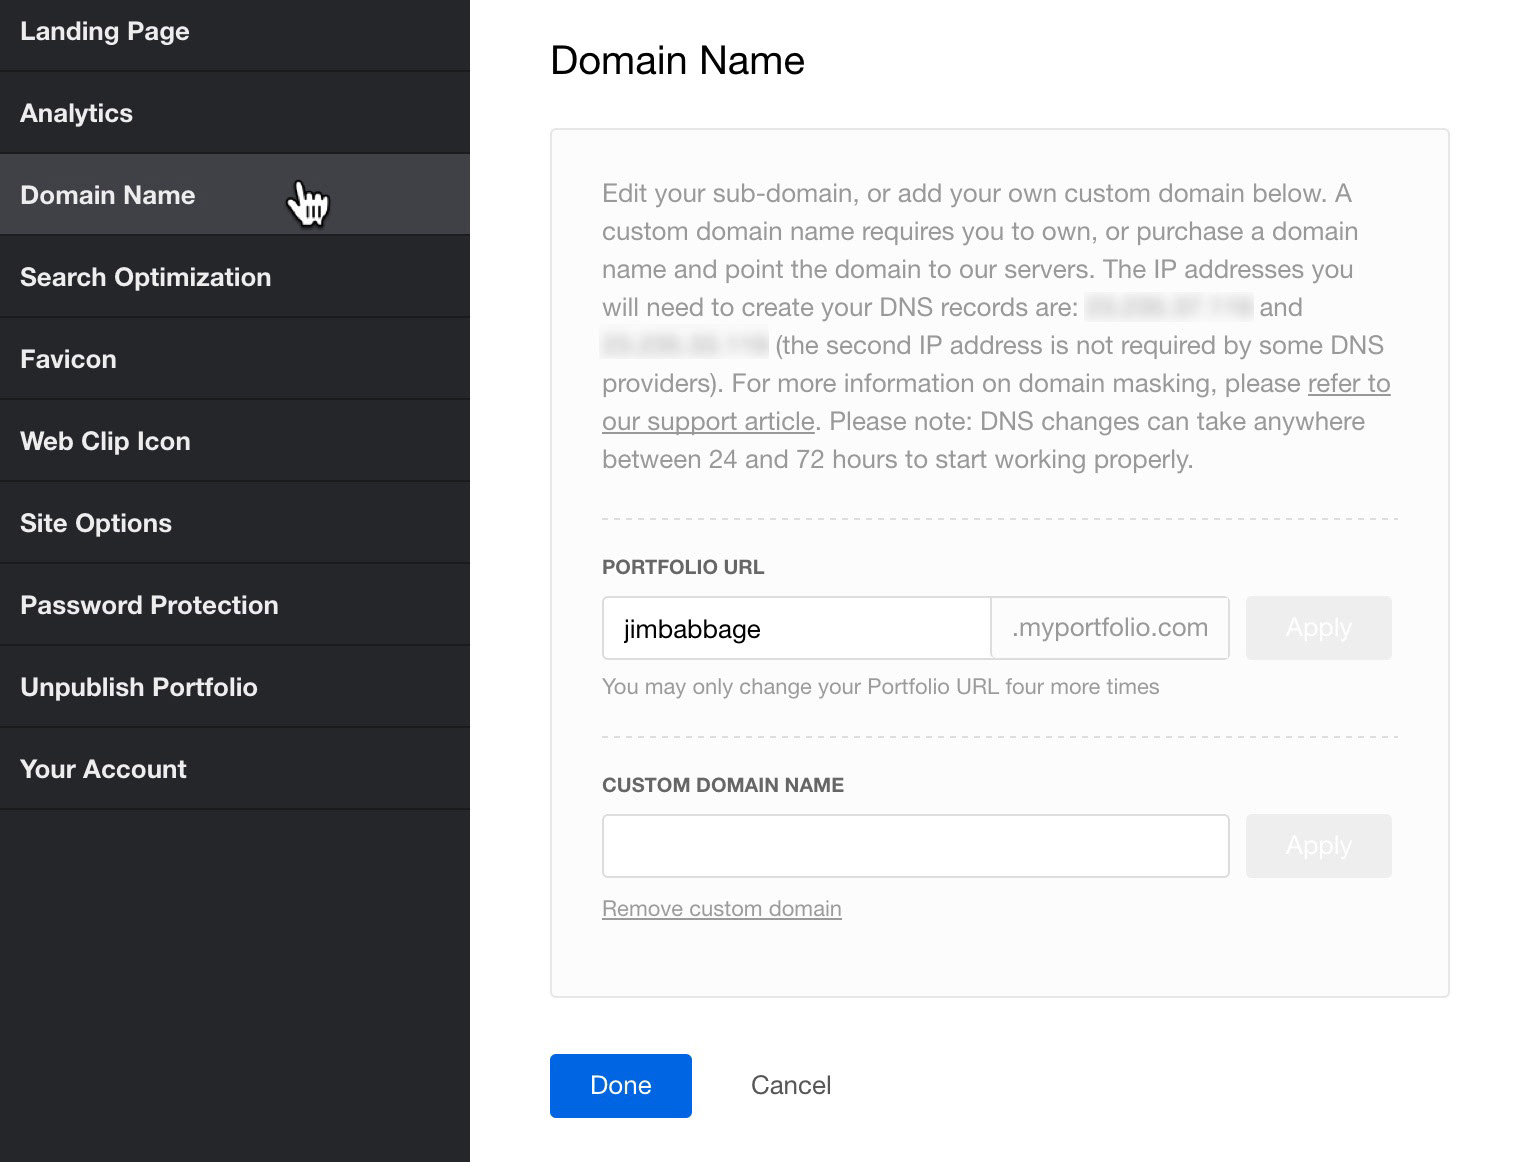
3) Choose the Domain Name tab. You will see the auto-generated Portfolio URL and the Custom Domain Name fields.
Note: you can also change the auto-generated Portfolio URL if you don’t have an available domain name. It’s not quite as customized, but better than the default url created by Portfolio.
The Basics
Your custom domain name will not work until you have updated your Domain Name System (DNS) records with your DNS provider. This has to be done first, but it is not something you can do through your Portfolio account settings. You will have to go to your DNS provider’s website, sign in and make the setting changes at that site. For example, mine is Hover.com, others include, but are not limited to:
Completing this process is slightly different for each provider, but not difficult. In general, here are the steps:
i) Modify the default A record for your host name (yoururl.com). The A record should be set to the IP addresses listed in your Portfolio Settings.
ii) Modify the A record for your "www" subdomain (www.yoururl.com). This A record should also be set to the IP addresses listed in your Portfolio Settings
Note: A Record stands for "Address Record." This is a type of DNS record that can be used to point your domain name to a static IP address.
Adobe Portfolio provides you with two IP addresses in your website settings (the two blurred areas of my screen grab. The second IP address is an alternate, and not all DNS providers support two. In my case, hover.com supports both IP’s.
Git yer Nerd on...
This is where things get a little geeky, but you can do it!
Note: for the following instructions, I am using my service, Hover, for the illustrations. Your service interface will probably be a little different, but never fear; your DNS service likely has Live Chat, who will be happy to help you out. Hover’s support team helped me when I mistakenly changed my Name Server settings instead of the A records
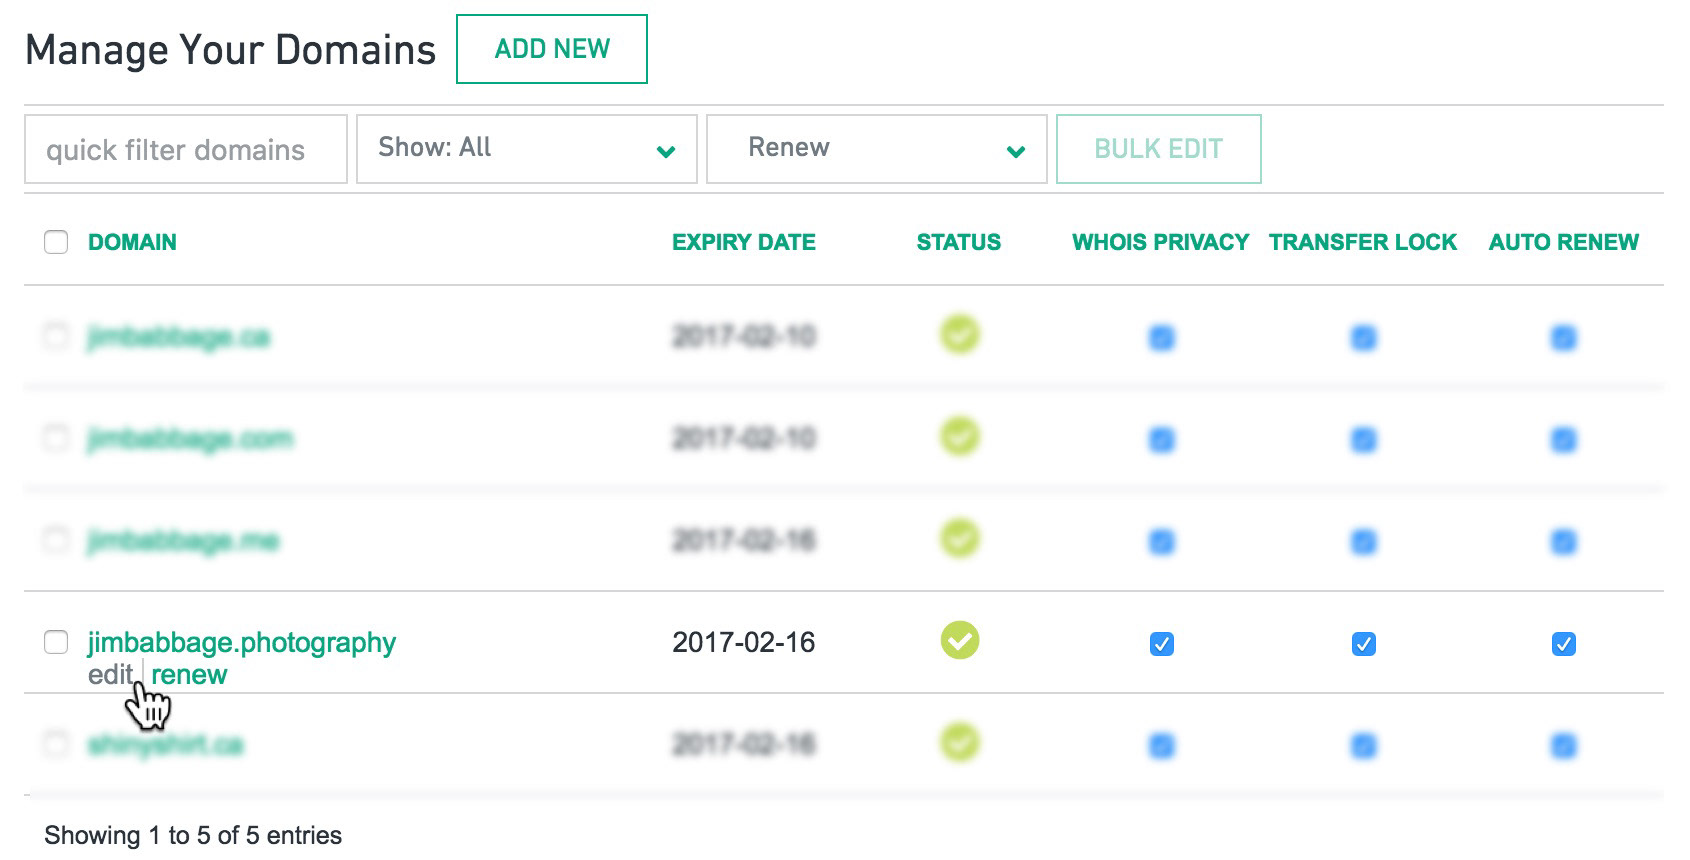
1) Log into your DNS provider’s site.
2) Locate the desired domain name (I have about 6, but your choices could be fewer, or even just one).
3) Look for an option to edit the Domain Name settings.
4) Select the DNS option. This is NOT the same as the Nameservers settings. Don’t change those.

5) You will need to create new A records for the following: “.” , “@“ , and “www” If your service supports two IP addresses, you will need to do this twice for each of the A record settings. For my service, I select the Add New button to add new A records.
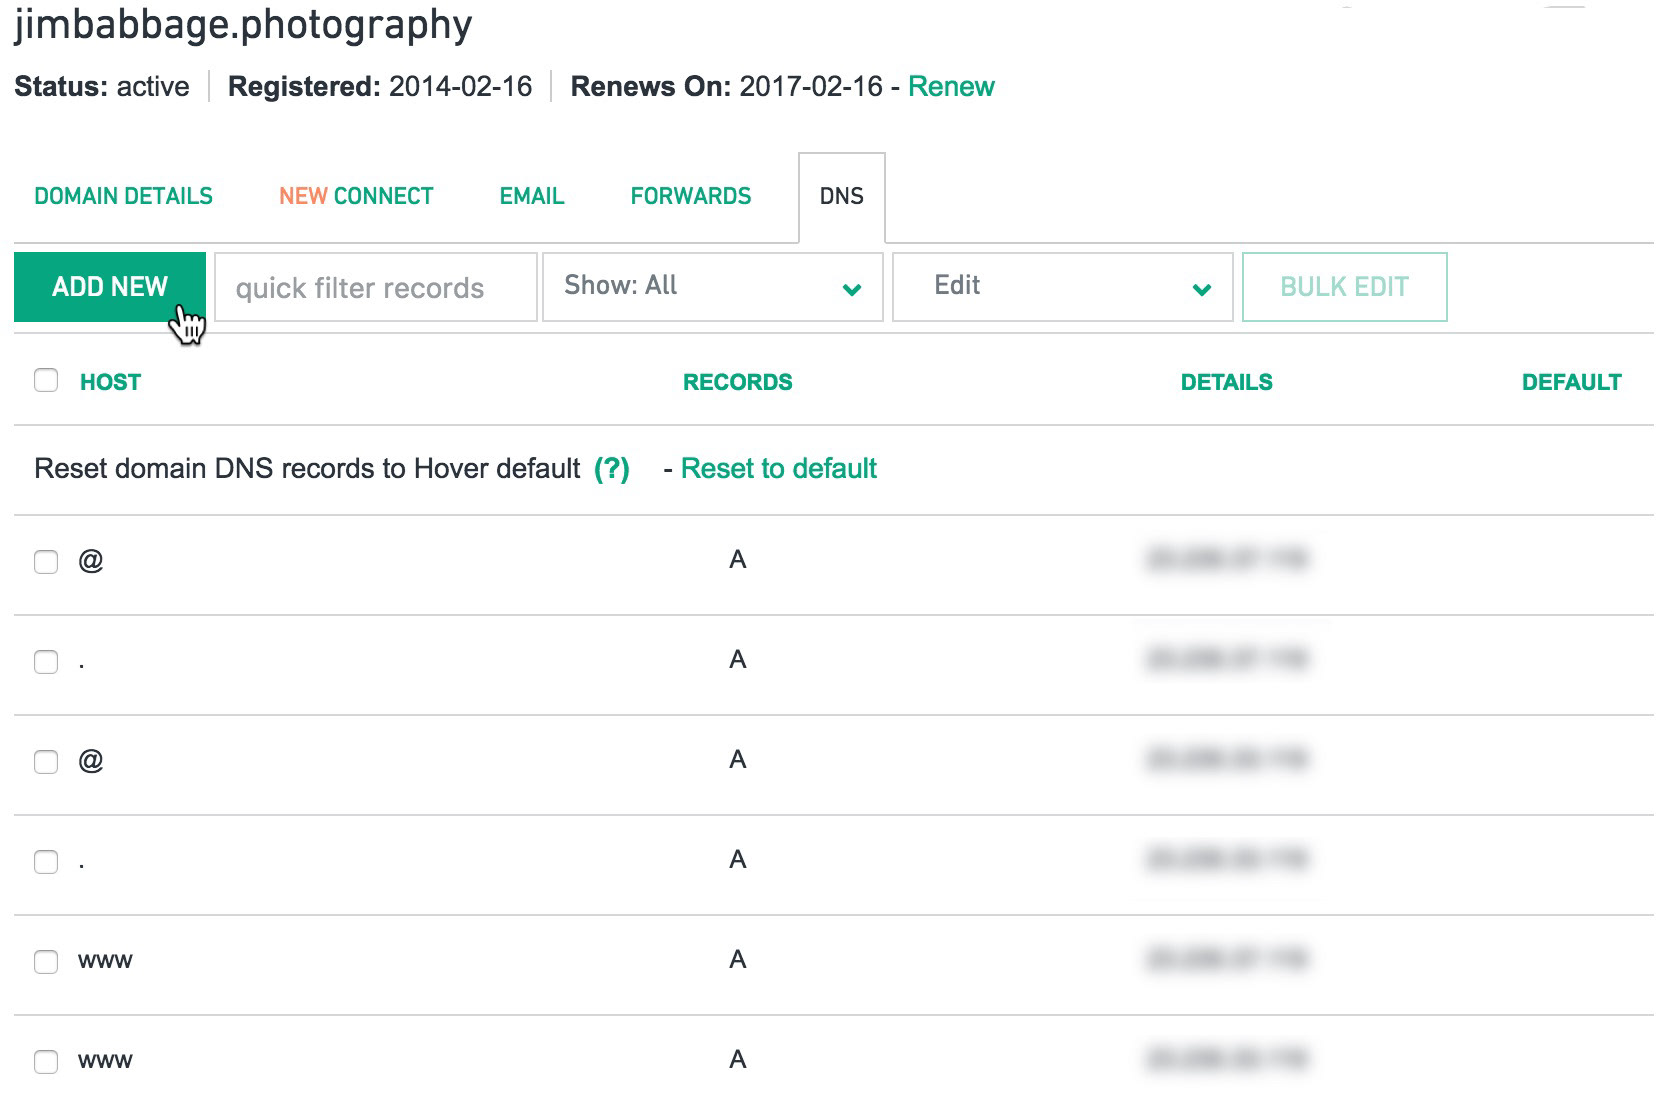
I had to select Add New, 6 times to update the DNS records for both of my Adobe Portfolio IP addresses.
6) Be sure to delete any default A records to avoid potential conflicts when the new URL is resolved. Only delete the A records, not anything marked CNAME or MX.

7) When you’re done, return to Portfolio and enter your custom domain name.

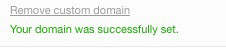
11) Click the Apply button. If you’ve done everything correctly, you should see a green confirmation message appear.
You’re done!
Note: It can take anywhere from 24 - 72 hours for the custom domain name to start working properly. This is referred to as “propagation time”. If you type in your new domain (or a friend does) and it doesn’t work right away, don’t be concerned; just be patient.
I hope you’ve found this helpful and that it’s something you can use. I'm loving the fact I'm using a personal domain name for my portfolio site.
Below is a link to an Adobe Portfolio support doc on using custom domains: