Lightroom makes it easy to experiment with image processing. So easy, in fact, you might find yourself trying all sorts of different things, from increasing color saturation, to alter local exposure, to converting a scene to black and white.
The challenge here: what happens if I want to revert back to another effect/treatment that I created earlier?
Well you could try going back through the history panel to get to that place, but that can be a little time-consuming; you may have to click on several steps before you find the right point in the image’s history.
Not only that, what if you ant to compare two different states in history, or even two completely different image treatments?
The answer is Virtual Copies. Virtual copies are easy to create and take up very little file space. They can be invaluable in your iterative process of adjusting or enhancing an image. And because each copy is a snapshot in time from when the copy is made, it starts off with a fresh history.
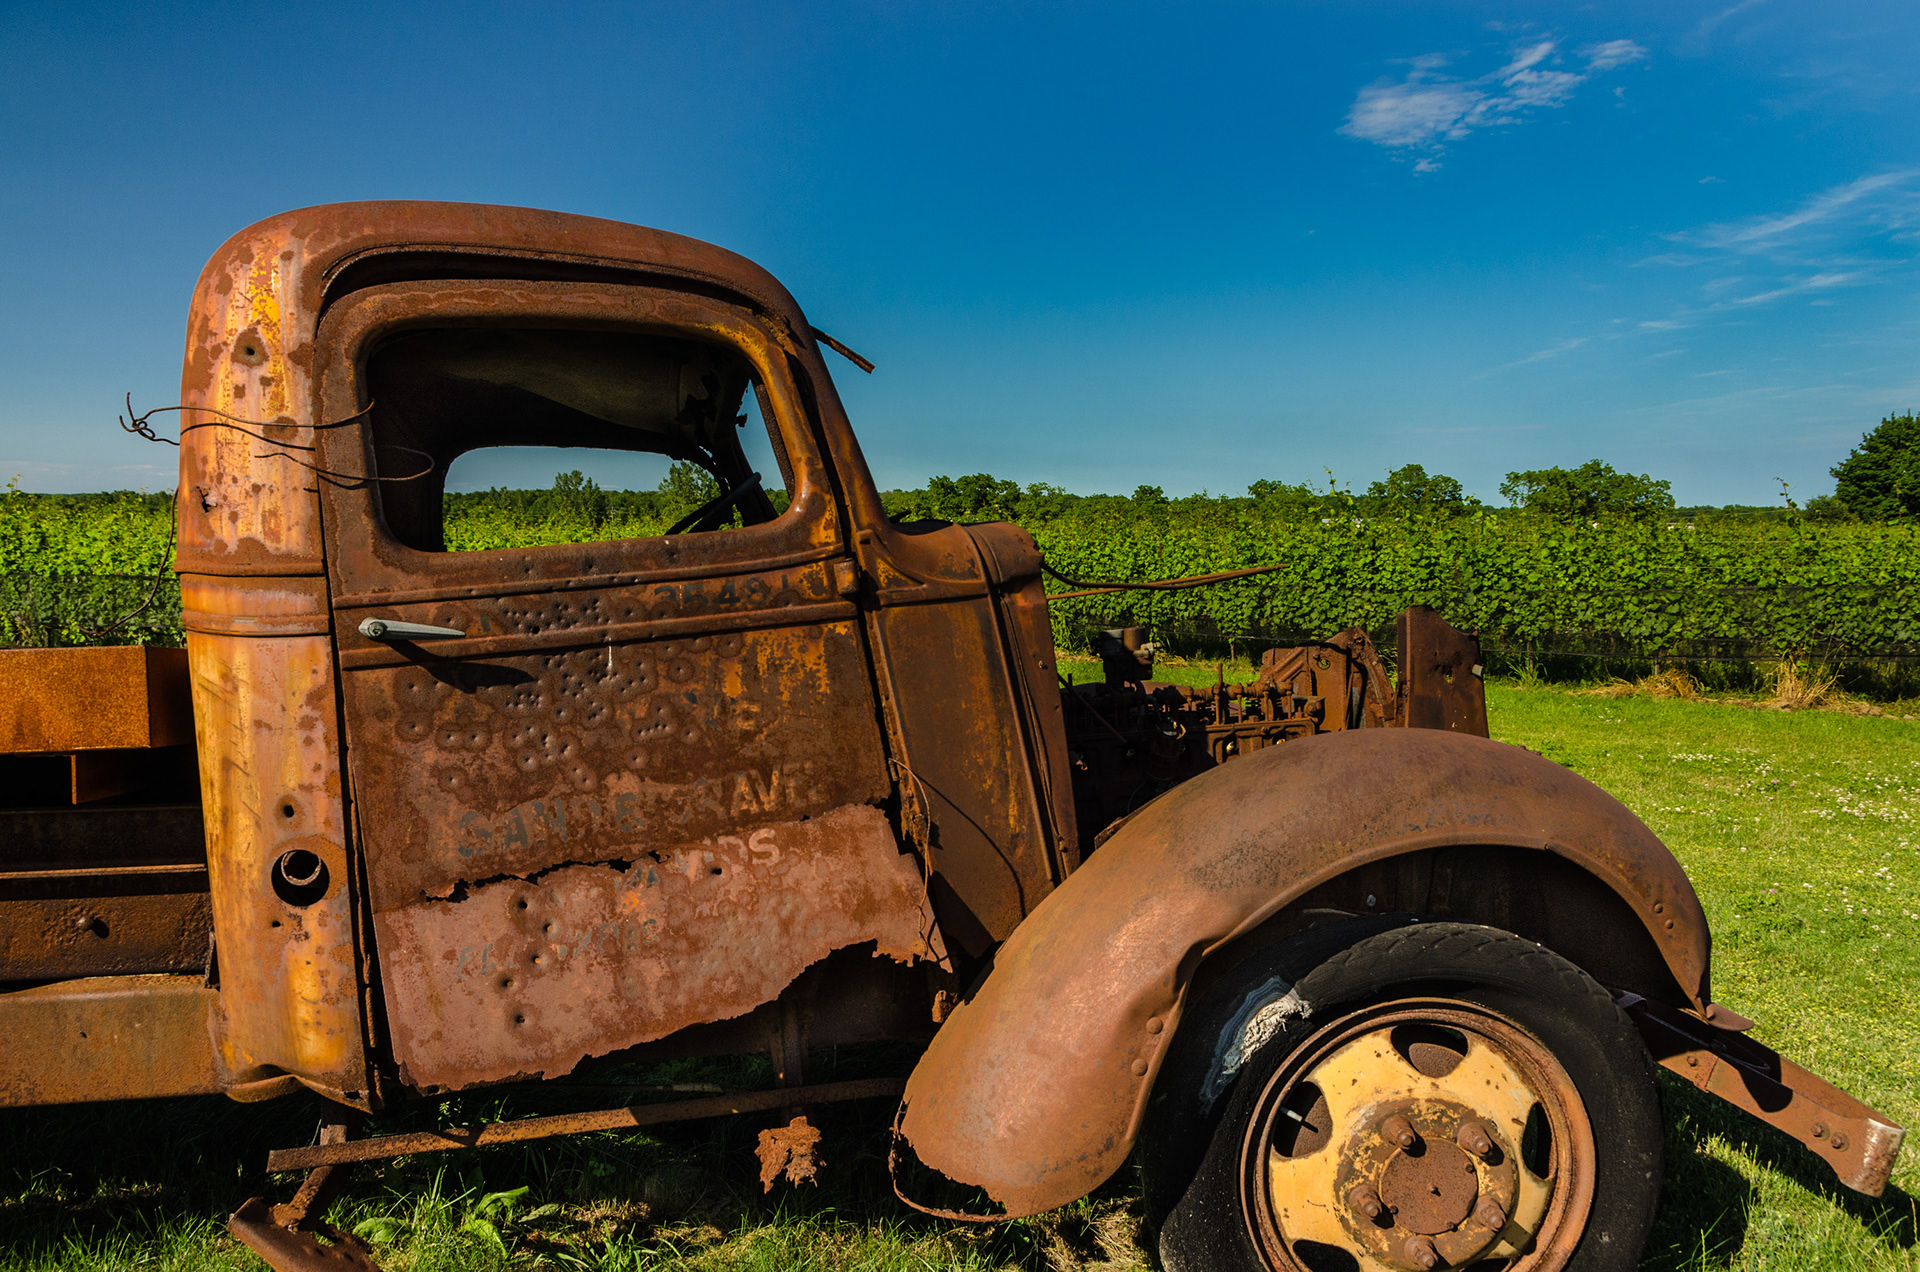
Let’s have a look at one image I shot last year, at the Ravine Winery in the Niagara Wine region. Aside from the great wines, they also have wonderful grounds, including this ancient pickup truck which gets used as a giant BBQ for large scale events on the site.
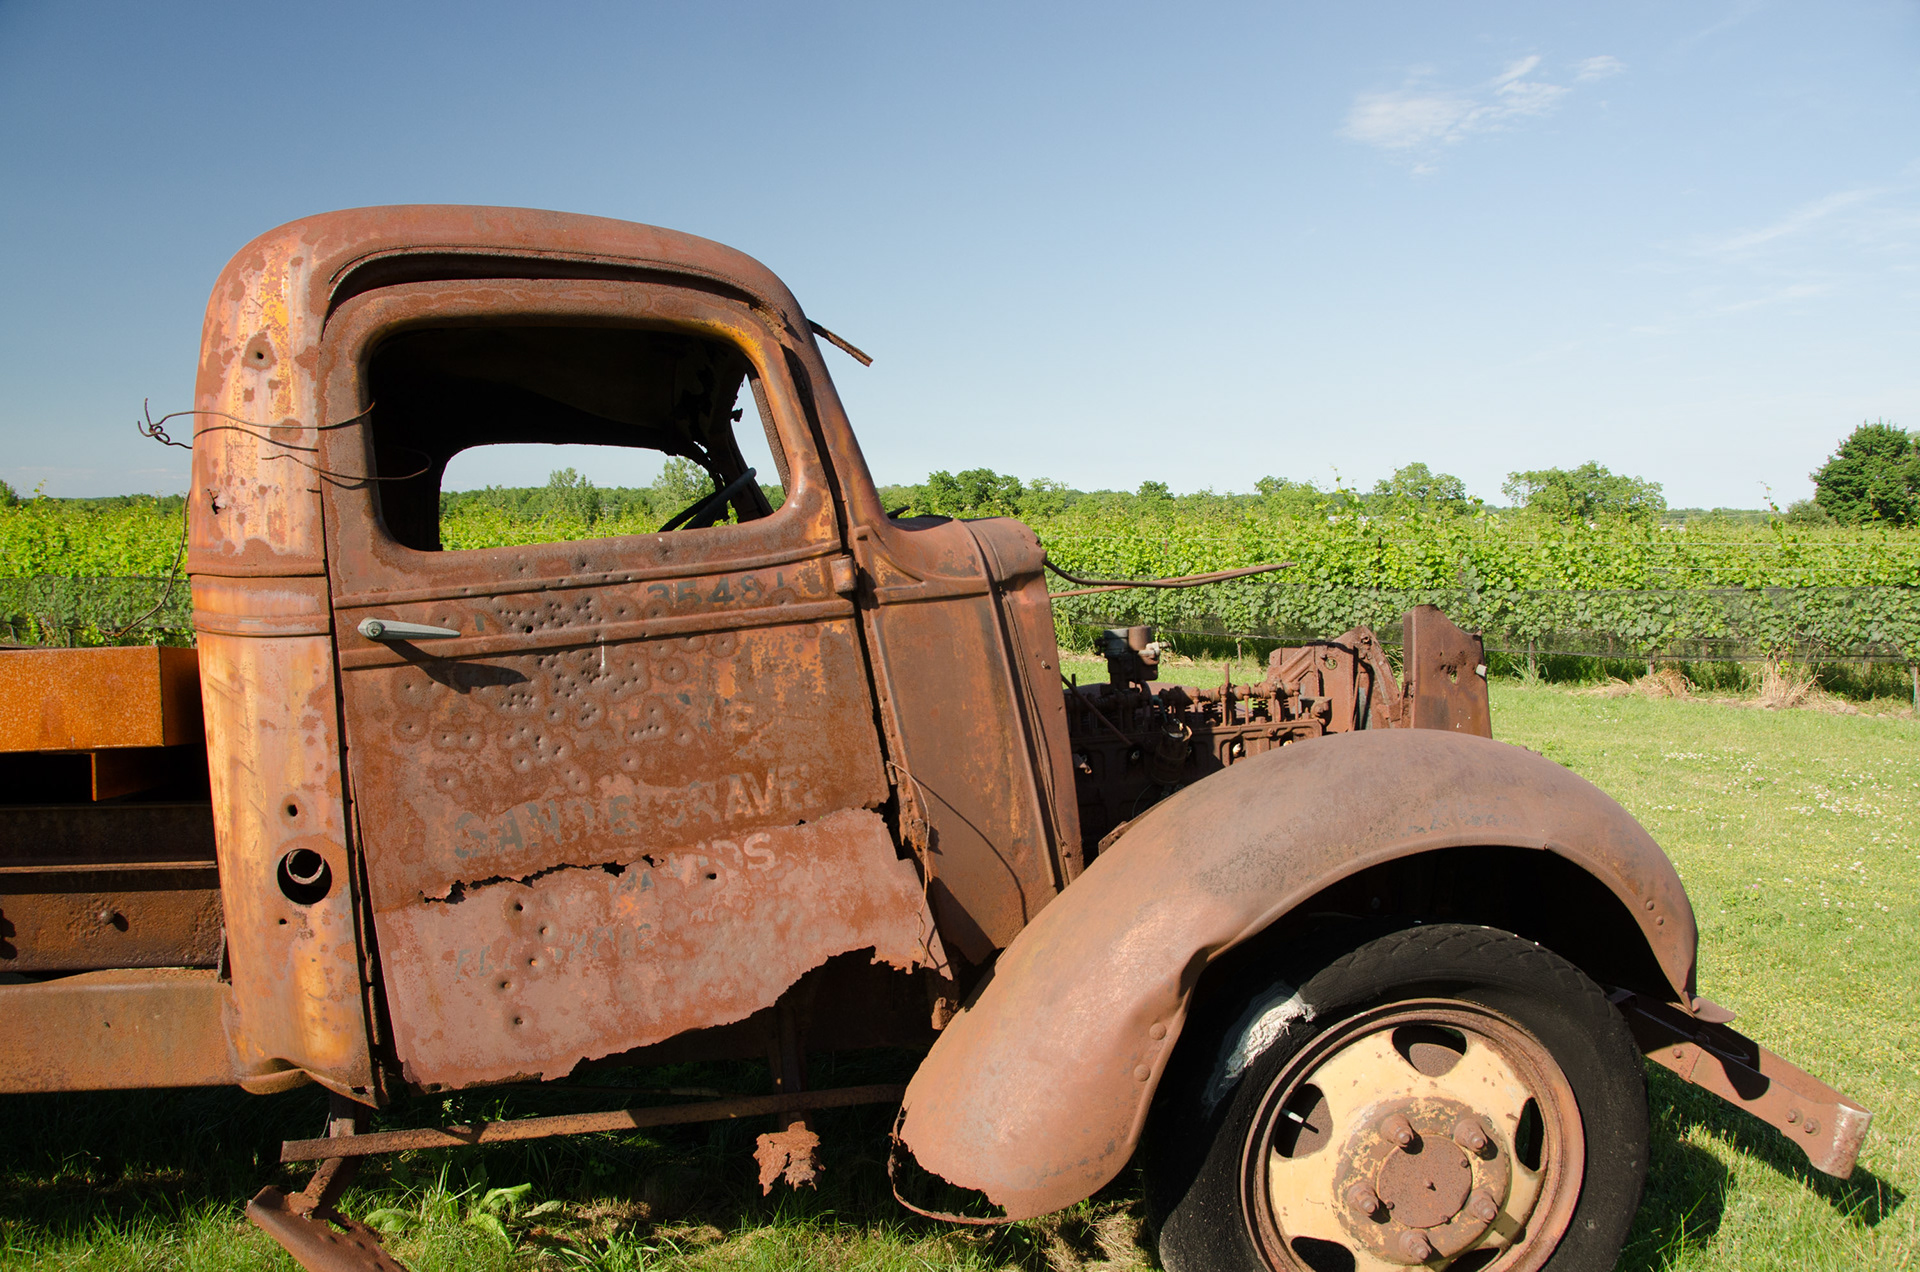
The first image is completely unprocessed. What you see is what the camera gave me.
The image a bit on the bright side, lacks color saturation and is also suffering from sky issues, due to the polarizing filter I had attached to lens.
I typically perform basic image processing on that first image, but for the purposes of this tutorial – and to really see the benefits of using Virtual Copies - I’ll leave the original alone and create a virtual copy to begin my processing.
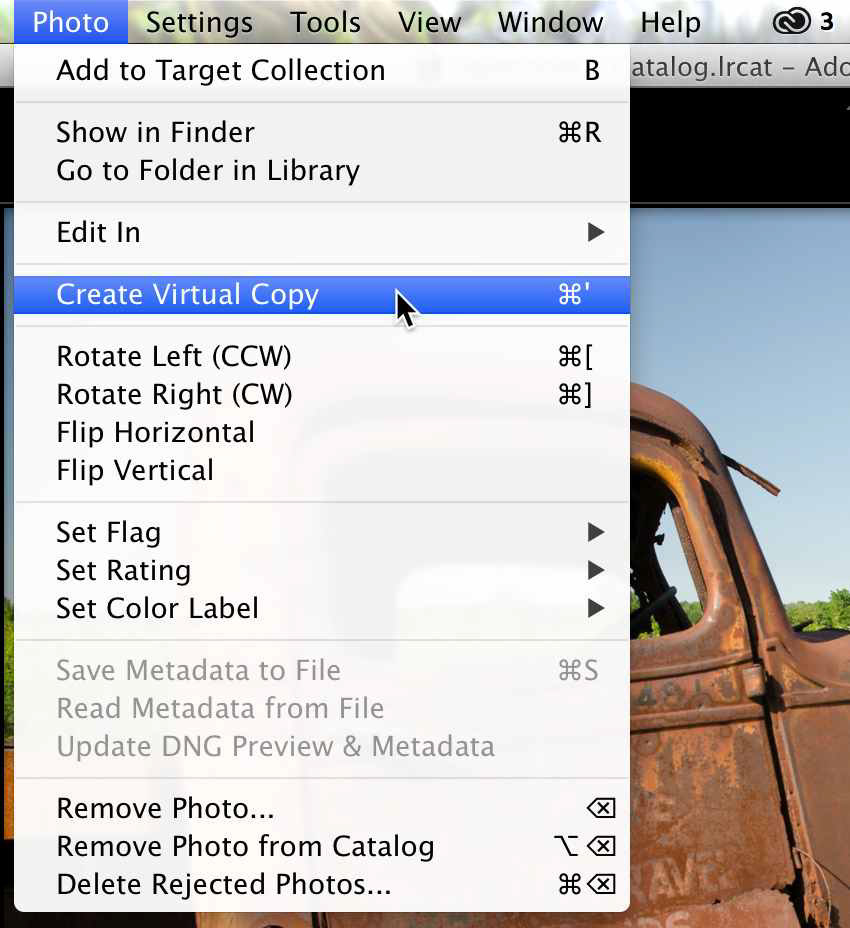
There are a few ways to create virtual copies:
· Choose the Photo menu and select Create Virtual Copy
· Using the Keyboard shortcut Ctrl + ‘ (Windows) or Command + ‘ (Mac)
· Right-click on a selected image in the Develop or Grid (Library module
· Right-click on a thumbnail in the filmstrip of the Develop Module

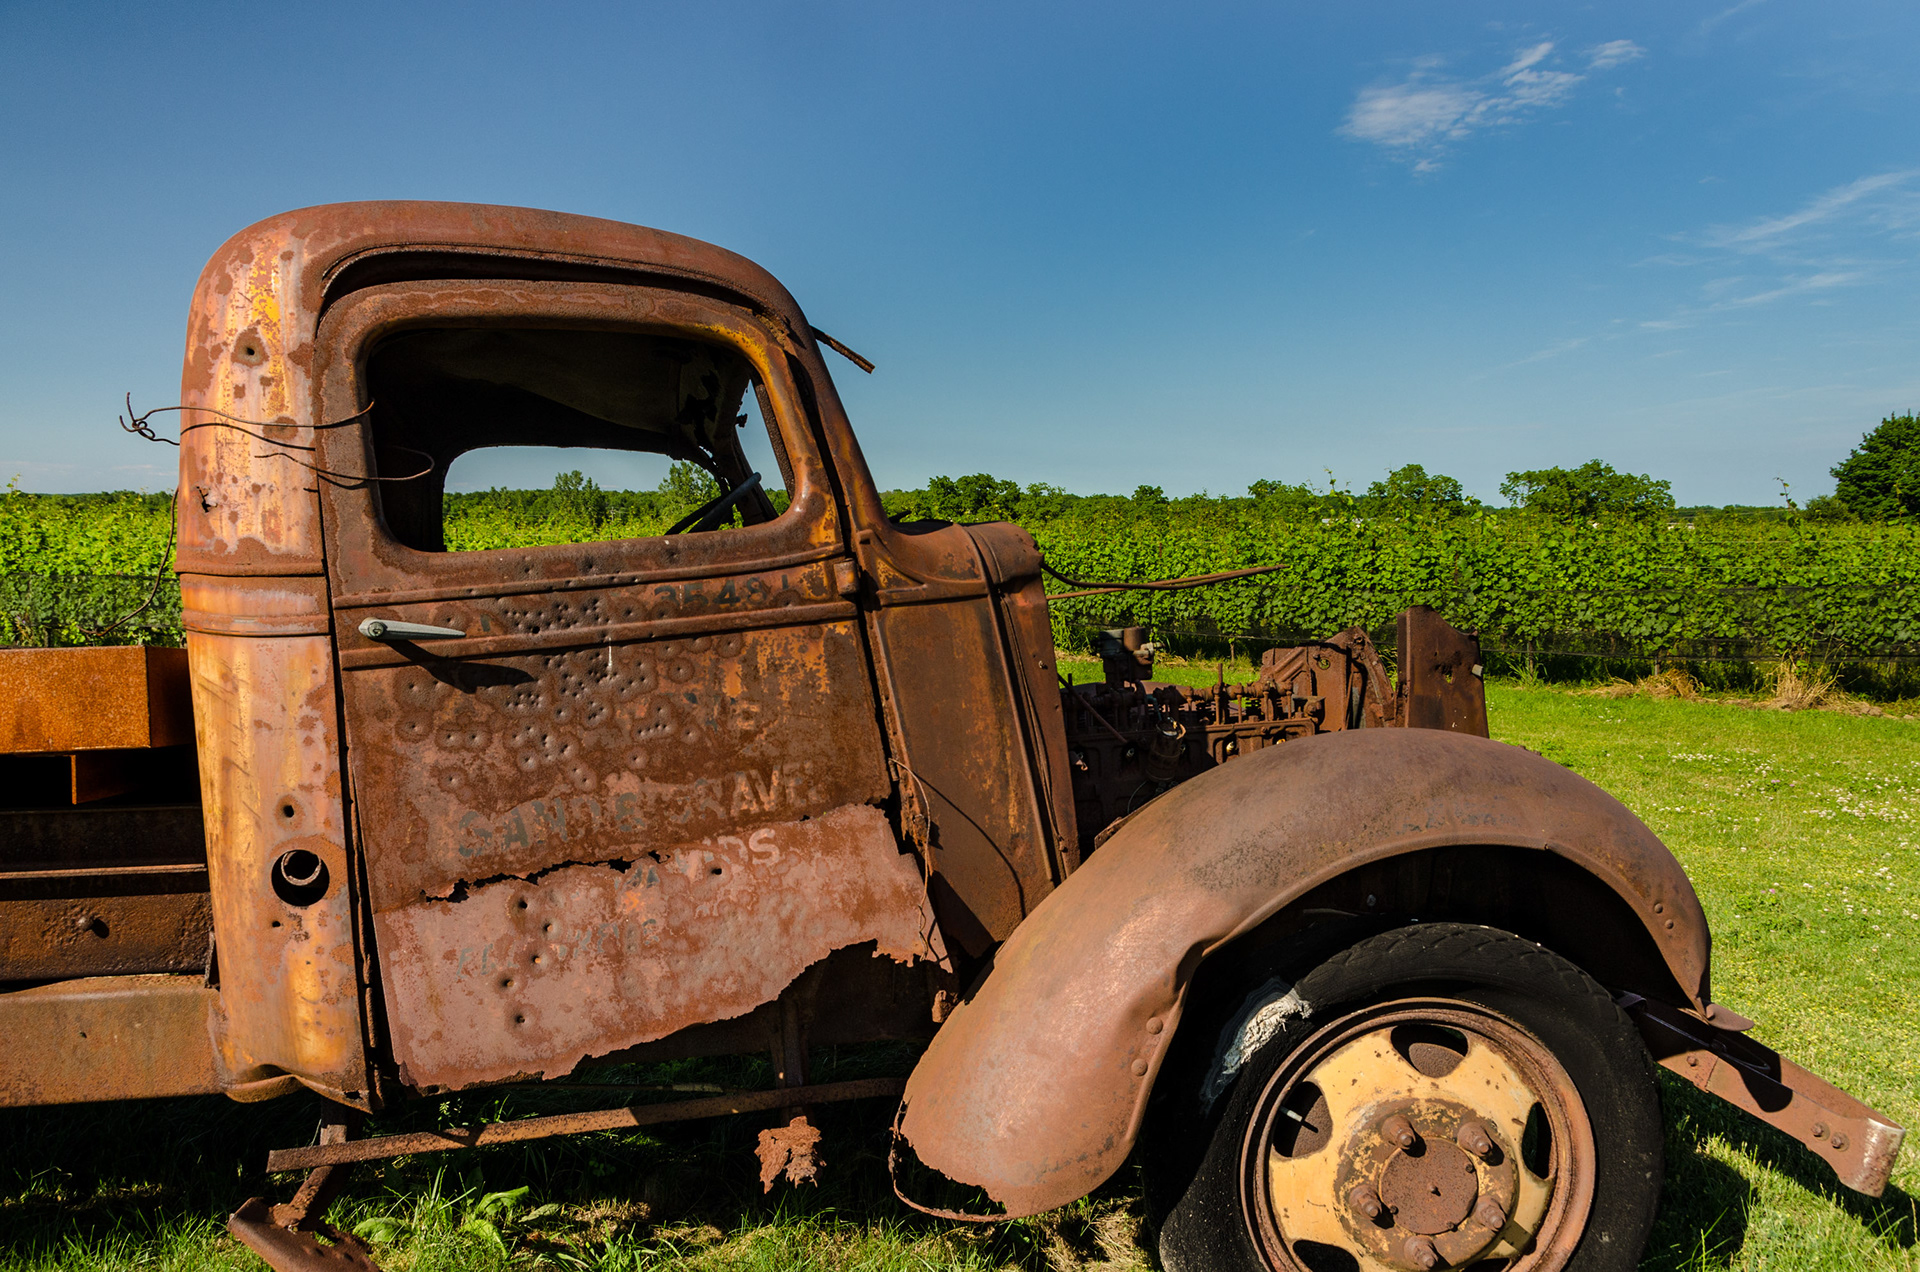
In this Virtual Copy, created last year after I originally imported the image, I performed my basic adjustments, which included Lens Profile, general exposure adjustments, local radial filter adjsutments to correct the sky and local adjustments to the shadow areas. Overall, I was please with the result.
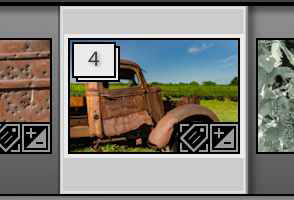
Virtual copies are identified visually with a page-turn icon in the bottom left of the film-strip or grid image. If you mouse over the thumbnail, you will also see a differentiation in the file name, along the lines of filename/Copy 1 (etc…), as well as an indication of its place in the stacking hierarchy (2 of 4, 3 of 4 etc…).
Once you create a virtual copy, any edits you make to the copy reside only with that version. The original – or other existing copies – are not affected.
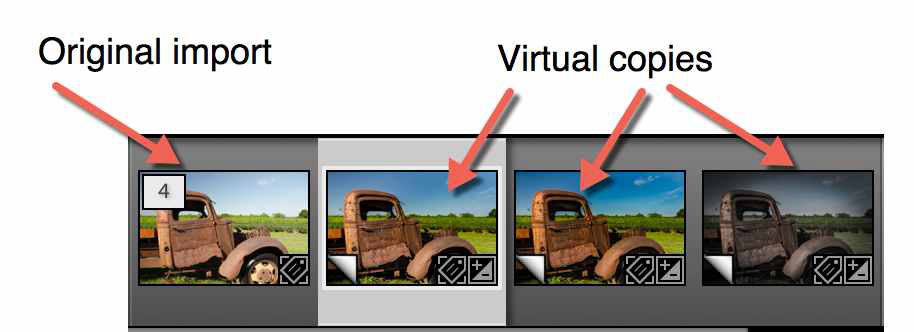

By default, virtual copies appear to the right of the original image in the Filmstrip or Grid view.
To save space, you can stack the original with its copies by clicking on the stacking counter. This puts all the related versions into a single thumbnail.
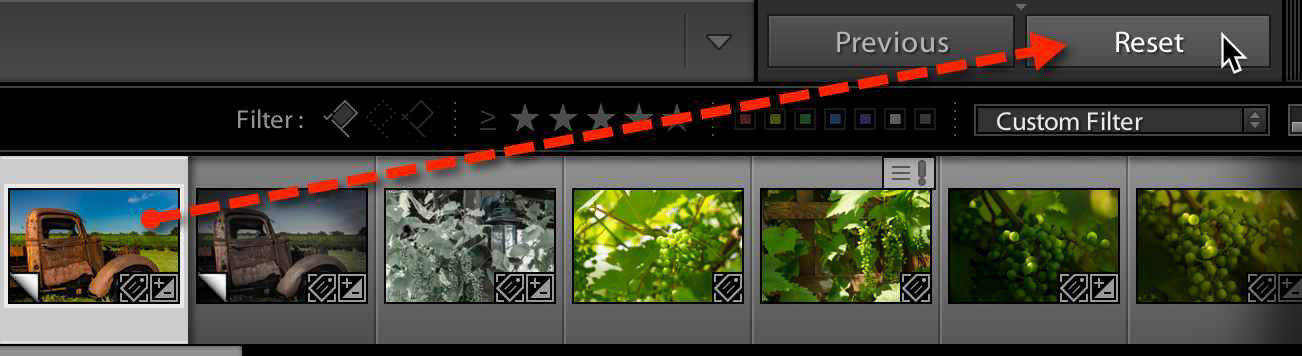
If you make a Virtual copy from an image that you have already started processing, you can reset the copy back to the camera exposure defaults by selecting the copy, then clicking the Reset button at the bottom right of the adjustments panel.
In this iteration, I wanted to build on the vibrancy, contrast and improve the shadow detail even further. I tried several different settings before deciding on what you see here. It's a much richer version than my first attempt, but still remains realistic, in my view.

And lastly this antiqued version; I didn't want to lose the rich color of my previous image, but at the same time, wanted to see how a desaturated version might look. Creating a Virtual Copy made this process not only easy, but didn't put my previous edits at risk.
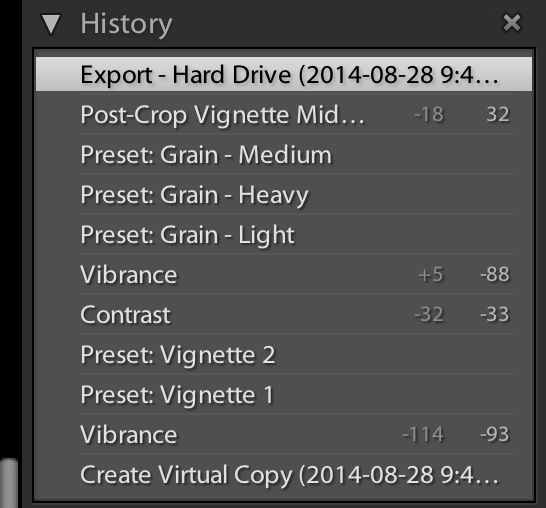
I mentioned earlier that each Virtual Copy has its own history. This can be VERY helpful. Imagine for a moment that ALL the edits I'd done to this image were part of the history for the original import. If I wanted to revert back to a different look, I would have to scroll through possibly hundreds of history steps before I found the right state. With virtual copies, the only history I have is the history I make (hmmm...) from the point where the copy was created. So, in the case of the final, antiqued version, my History is quite short.