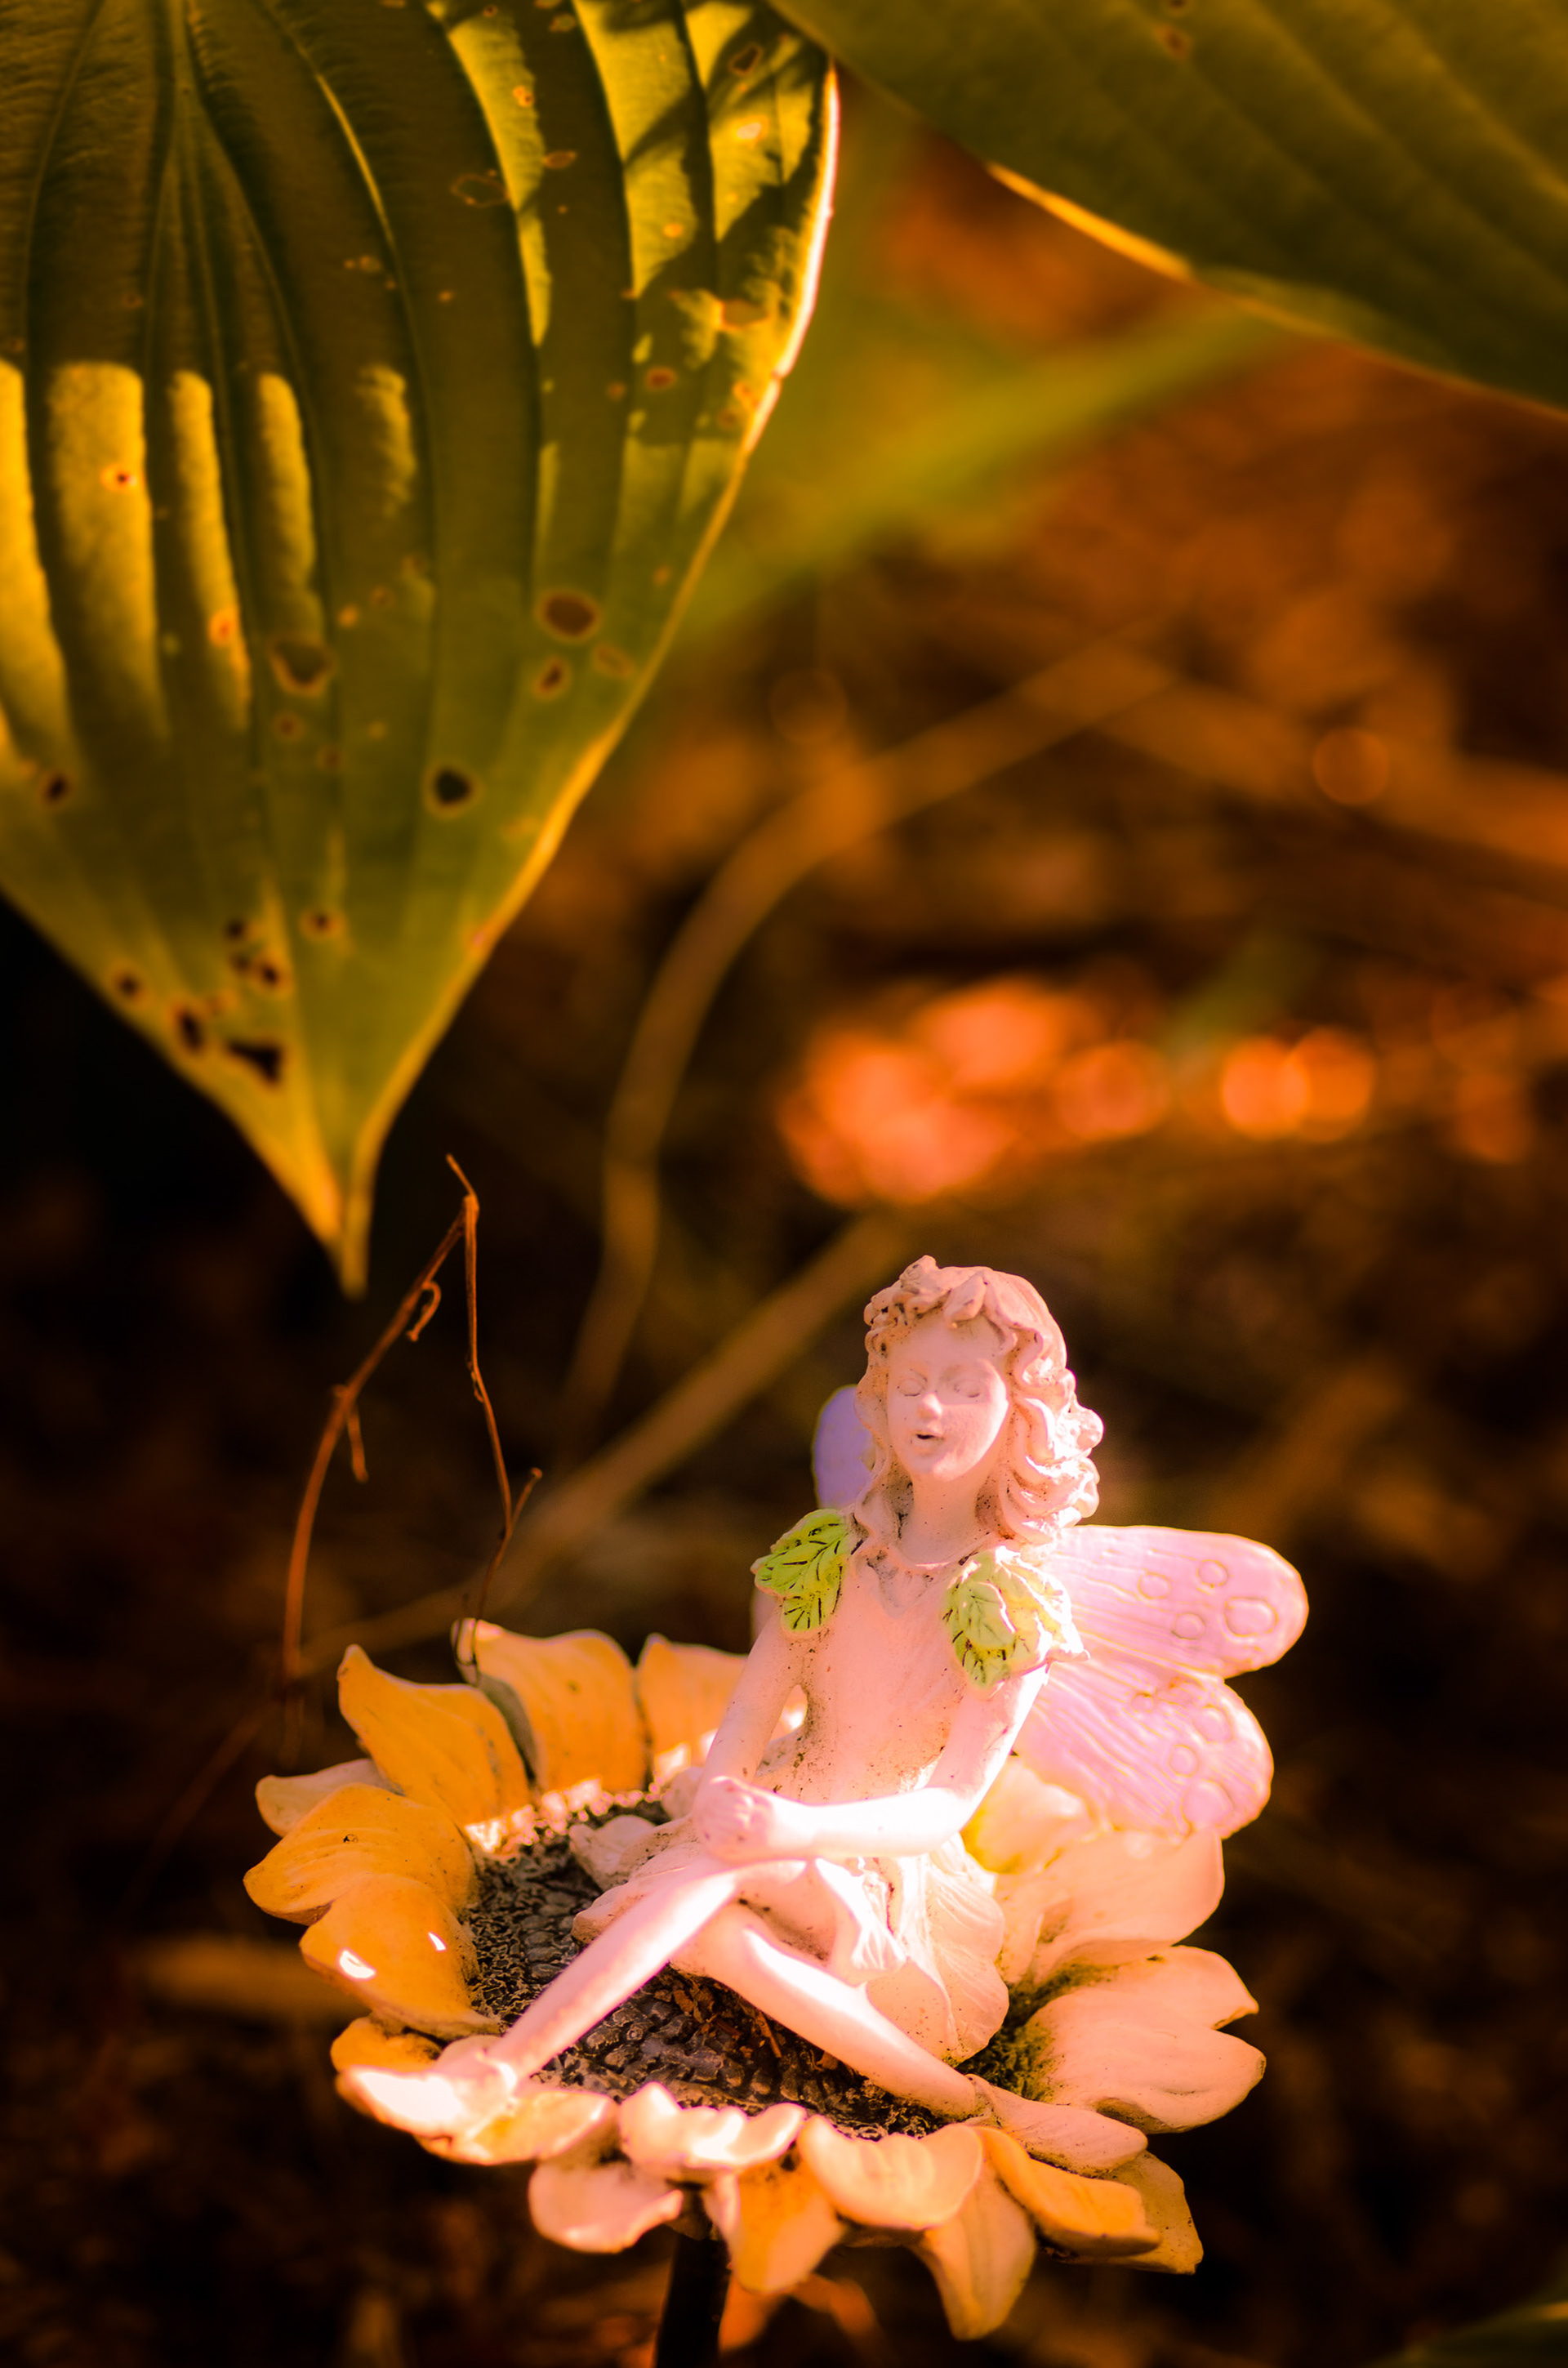
I was roaming the back yard a while back, trying to capture the beginnings of Autumn, when I "rediscovered" this little scene. A little statuary, color completed bleached out by sun and weather, and the rich green leaves of a Hosta, backlit by the setting sun. A nice enough image, I thought at the time, but, as you'll see by the end, my mind had another vision that just came to me over a morning coffee.
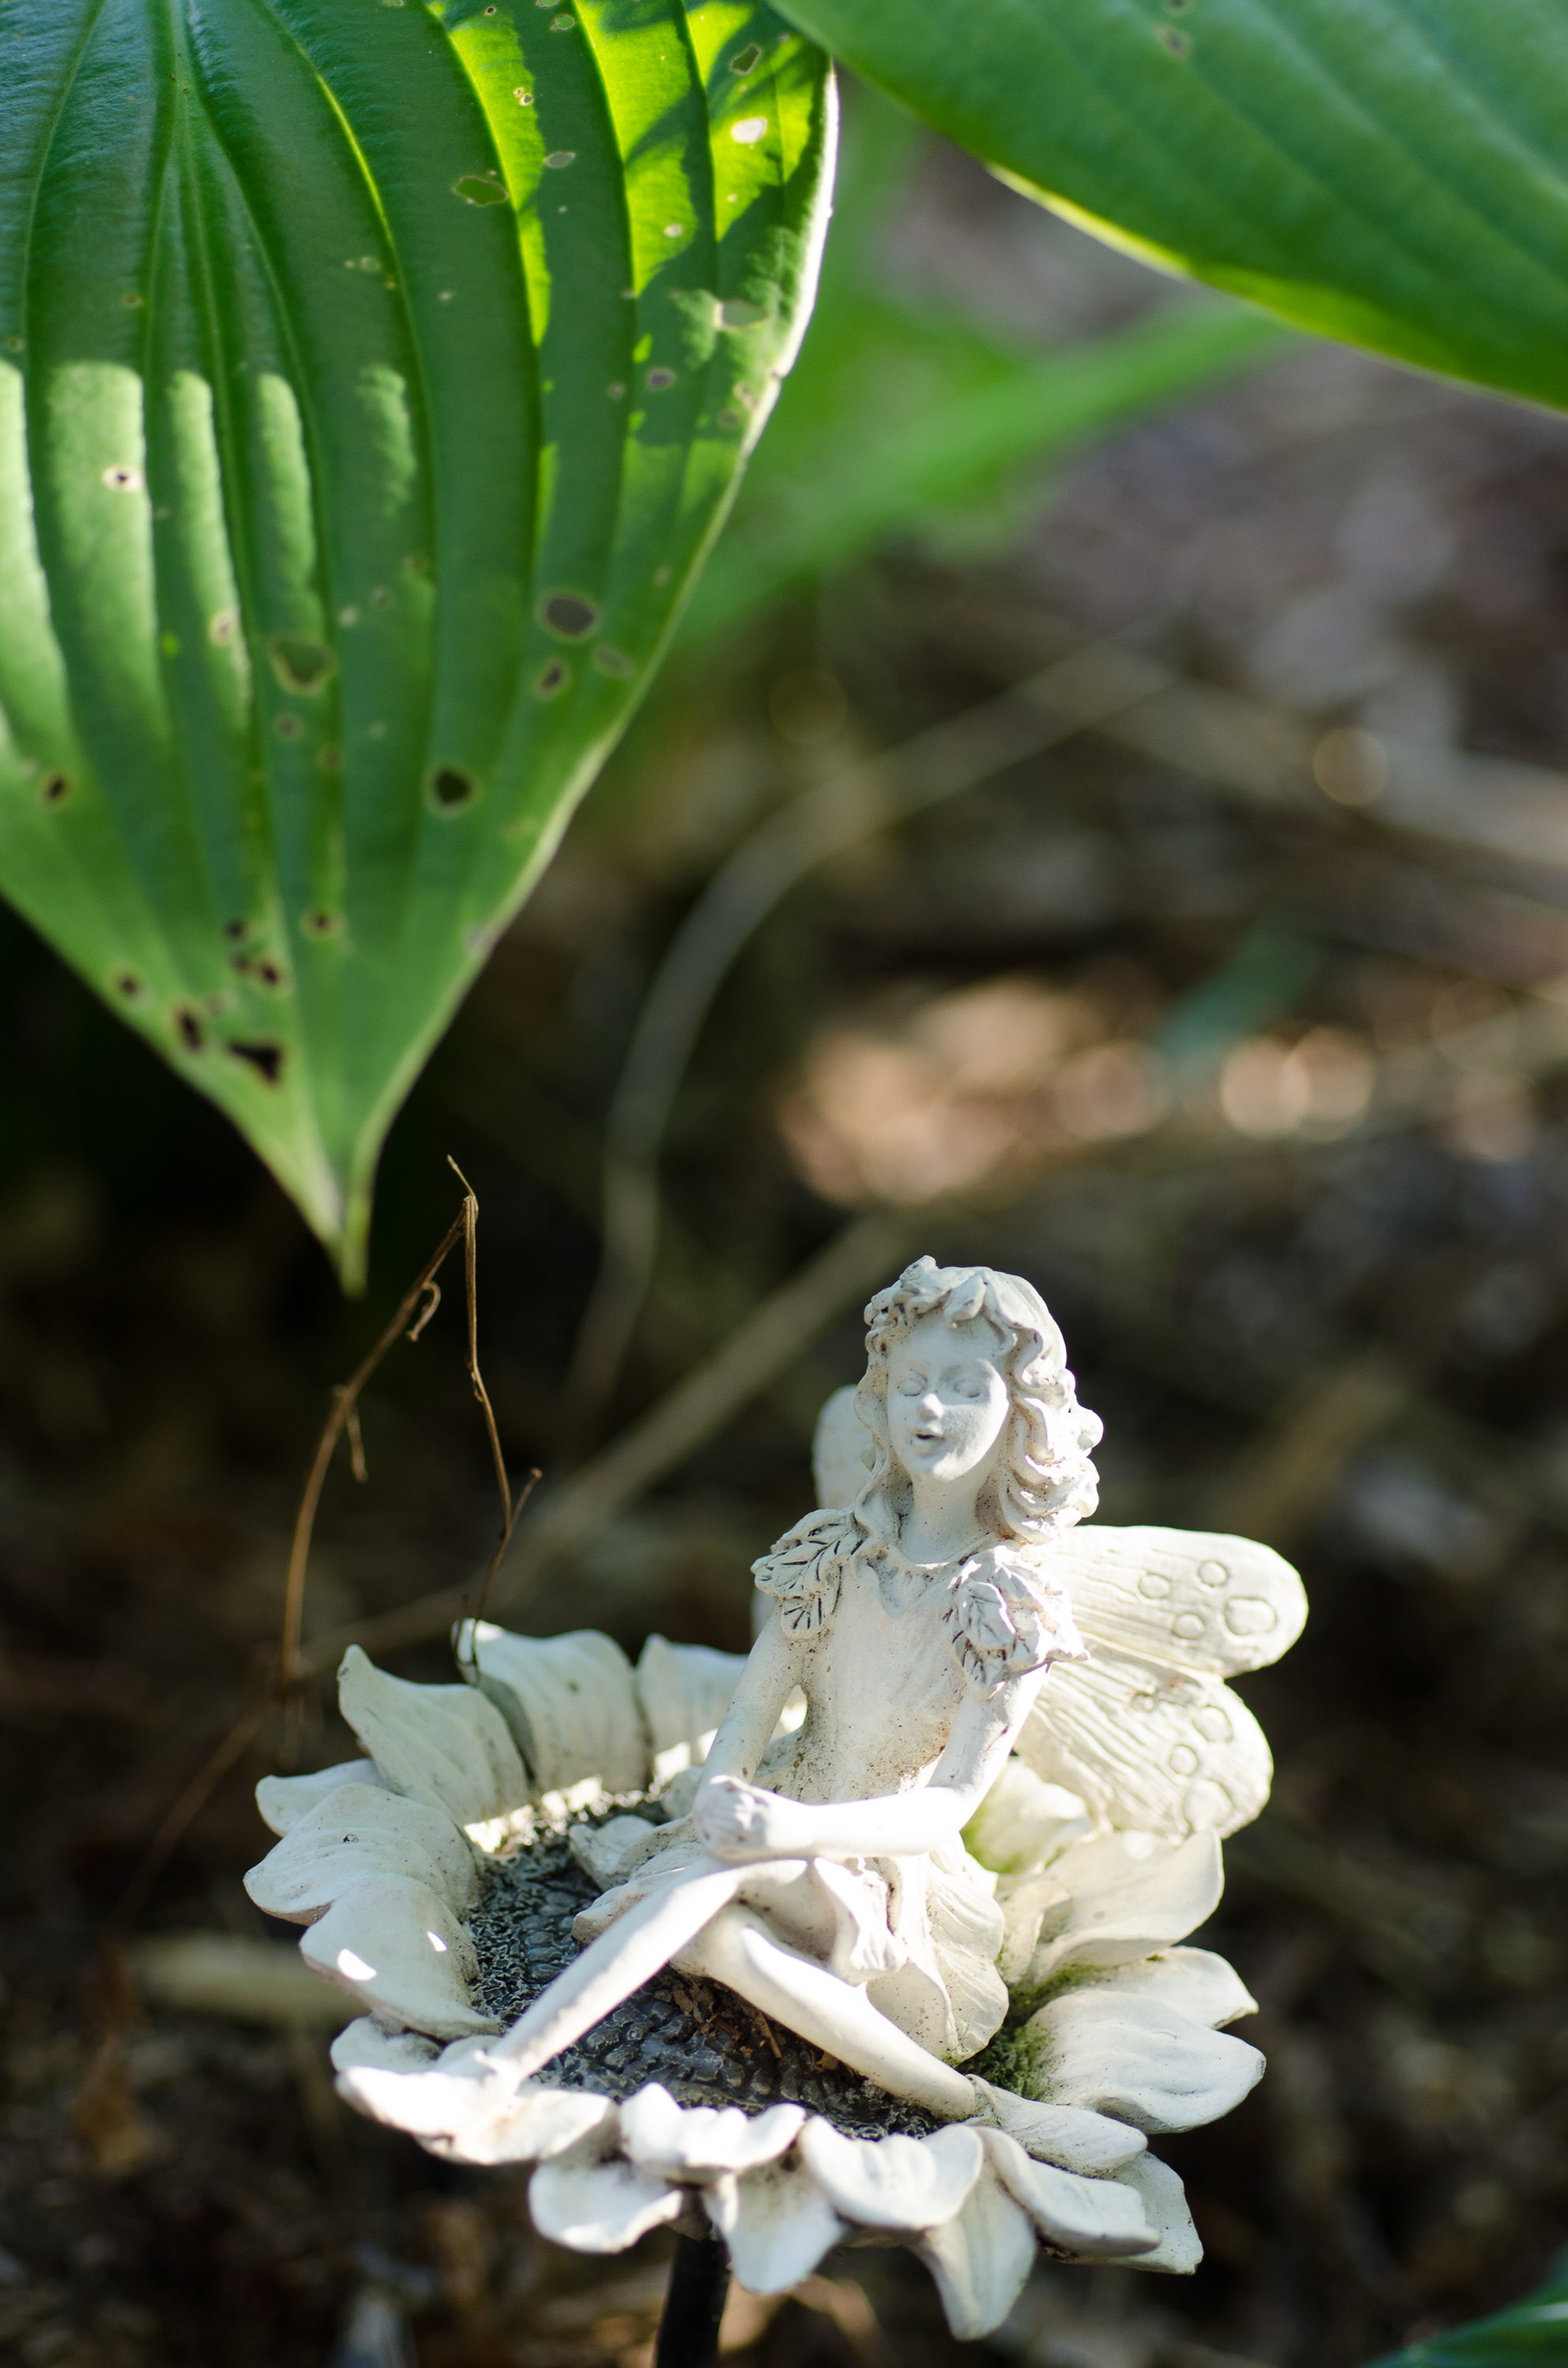
The original image, no processing yet. Clean but almost "clinical" in its look and feel.
In Lightroom, I go through a litany of basic processing steps (as we all do, I'm sure), including Lens Correction, color balance, exposure, shadow and highlight adjustment, clarity etc. But in this case, I want more of an ethereal view of the statuary. So, while I did apply positive clairty to the overall image, I then used a radial filter to apply negative clarity to the fairy. Then I took that filter and duplicated it, to further enhance the glow and magic of a little being in my garden.
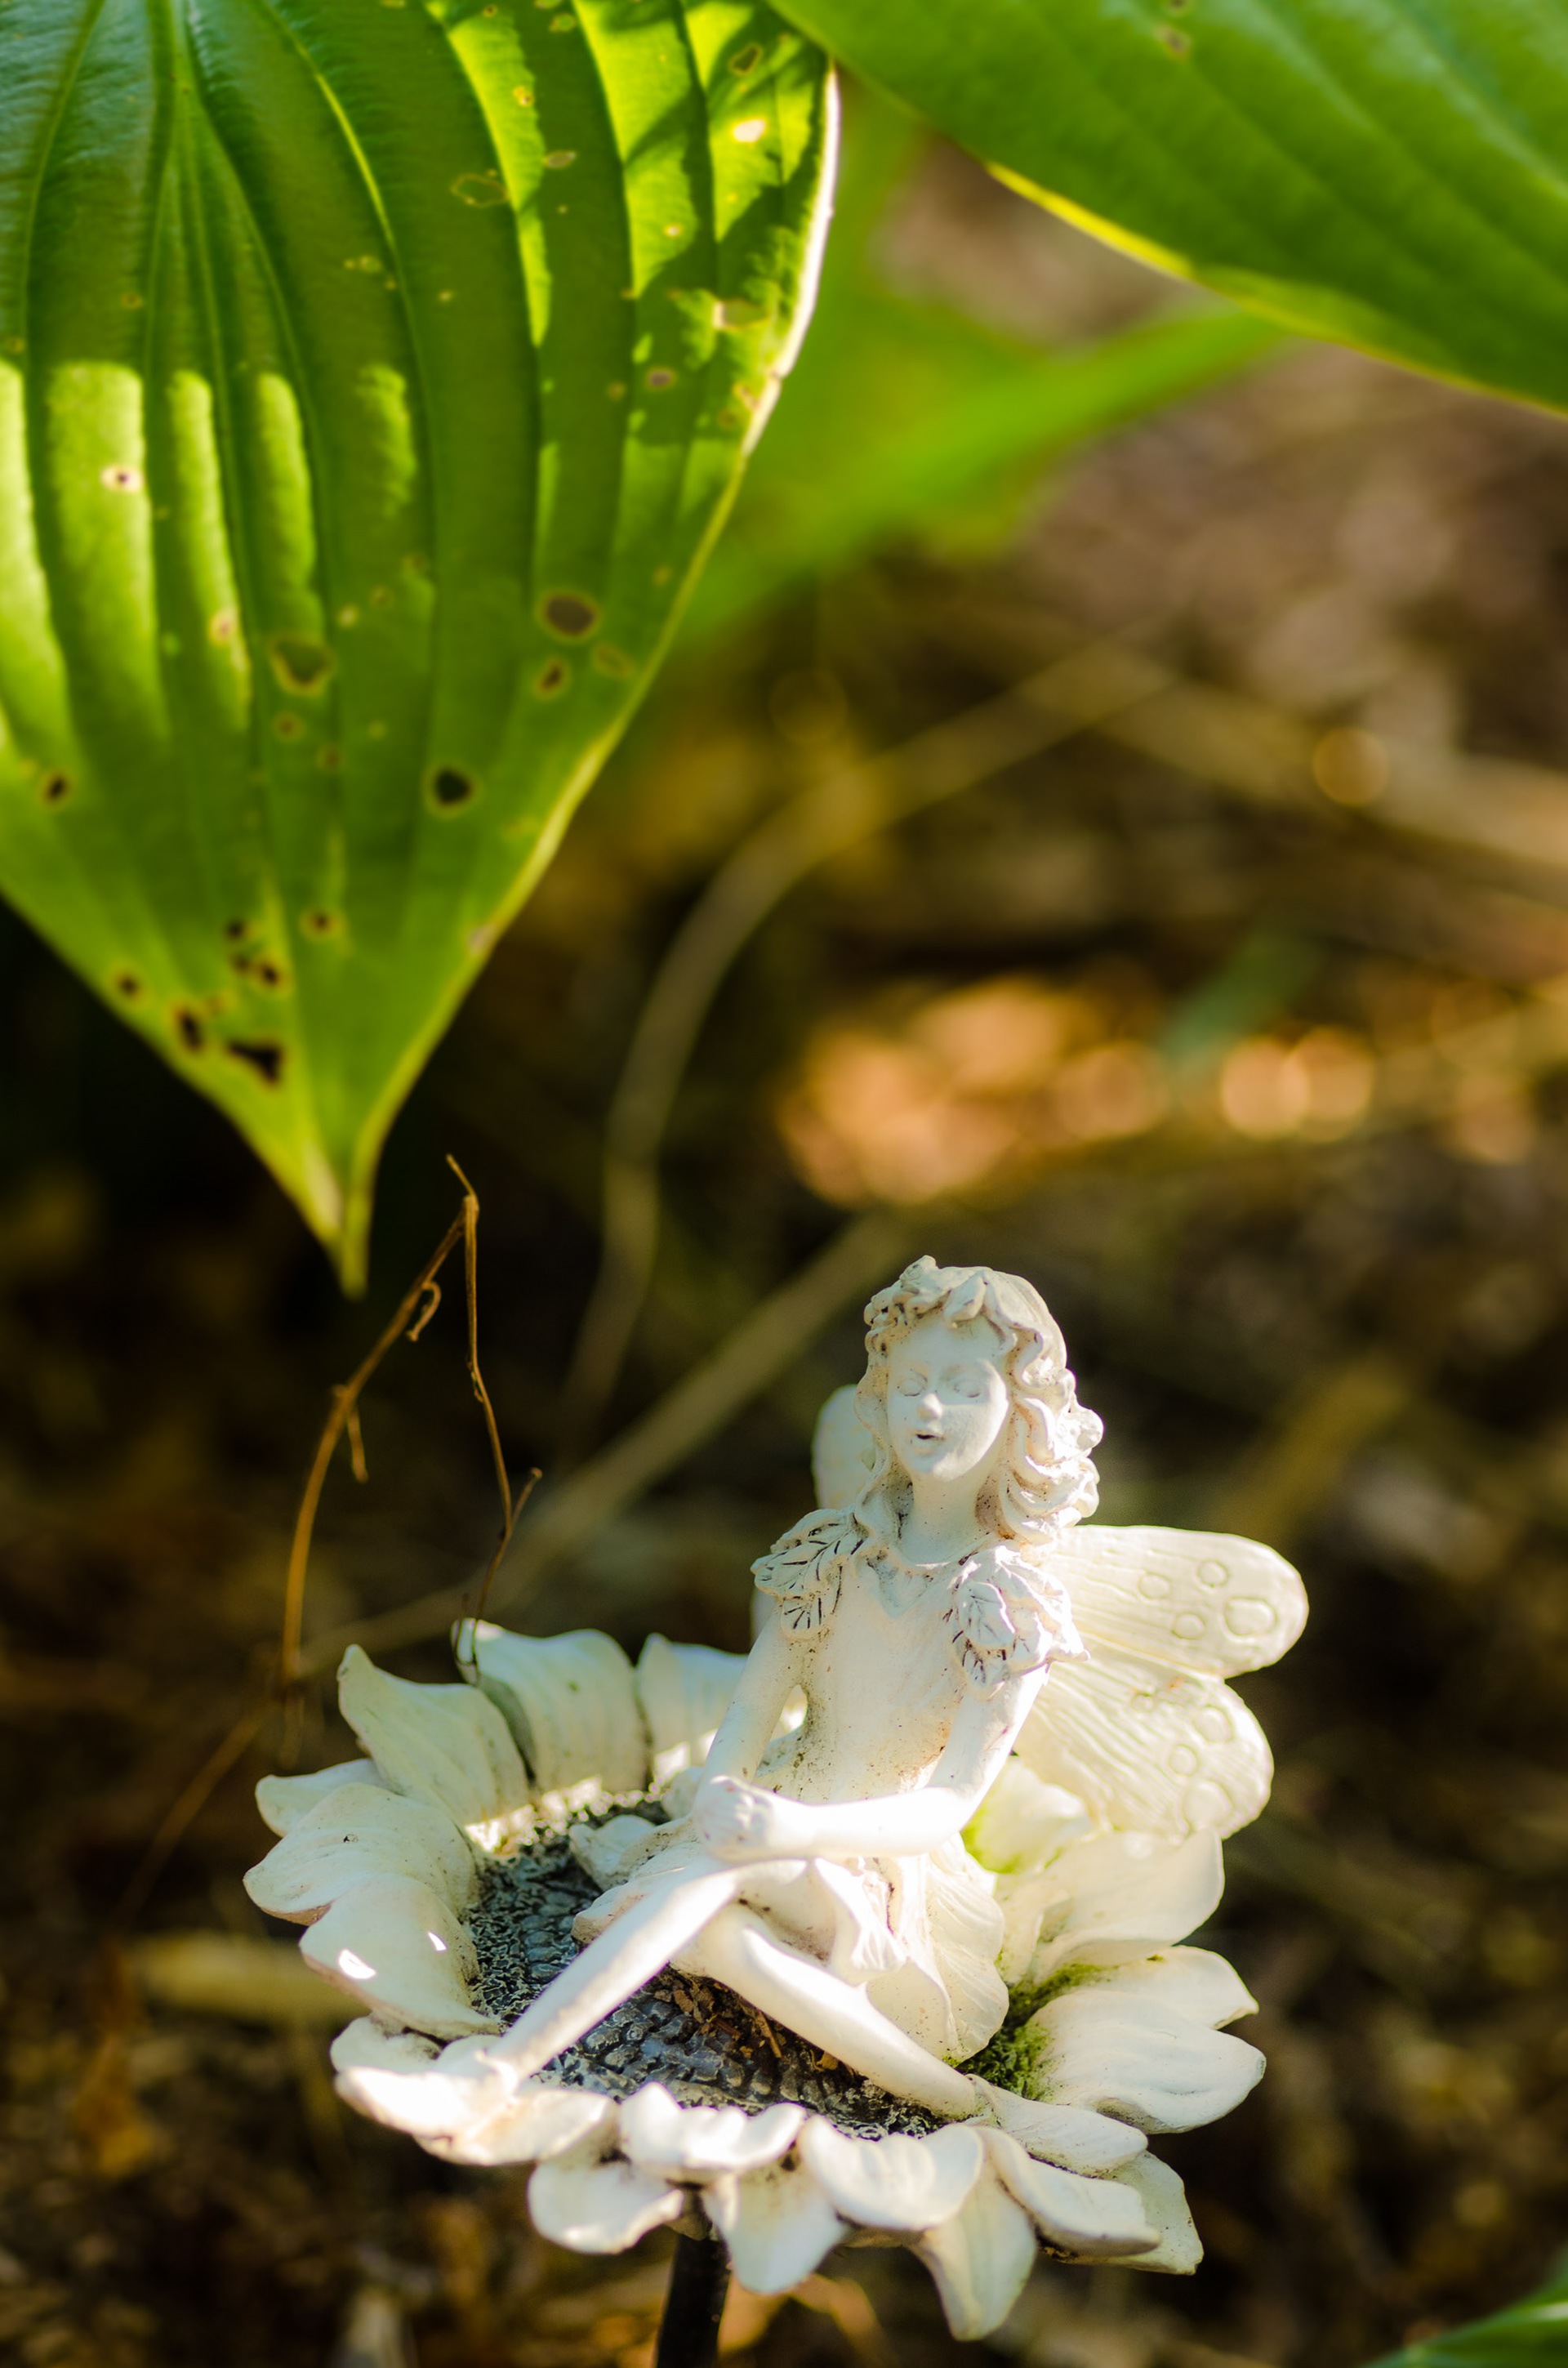
While there is a definite improvement - getting neared my vision - the image is still too "hard" for my goals.
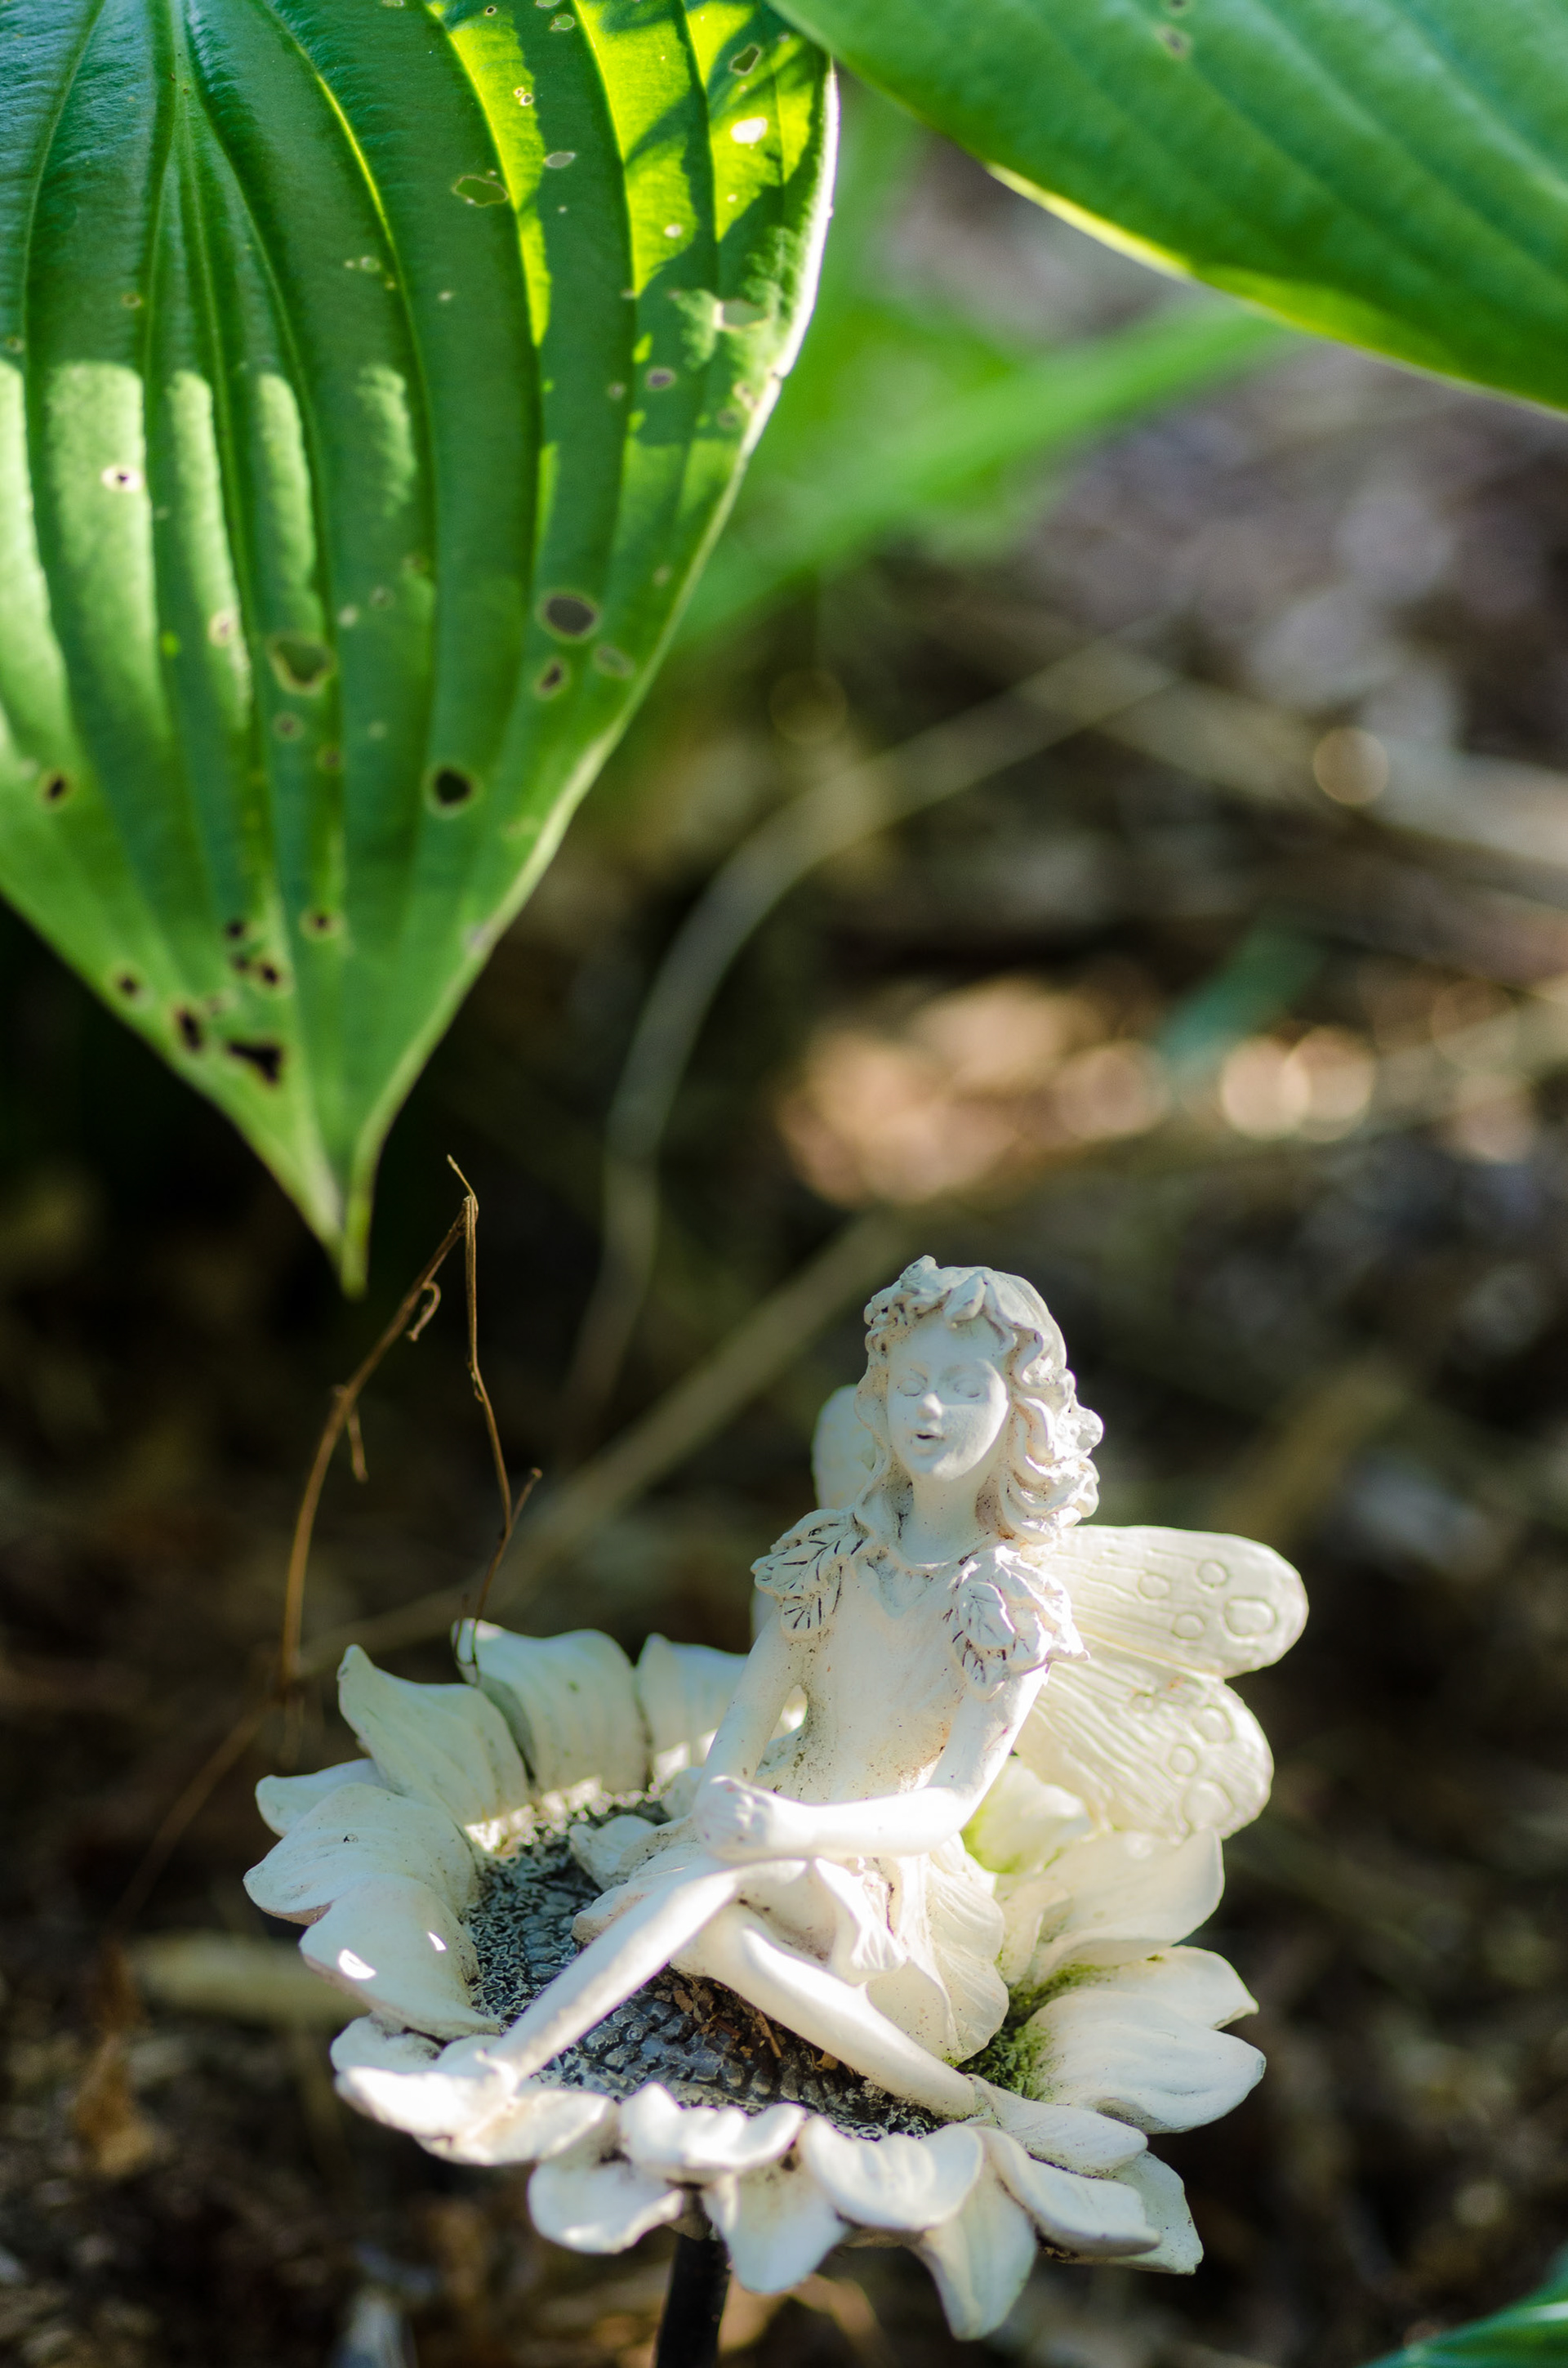
The second radial filter applied, also included a reduction in Sharpness.
After applying the negative clarity, I really felt I was moving in the right direction, but there was still something missing. This was an autumn shot after all, and the warmth, the color, just weren't there. Time to experiment with Split Toning. After a lot of trial and error, Split Toning got me closer to what I wanted; warmth and color.

Split toning applied, as well as a radial filter to tone down the background using a color filter.
Almost there. But the fairy was still really so, well, white! Even with the warmer, pinker tone. I though to myself, "If only I could add some color to just the wings". Which, right afterwards, came the realization I could do just that, using the Adjustment Brush and a color filter.
And as I was colorizing the wings, I realized that I had just tripped over an effect I used to teach my students in year one digital imaging (but using Photoshop). I was hand-colouring my work!
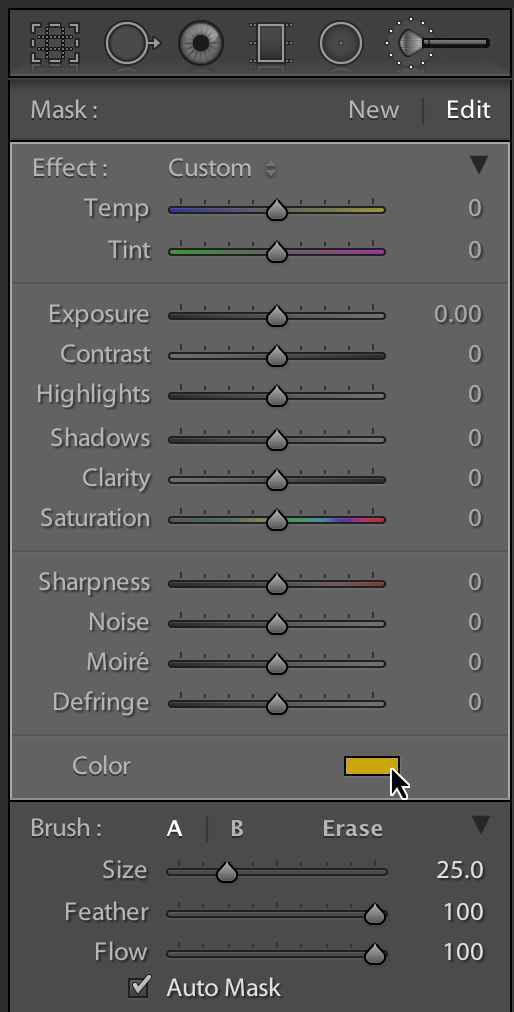
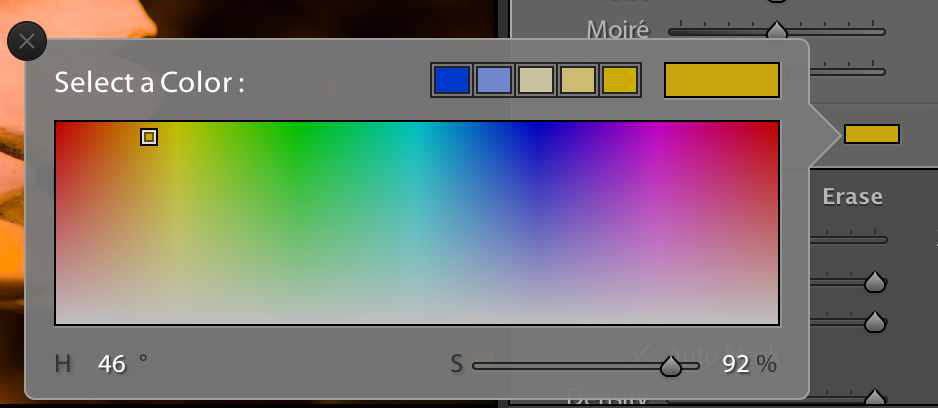
The the Adjustment Brush selected, I zeroed out all other settings and clicked on the Color Filter box (yellow in this screen shot). Then it was just a matter of painting over the areas I wanted to colorize.
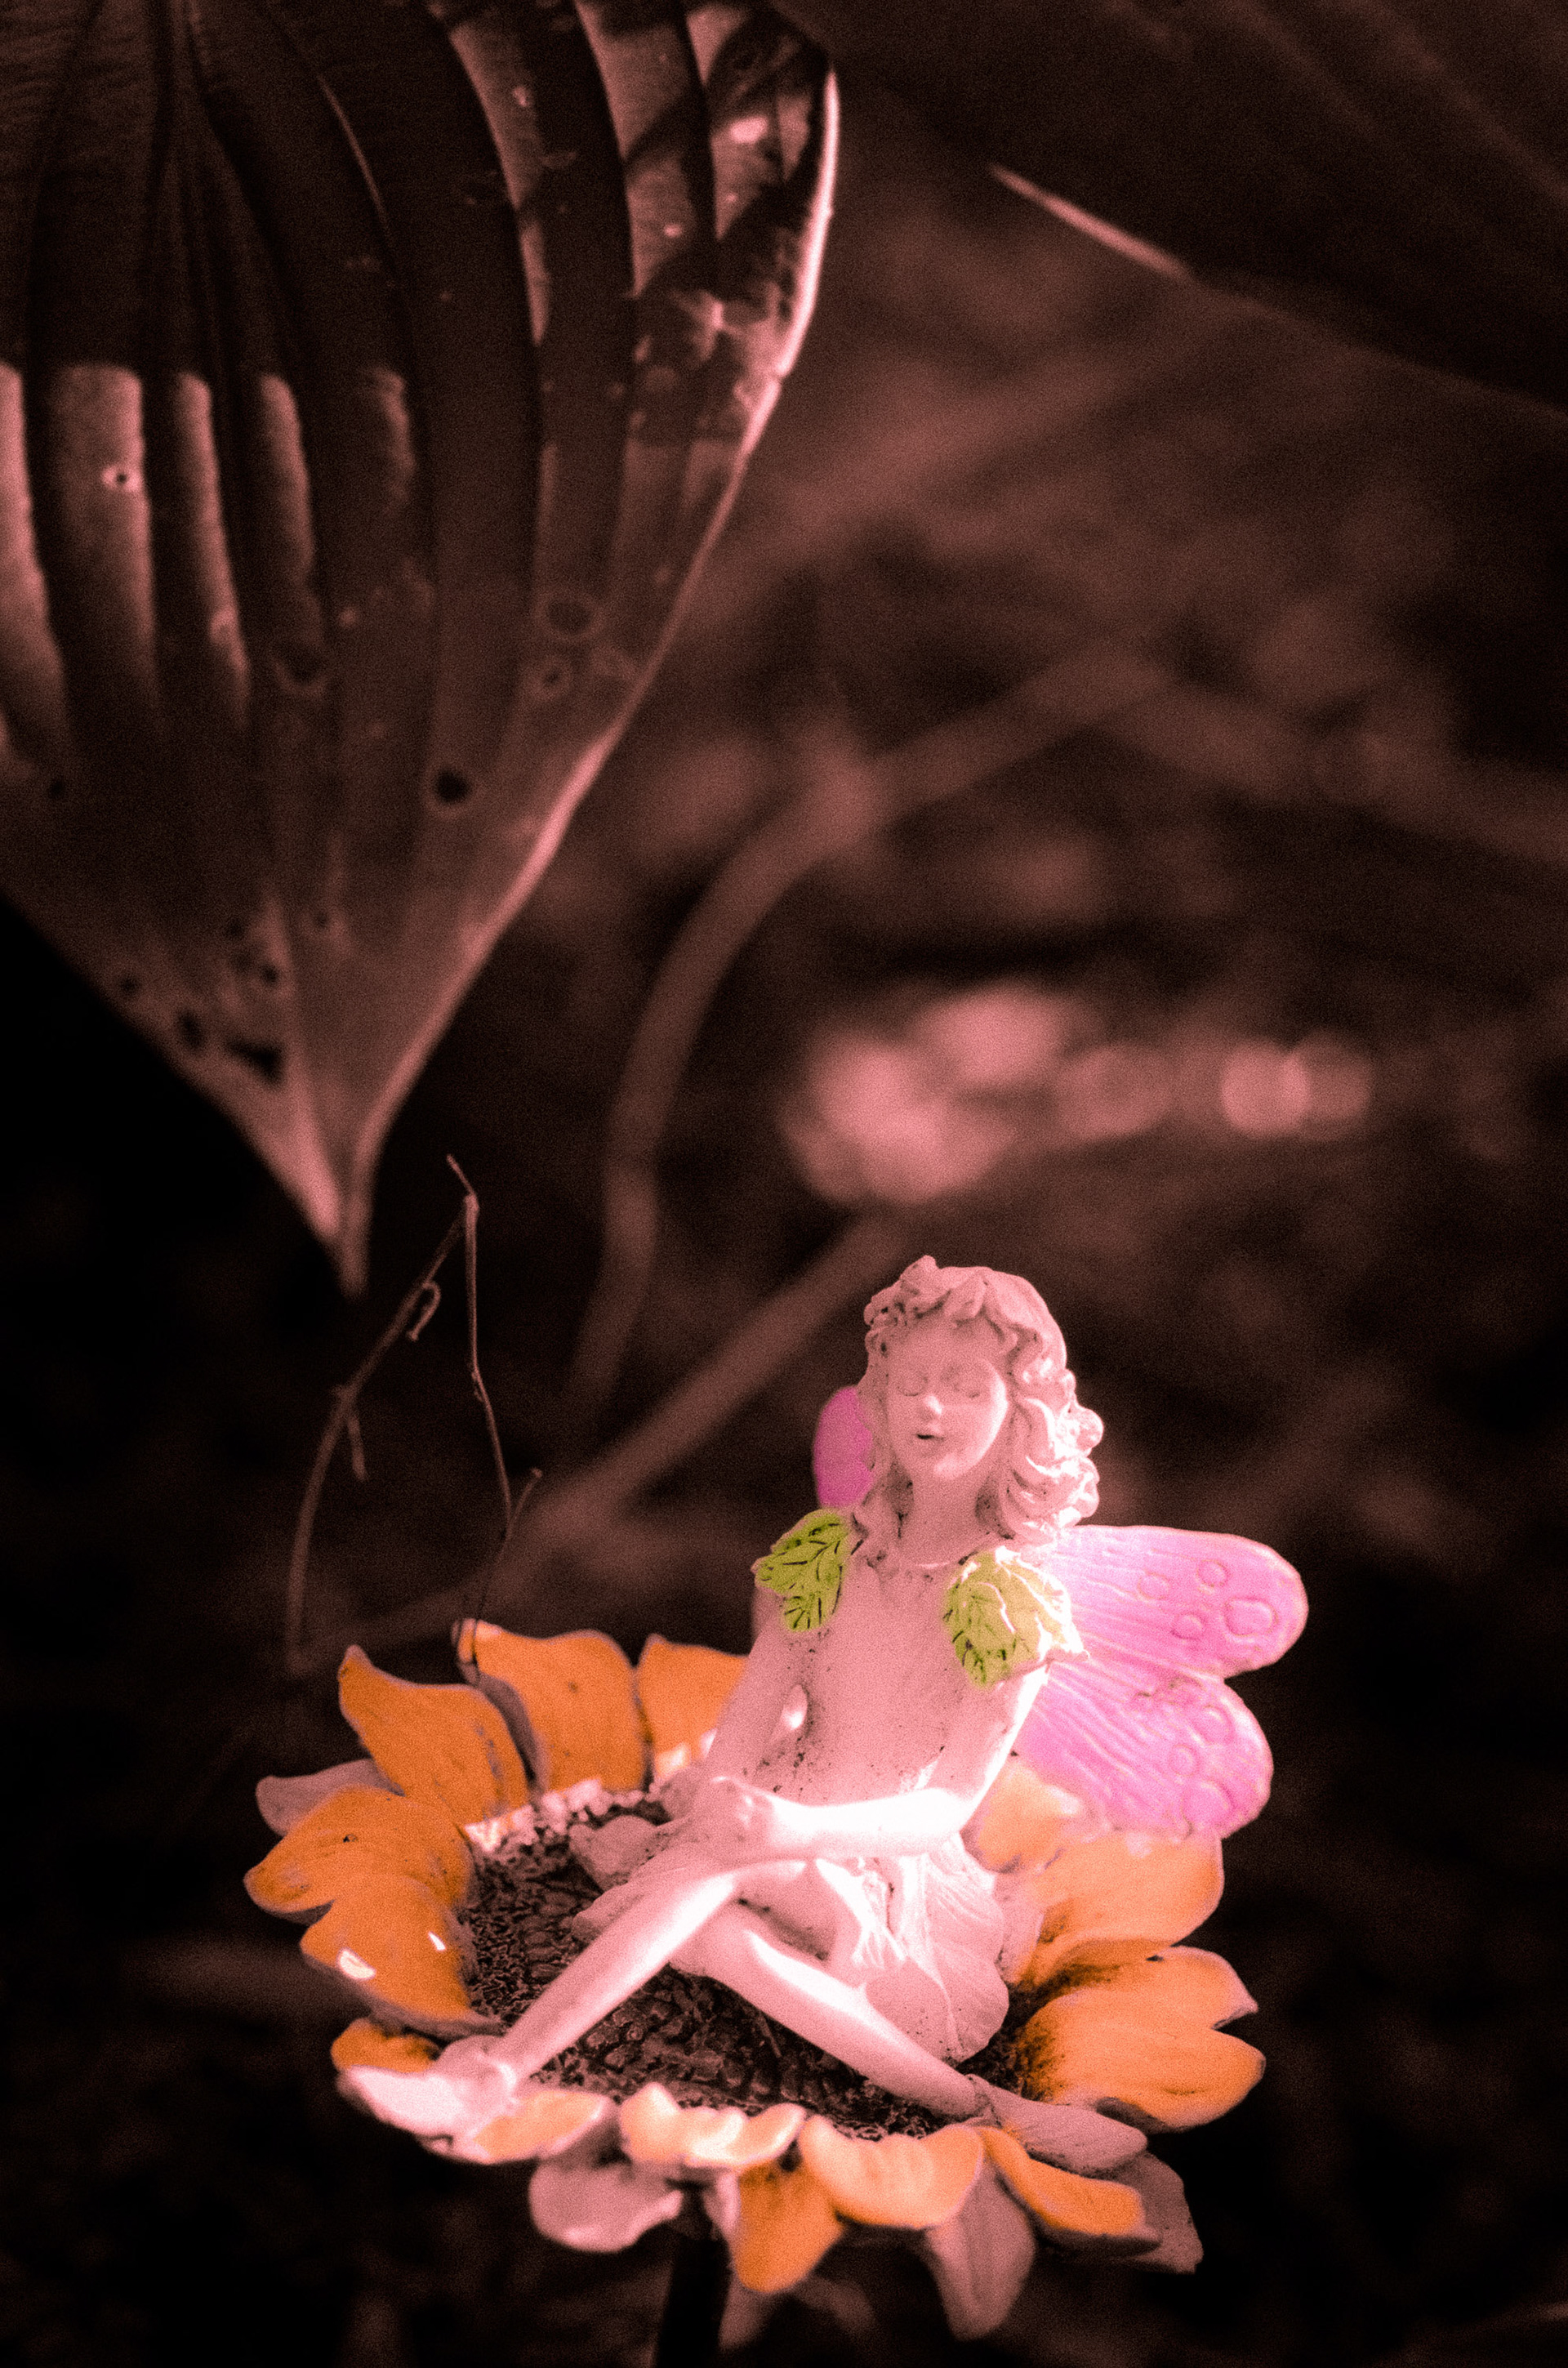
While the hand coloring started with the wings, it obviously didn't end there. I set new brushes to color the petals of the sunflower, and the fairy's epaulettes. The colorization was fairly subtle, but even more important, complete editalbe. At any time, I could select the appropriate brush and change the color or intensity just by altering my choice in the color filter.
The finished work, much more magical that it was at the beginning.
While this is not some mind-numbing revelation to anyone skilled with Lightroom, it certainly brought a different kind of "magic" to this image. I hope you found this interesting, and useful.
But wait, there's more!
And for those of you pining for a more traditional treatment in the hand-coloring vein, I present the image below. Created by converting the main image to black and white, while retaining my colorizing effects (because they are brushes!) Cheers!