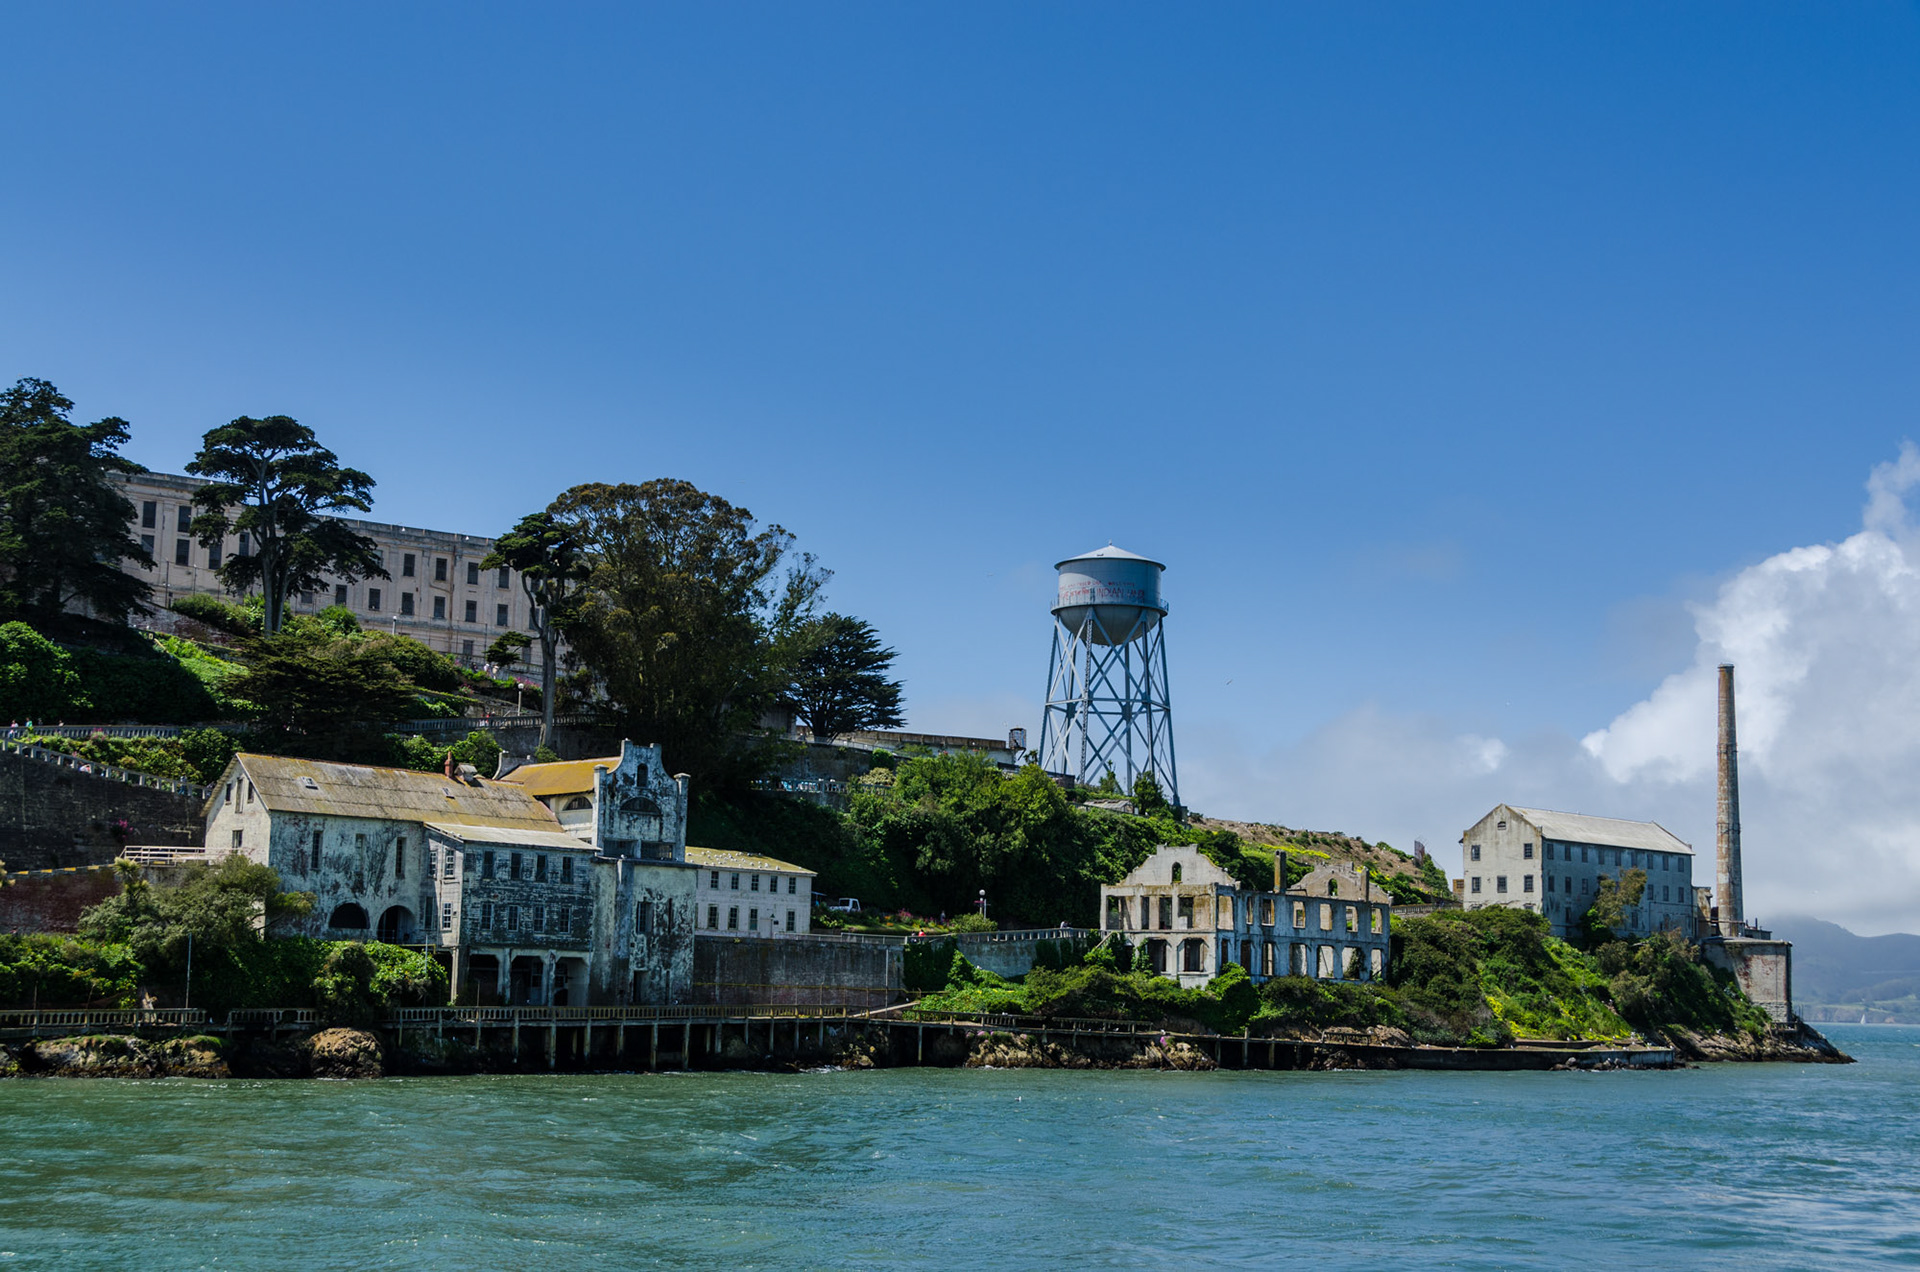
I spent 6 hours on Alcatraz Island recently. This collection includes processed shots from my iPhone (at the top) and then a much larger series of images shot with my Nikon D7000. Several shots, such as the LIbrary, and the long shots of the jail cells are HDR images, process first in HDR Prro, then further adjusted in Lightroom. While there are many color images here, I really like the black and white and the muted color shots. I intentionally pushed grain into some of the Black and White shots, to make them feel even older. Feel free to share your thoughts, and enjoy the photos!


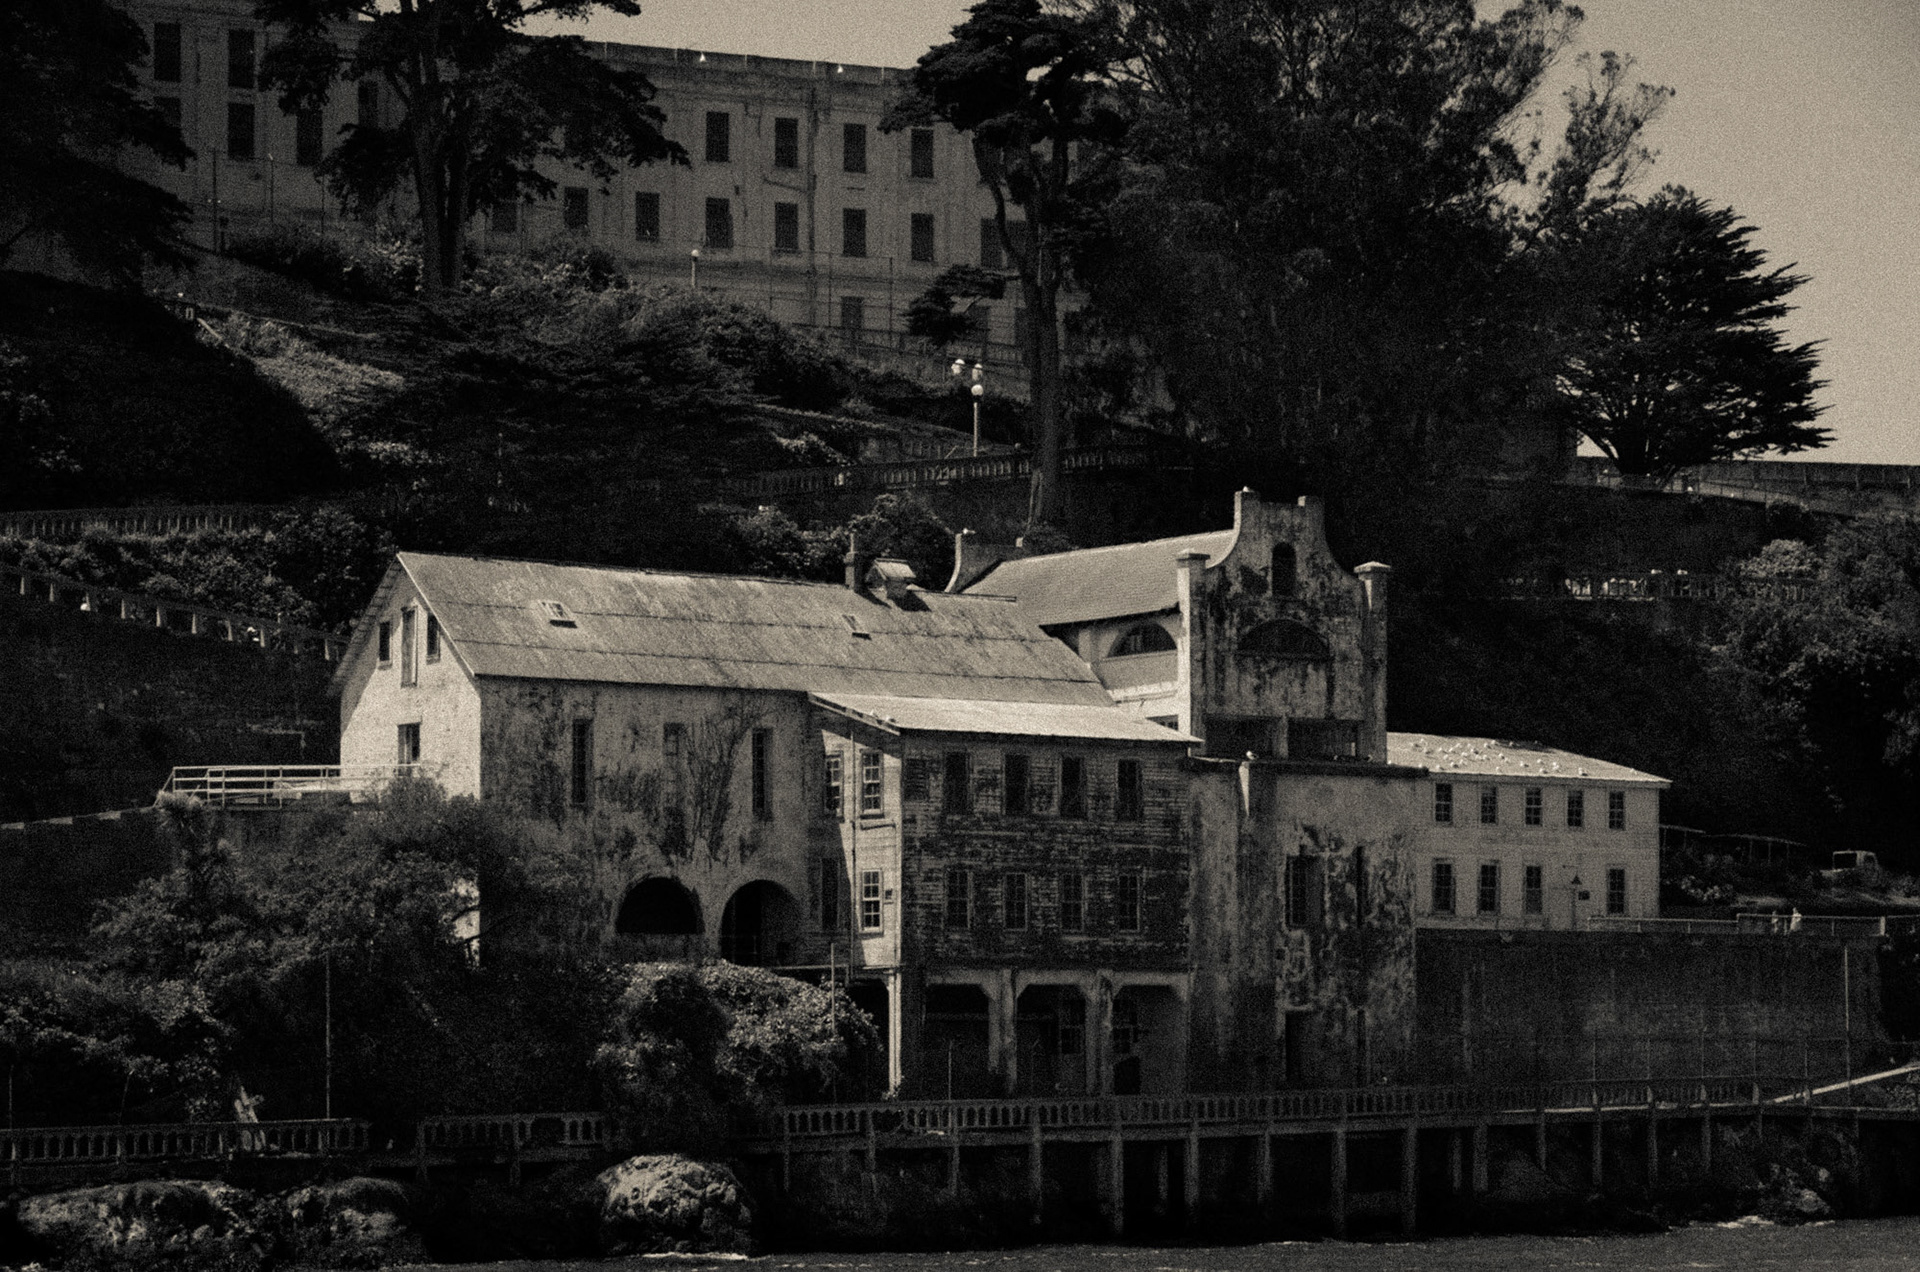
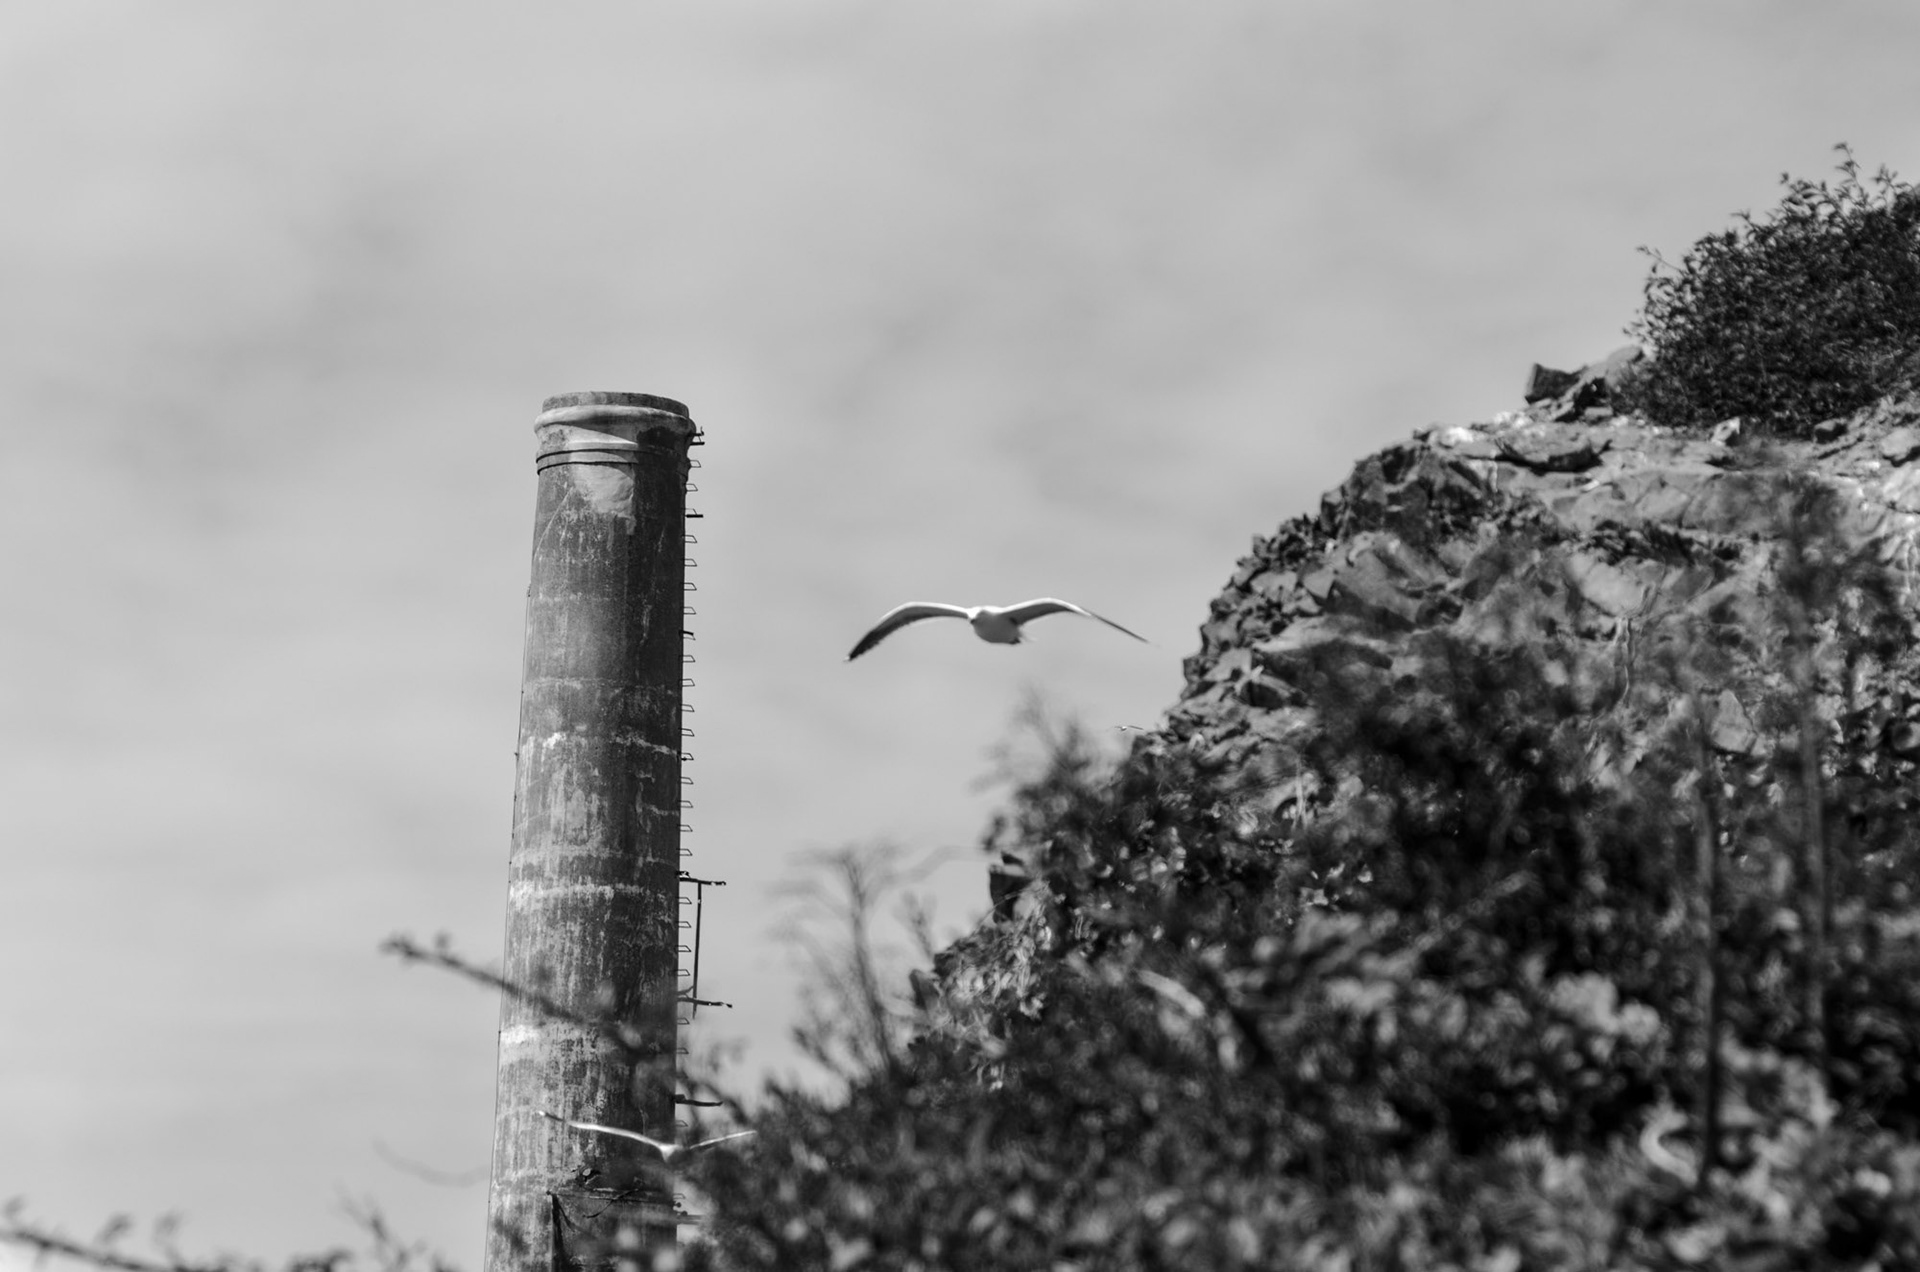
This is the first of several treated images, processed in Lightroom. I did my basic adjustments in the development mode, and then experimented with the B/W presets


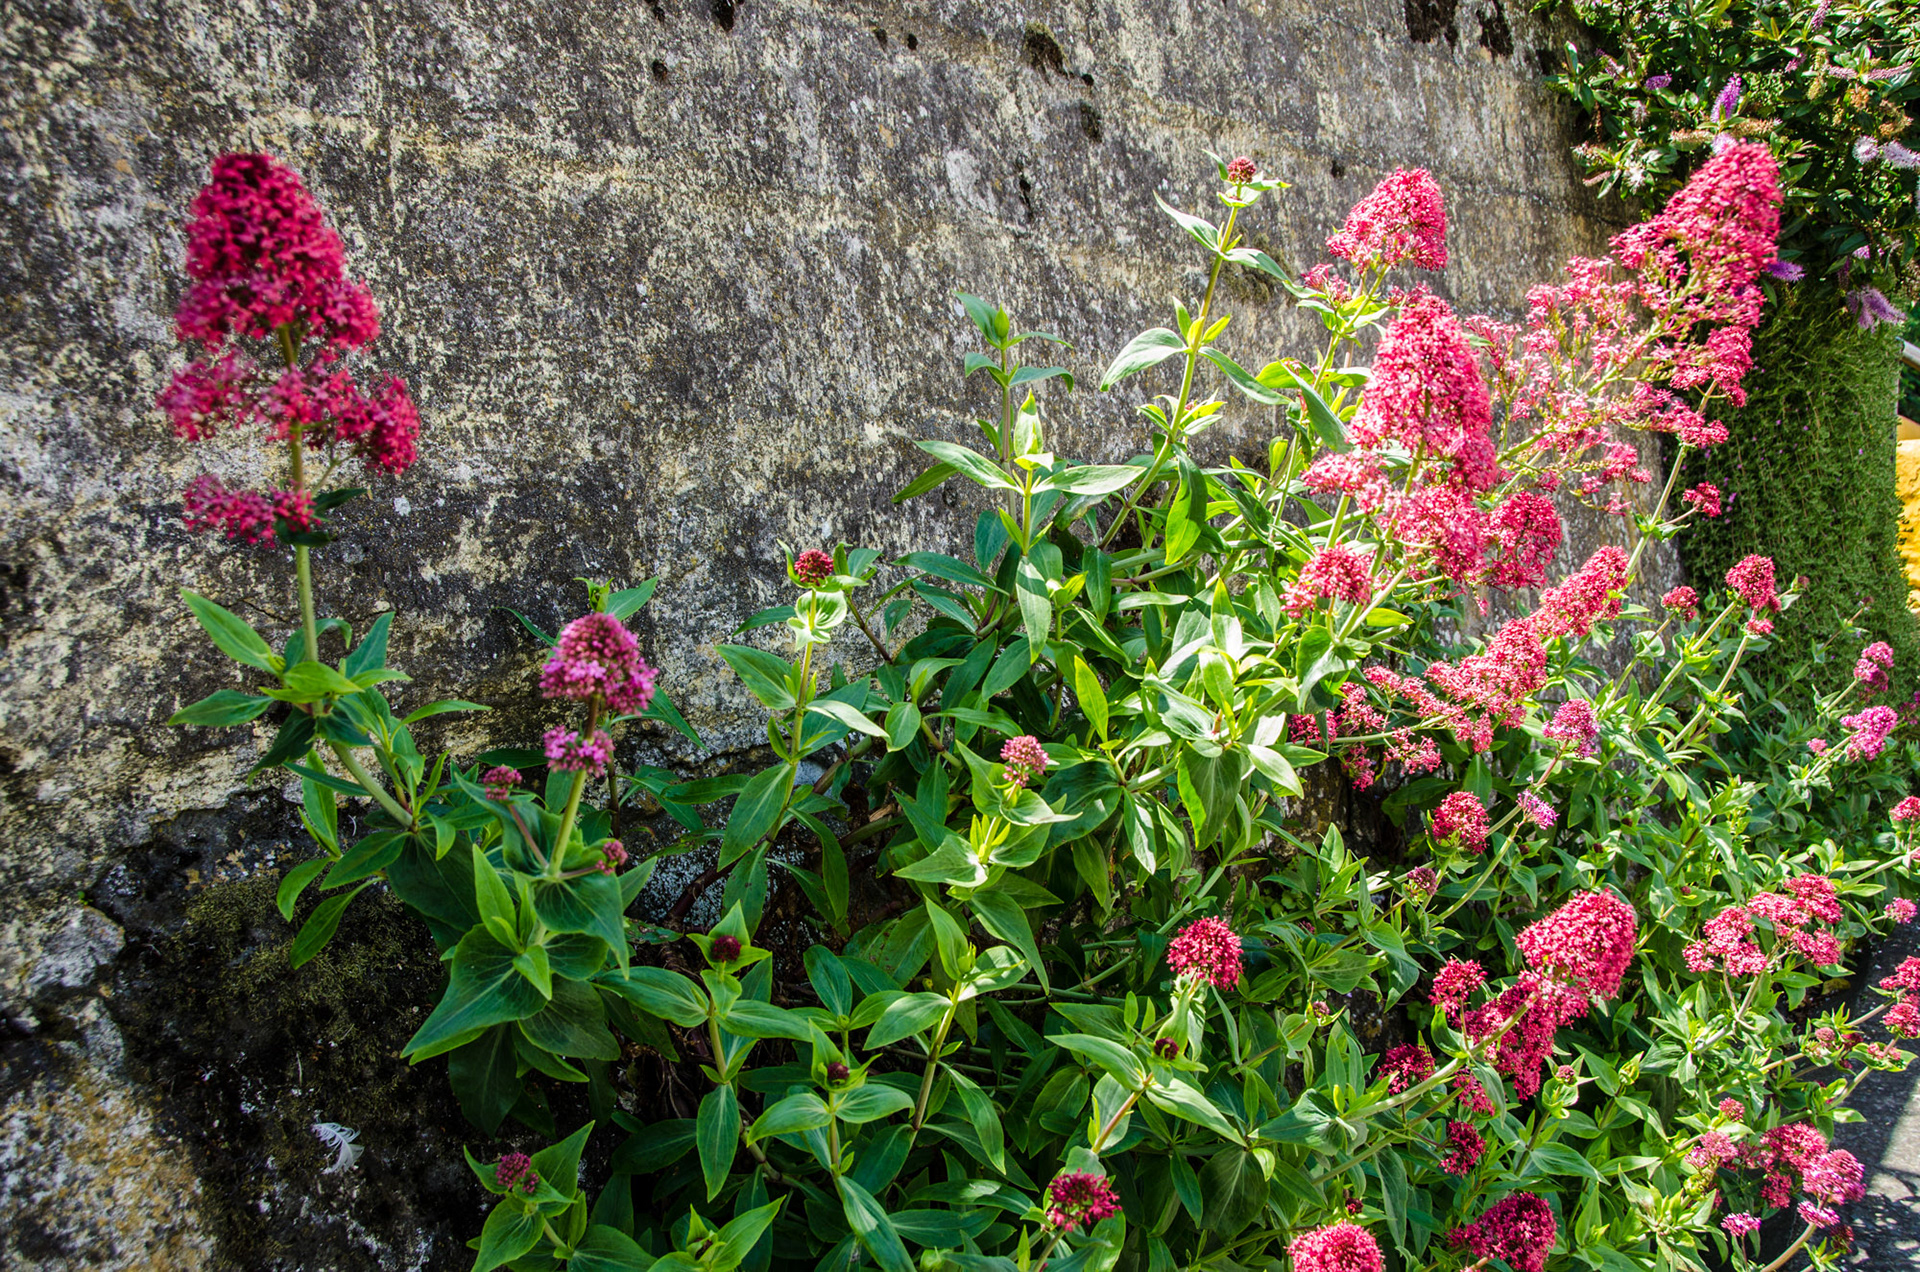
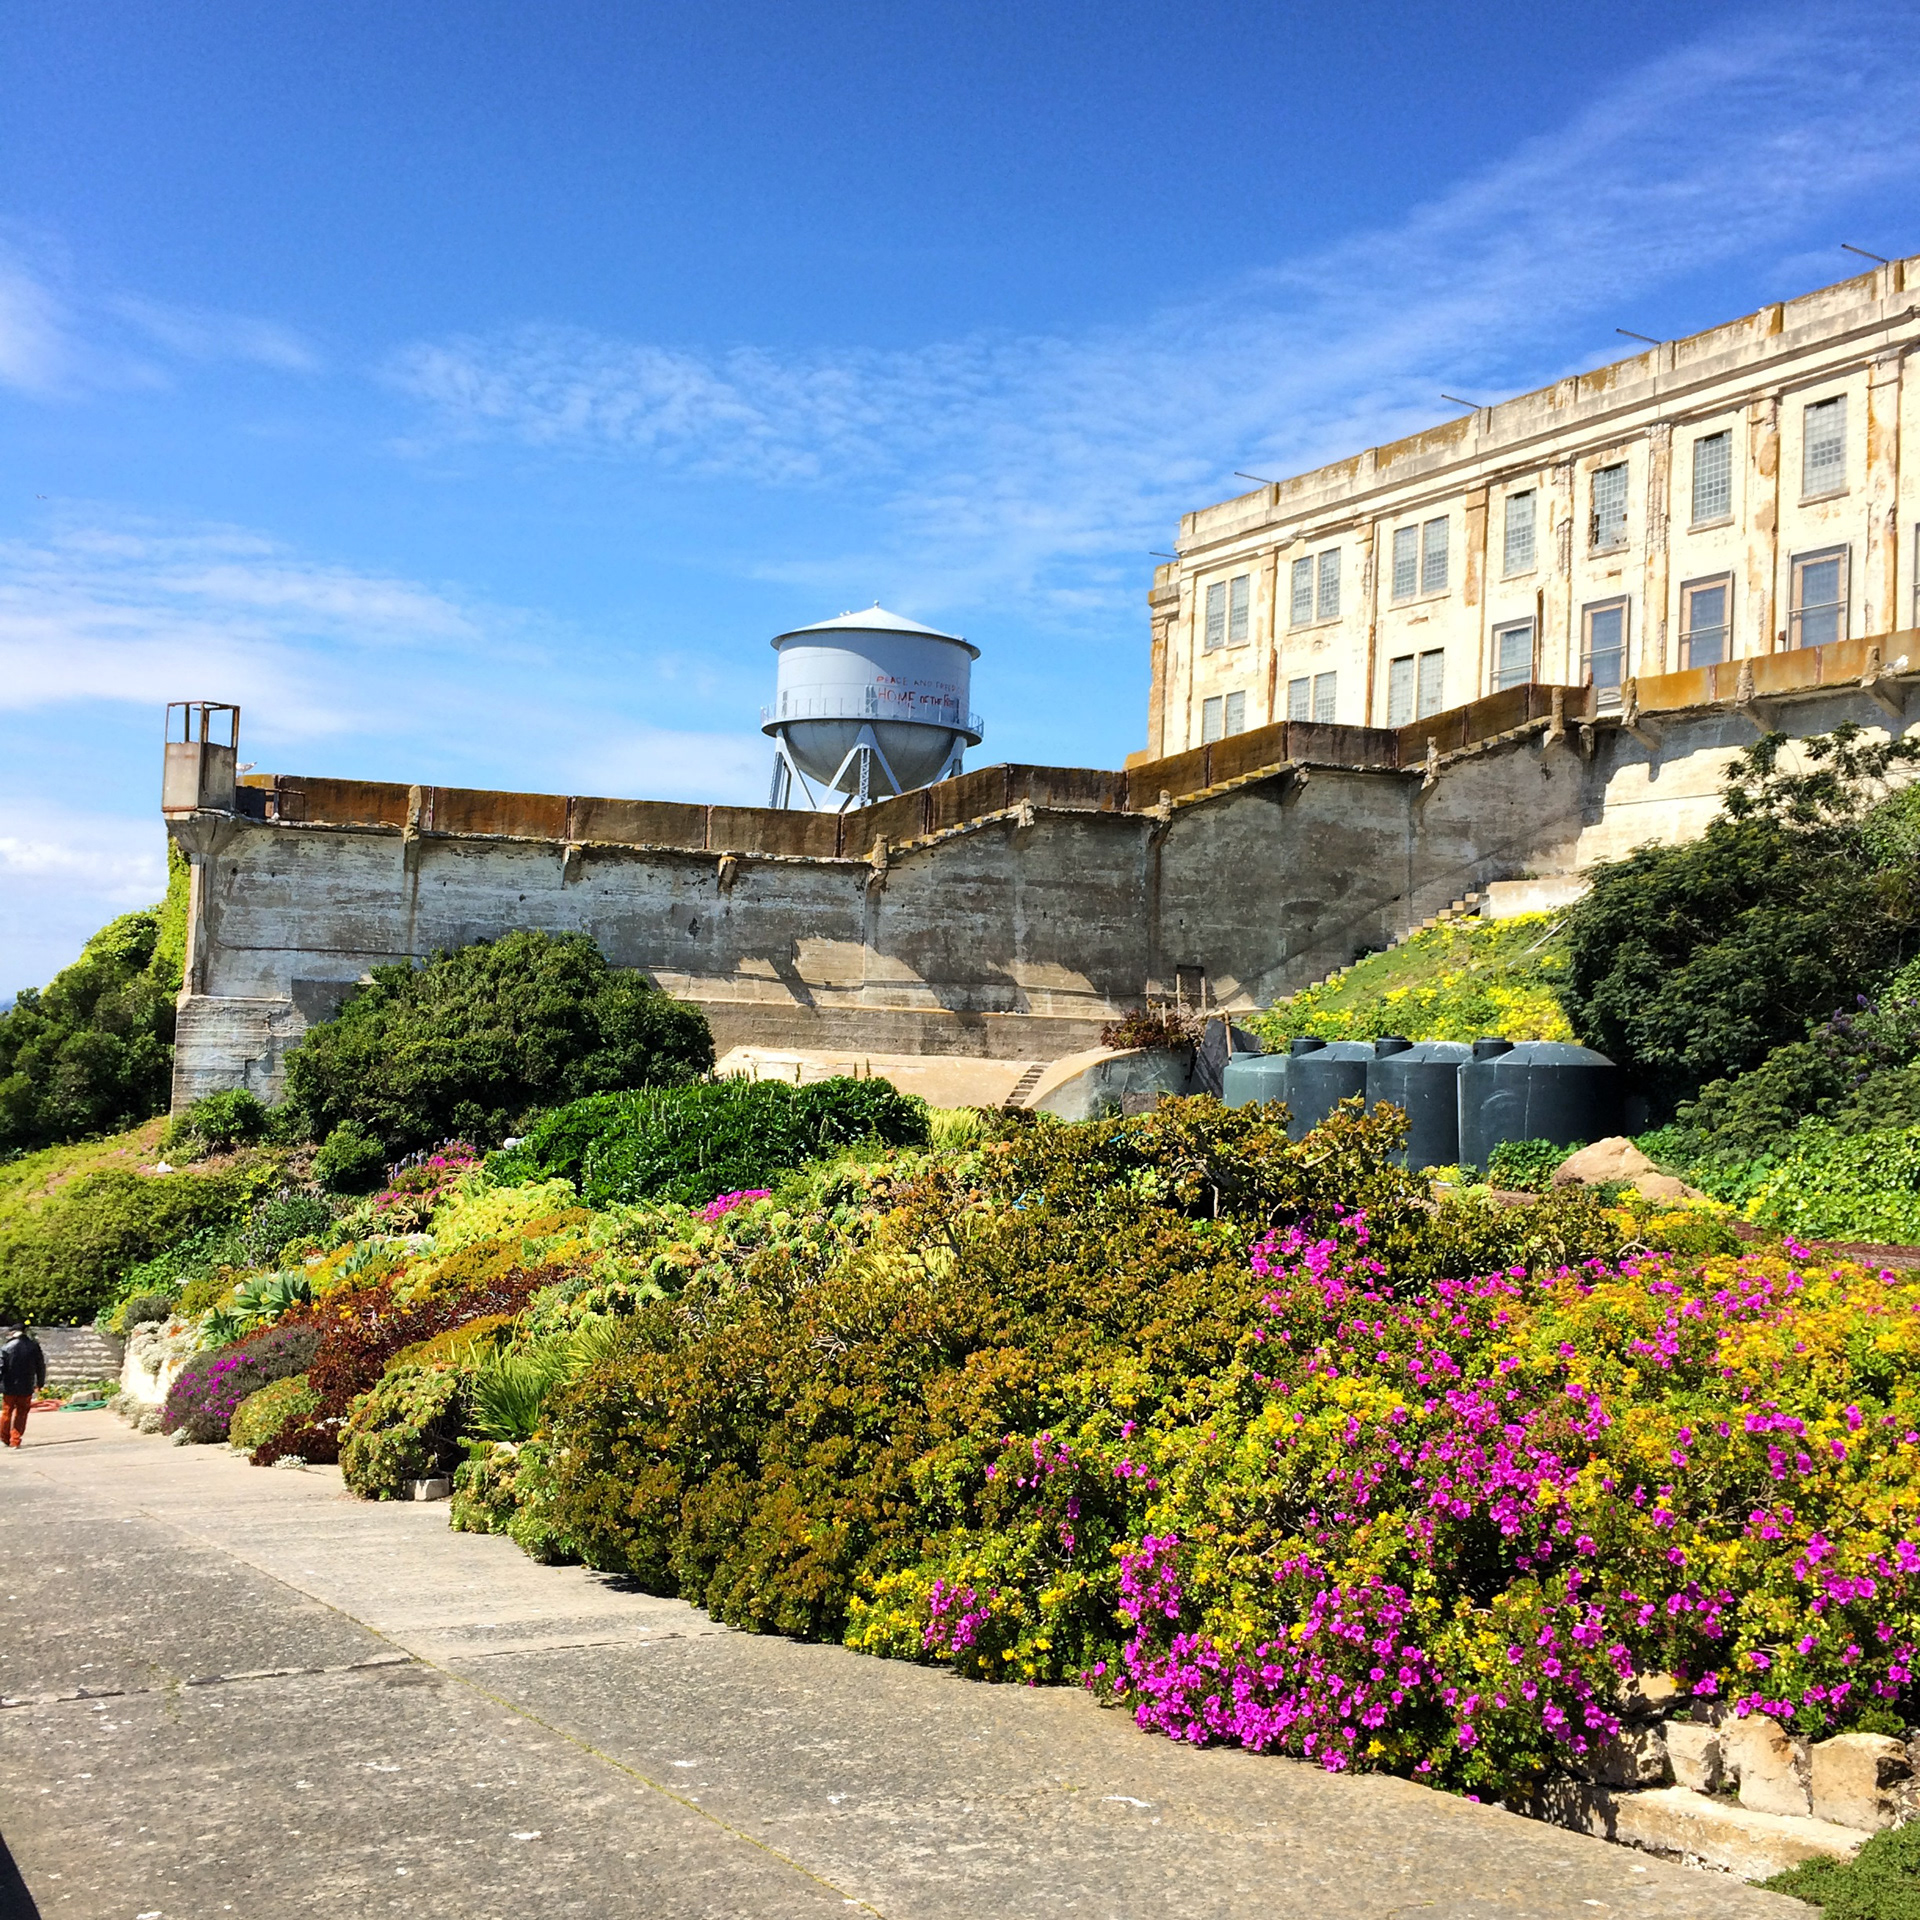
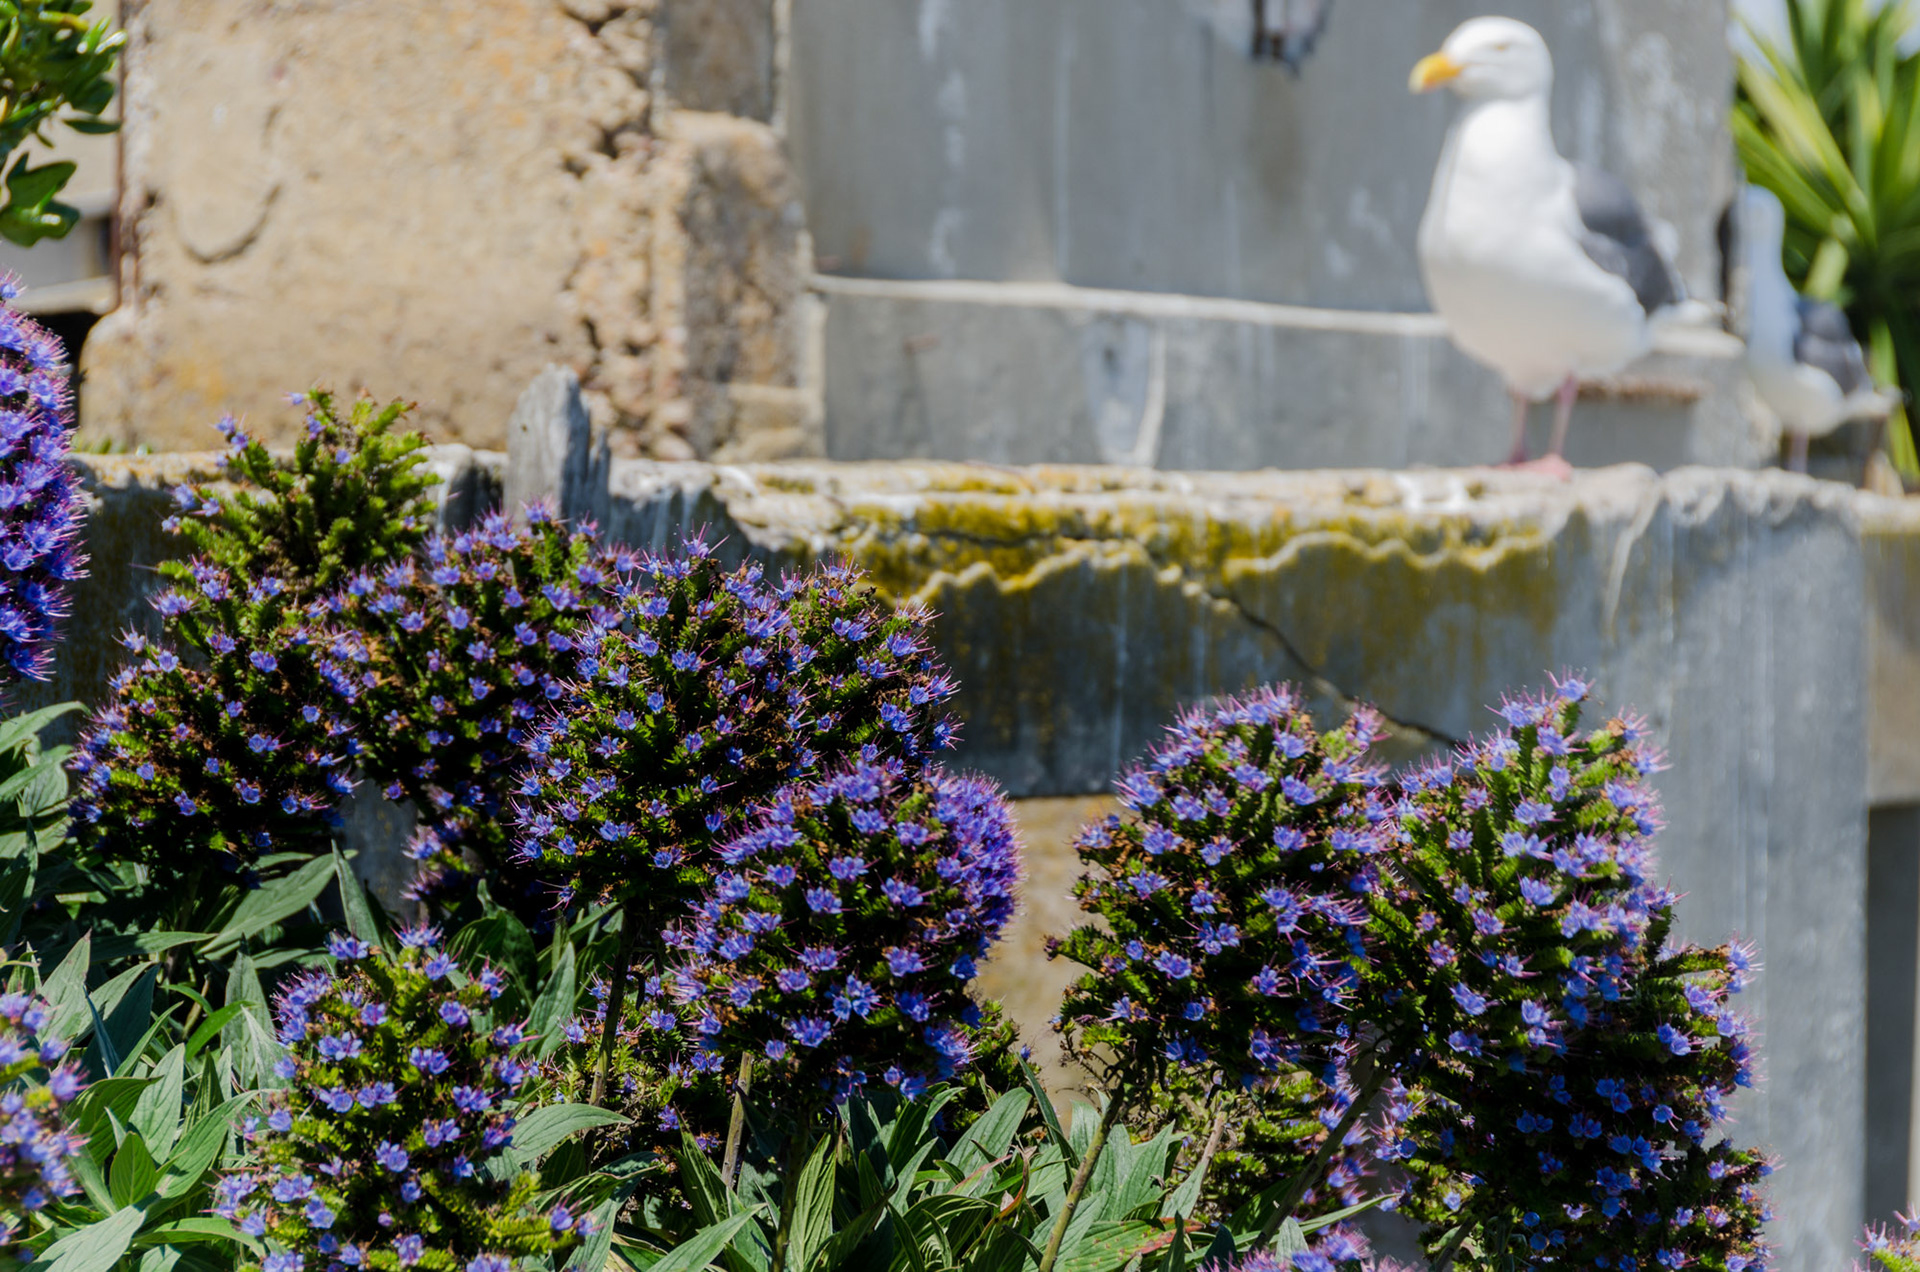
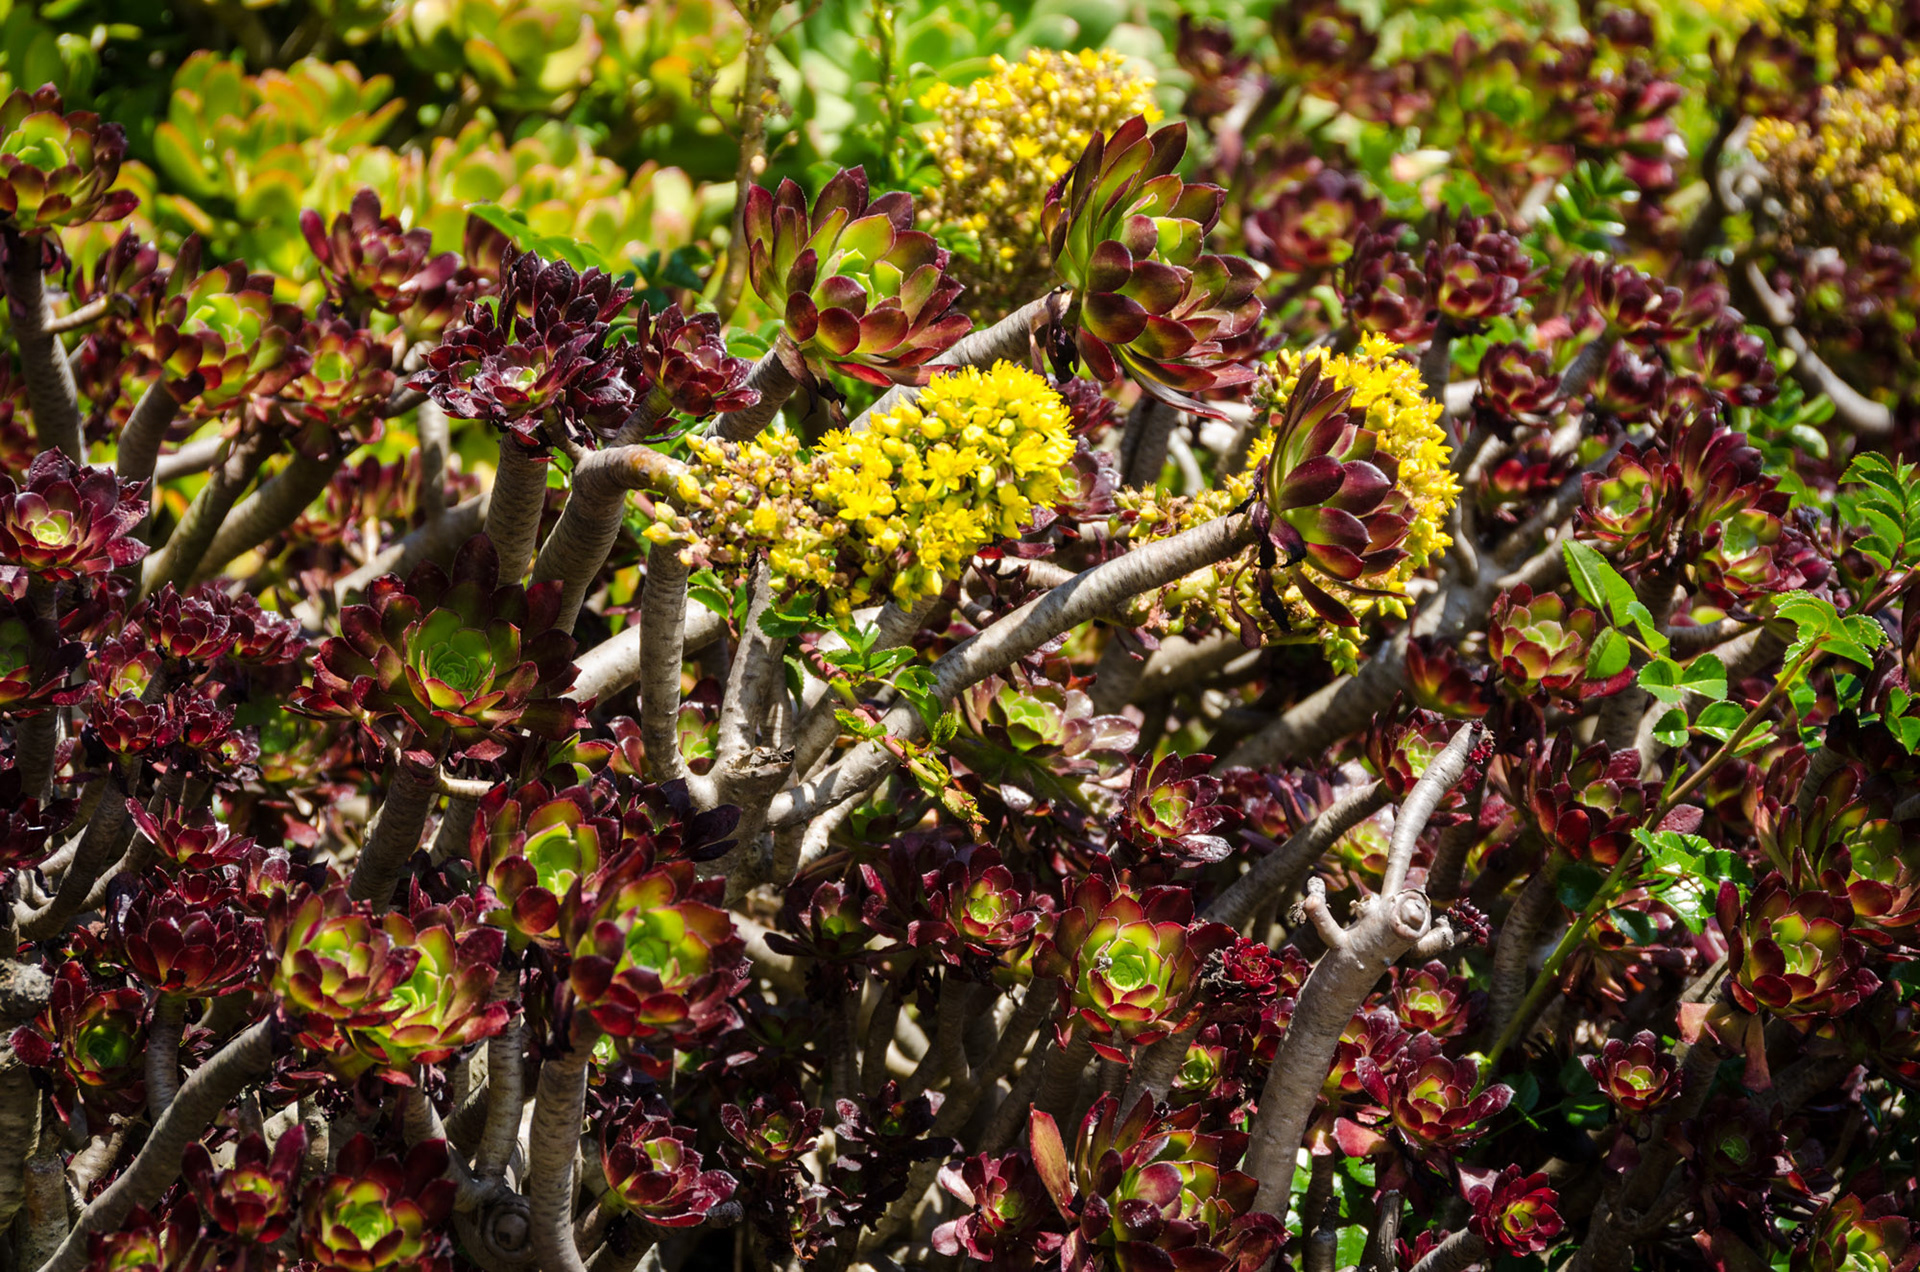
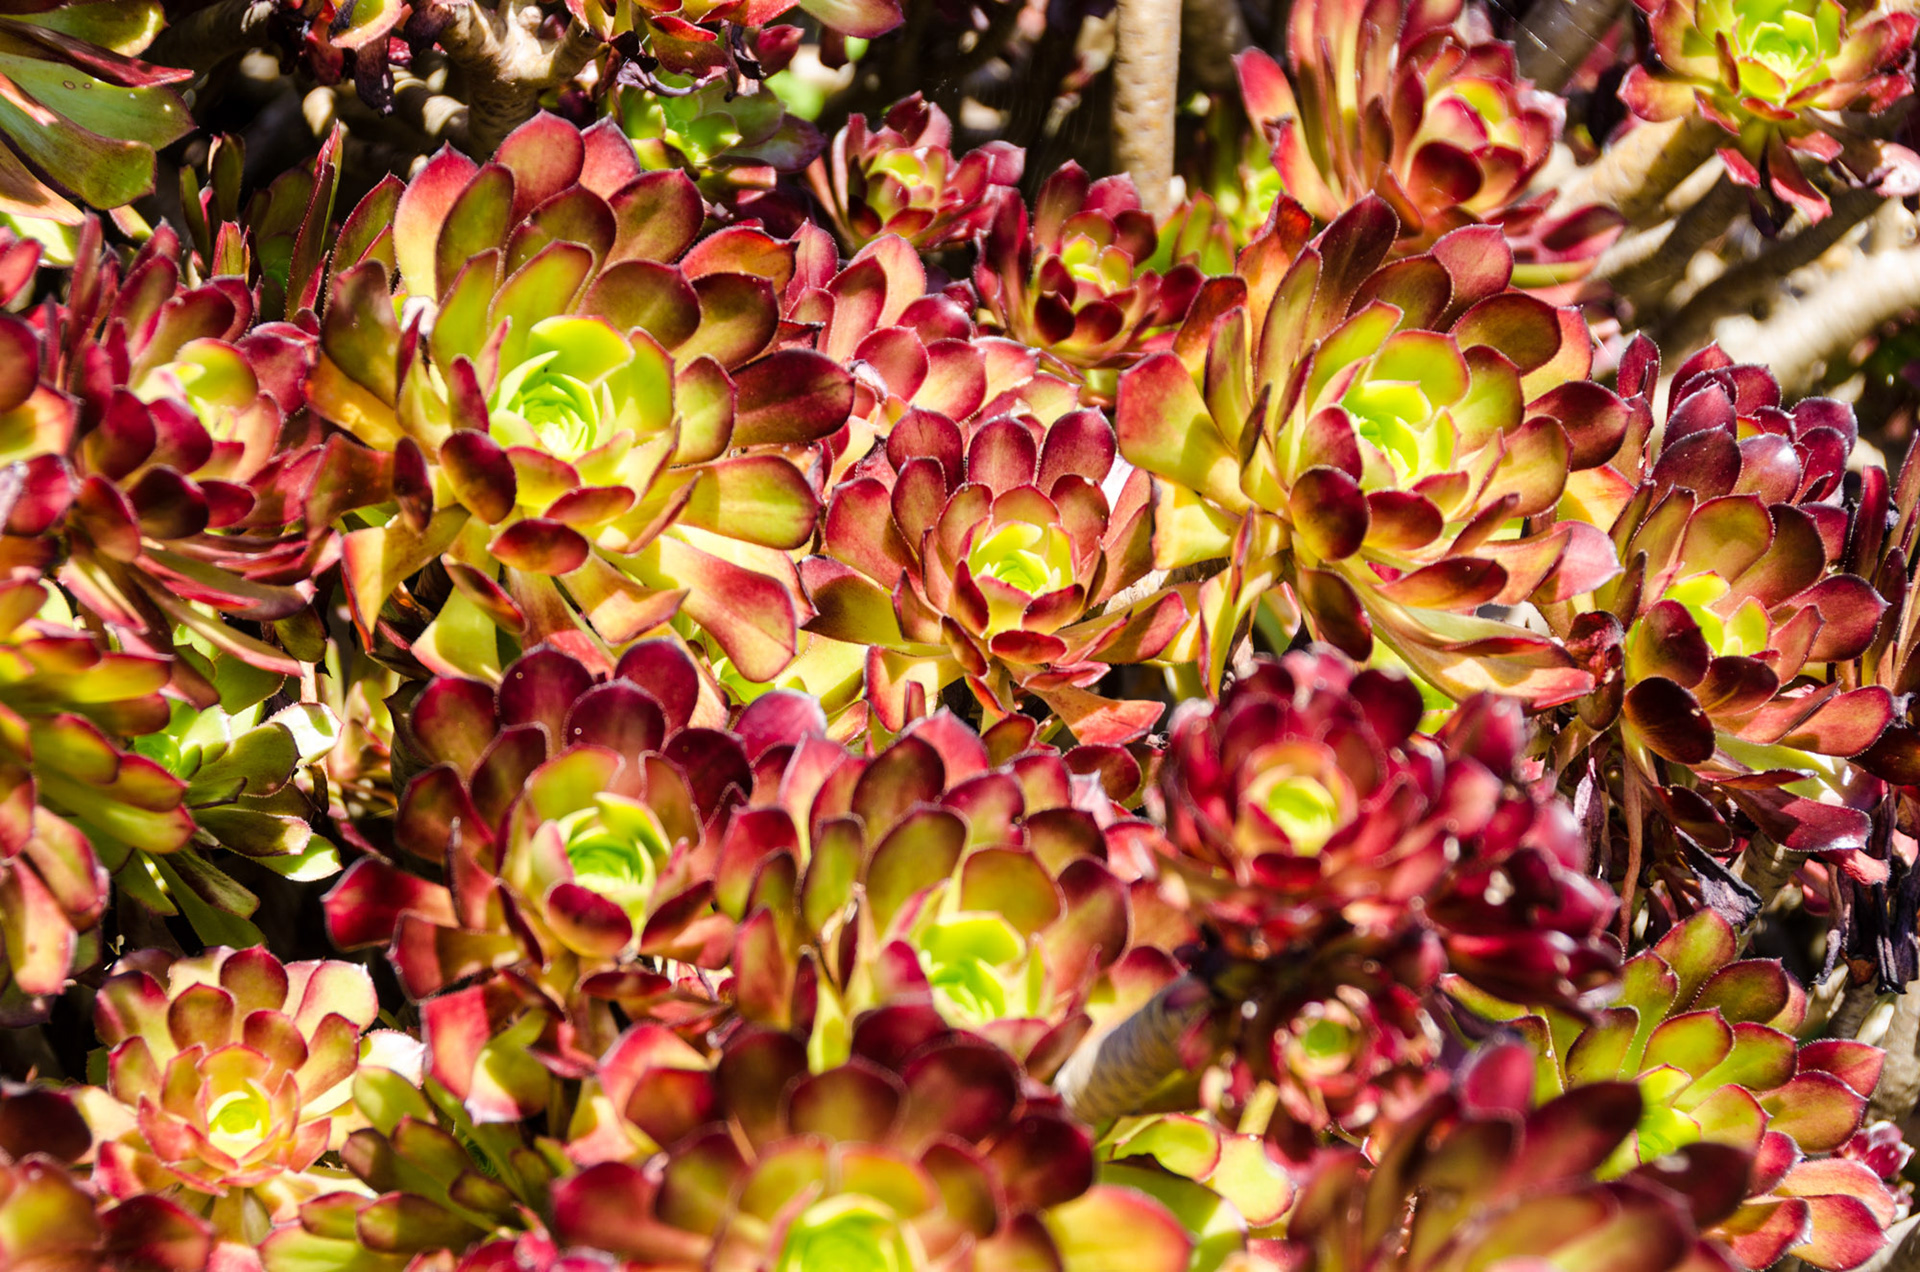
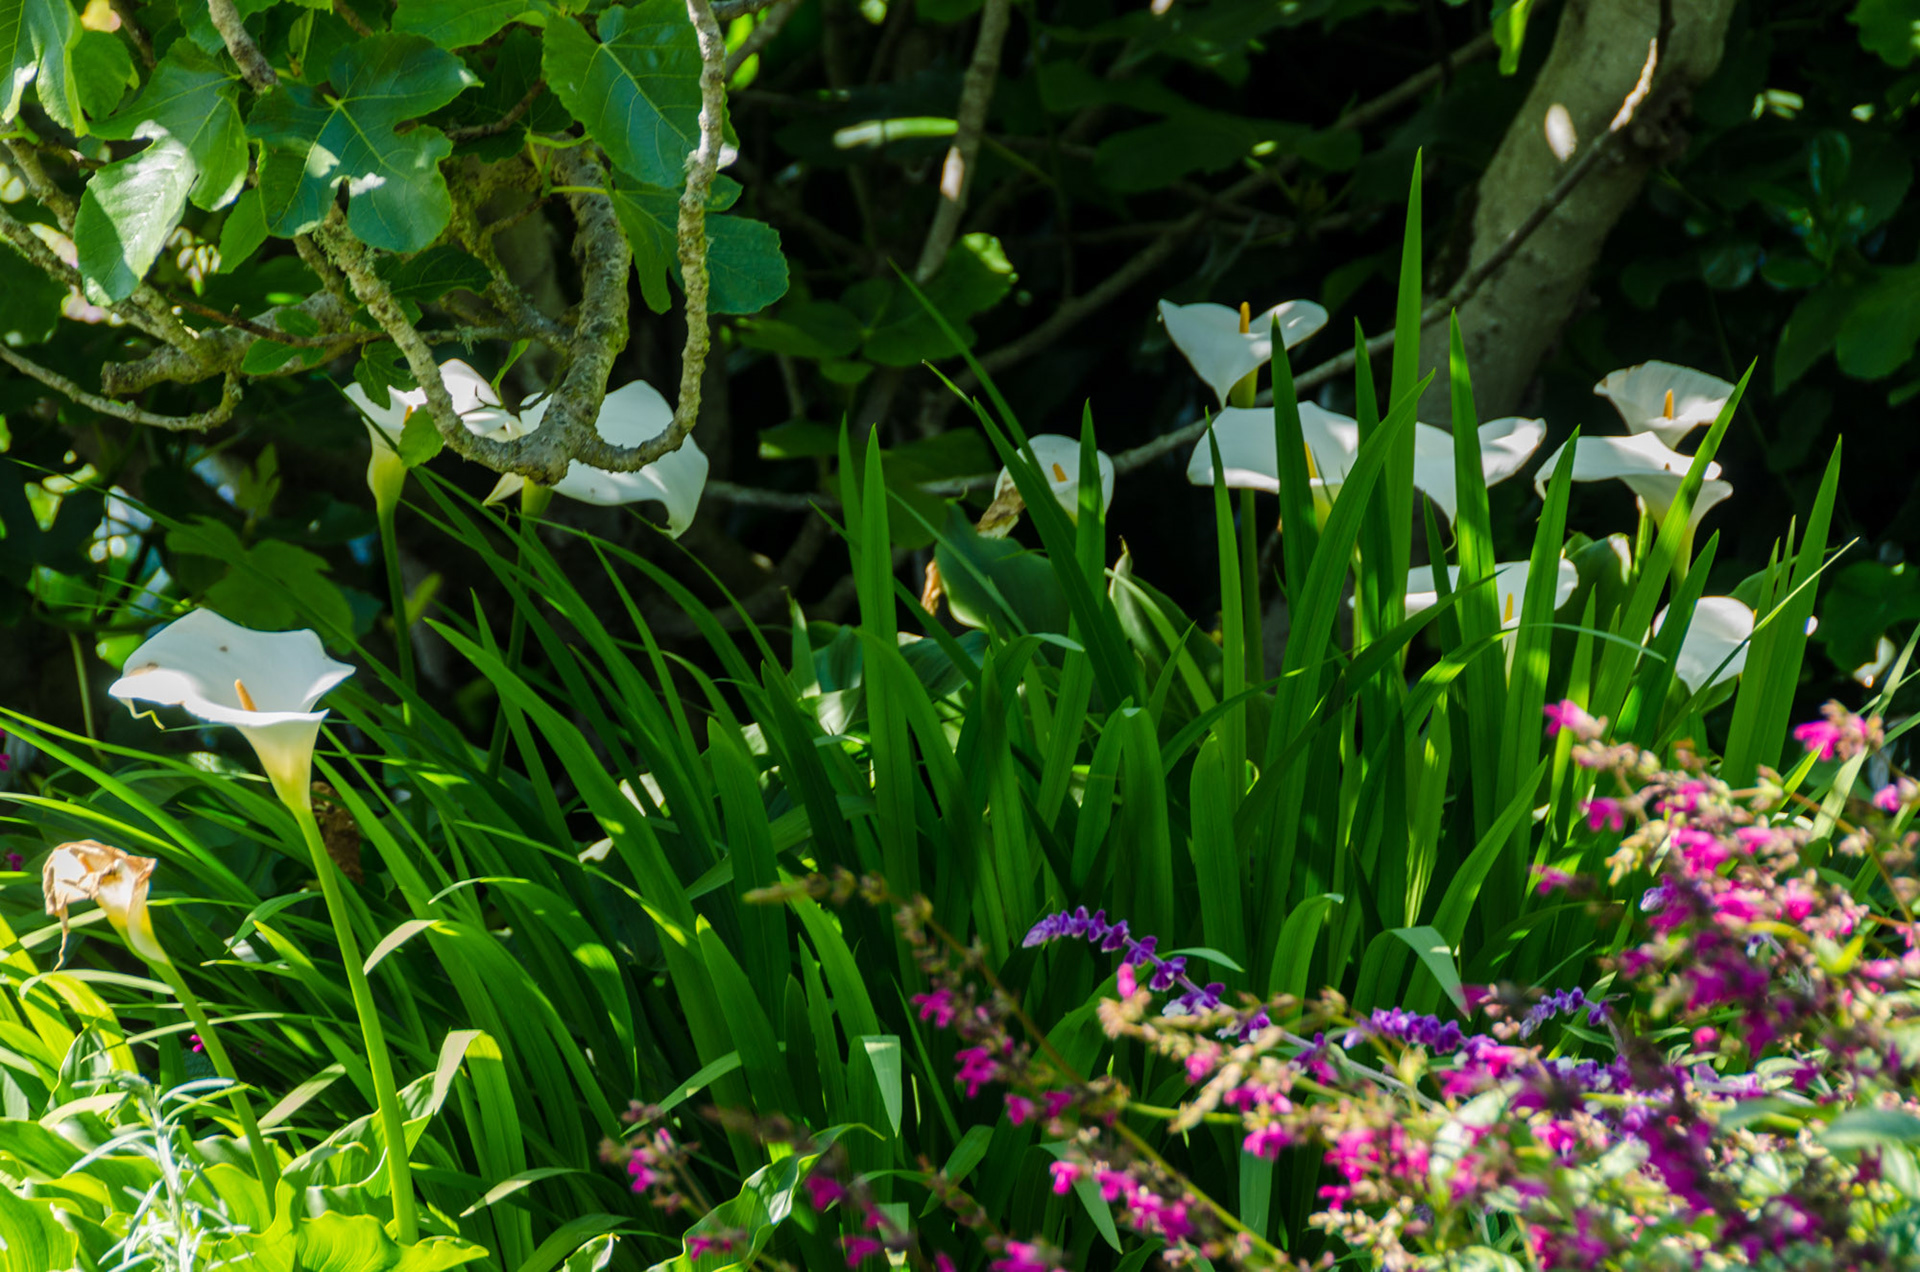
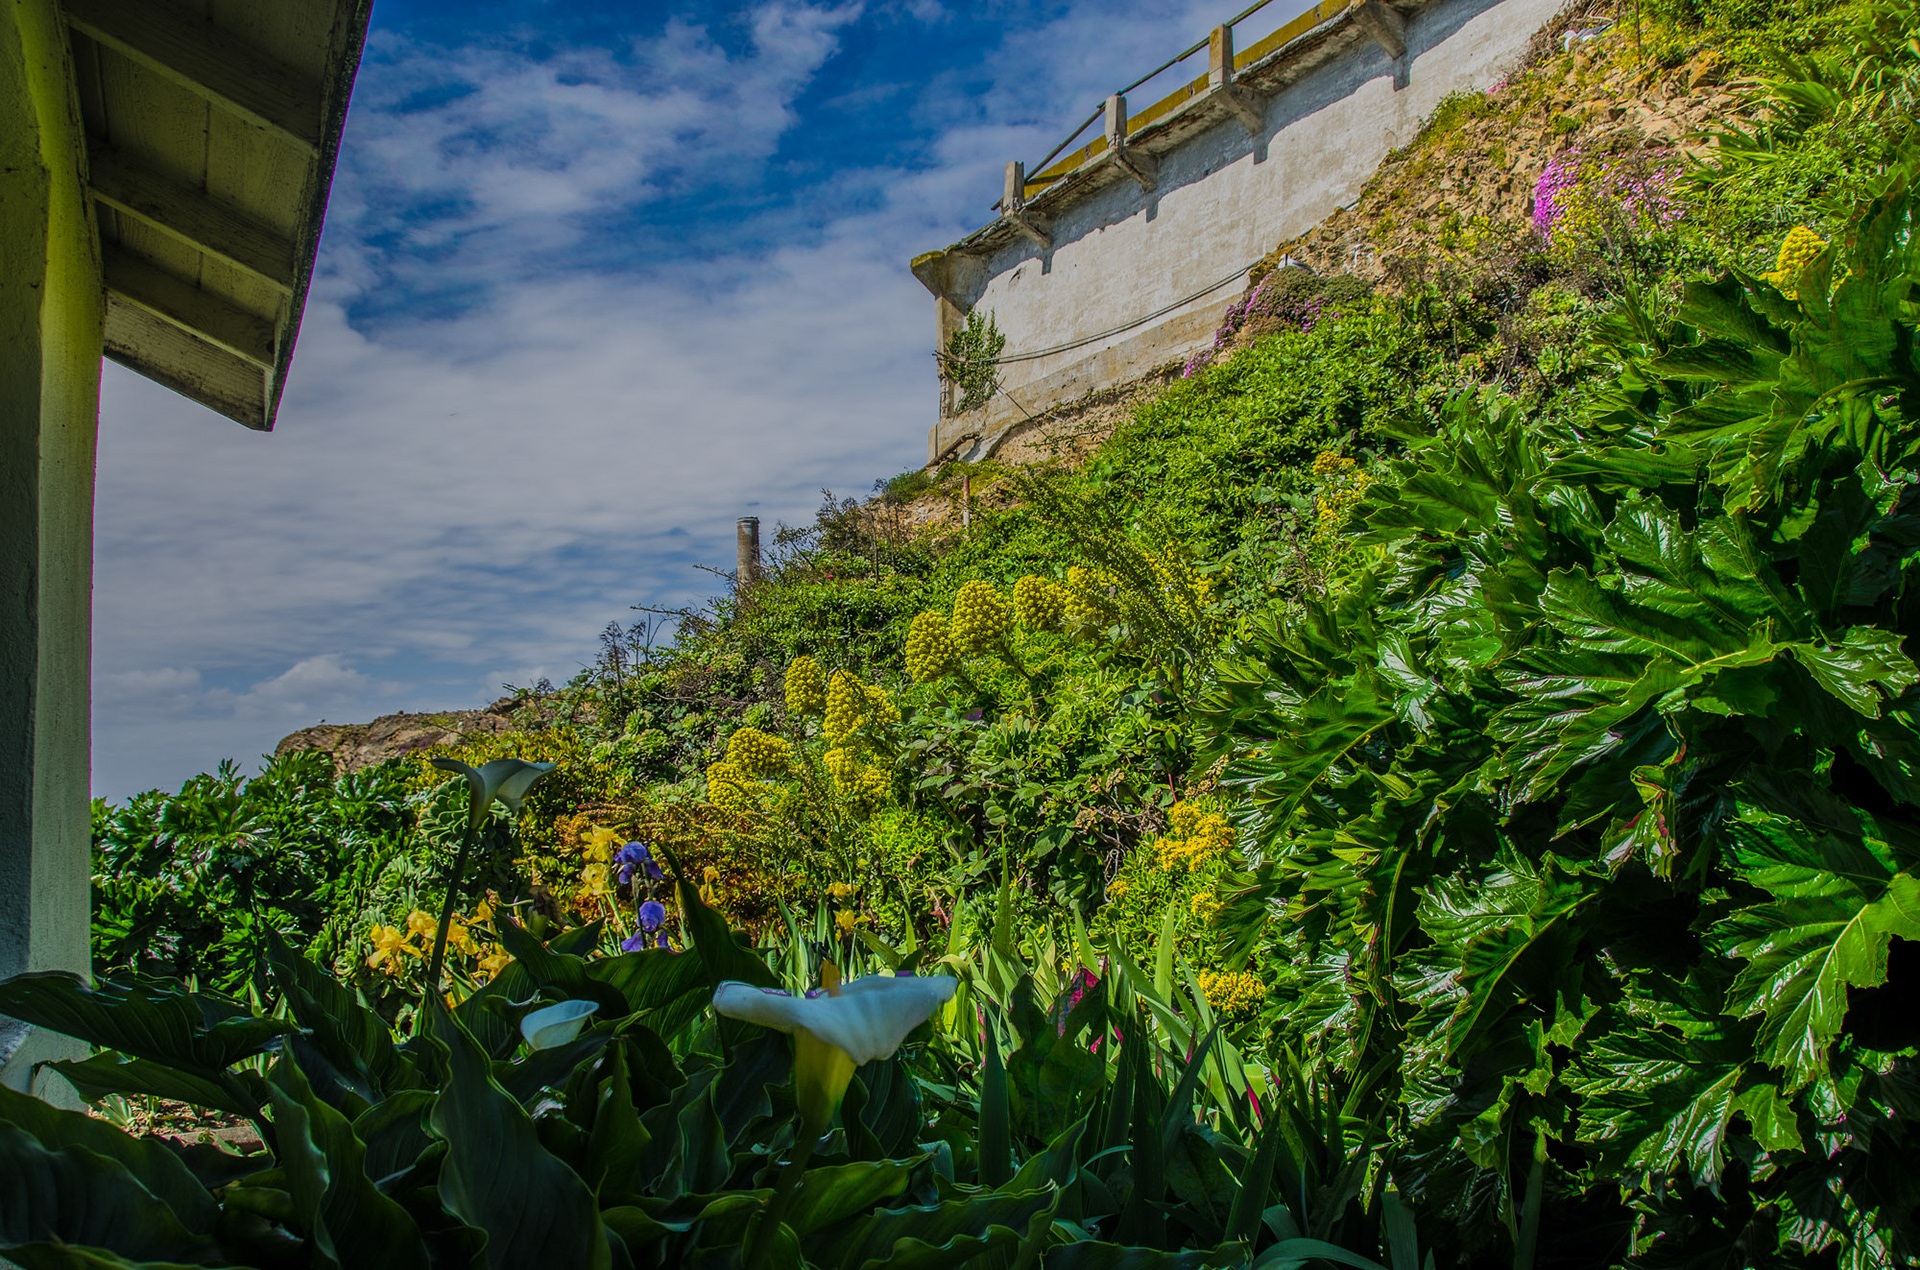
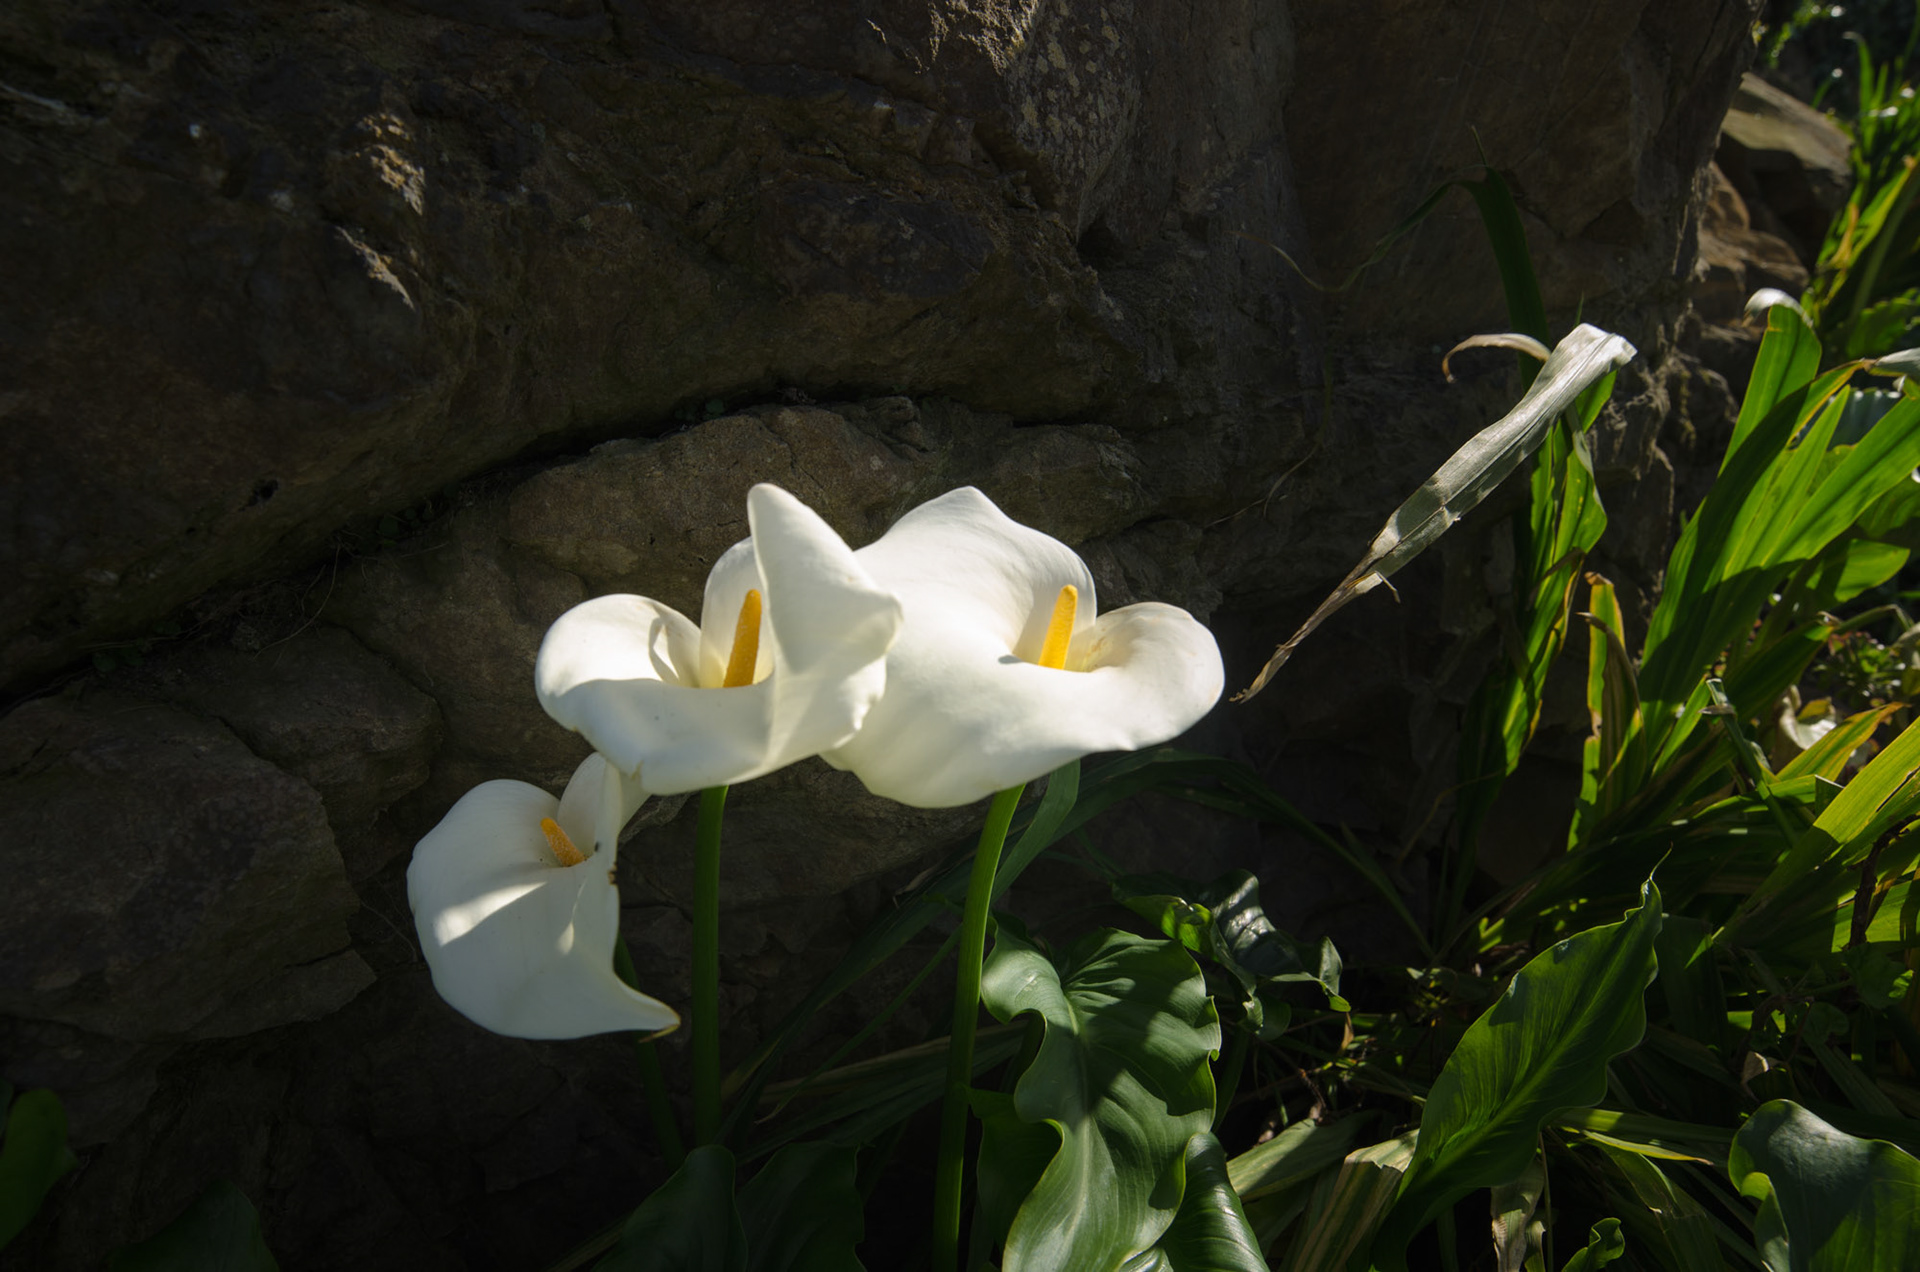
I wanted to play down the colors in this scene, with the exception of flowers in the foreground, so I appllied a Radial filter and drop the clarity and saturation of the area outside the flowers.


A quick grab shot while I ws in line to pick up my audio tour headset, the shot suffered from camera shake. Pulling the shot into Photoshop and applying the Shake Reduction filter made the image usable, though not perfect. The dpeth of field was so shallow, that I think the filter had some trouble working with the image, but that's just my opinion.
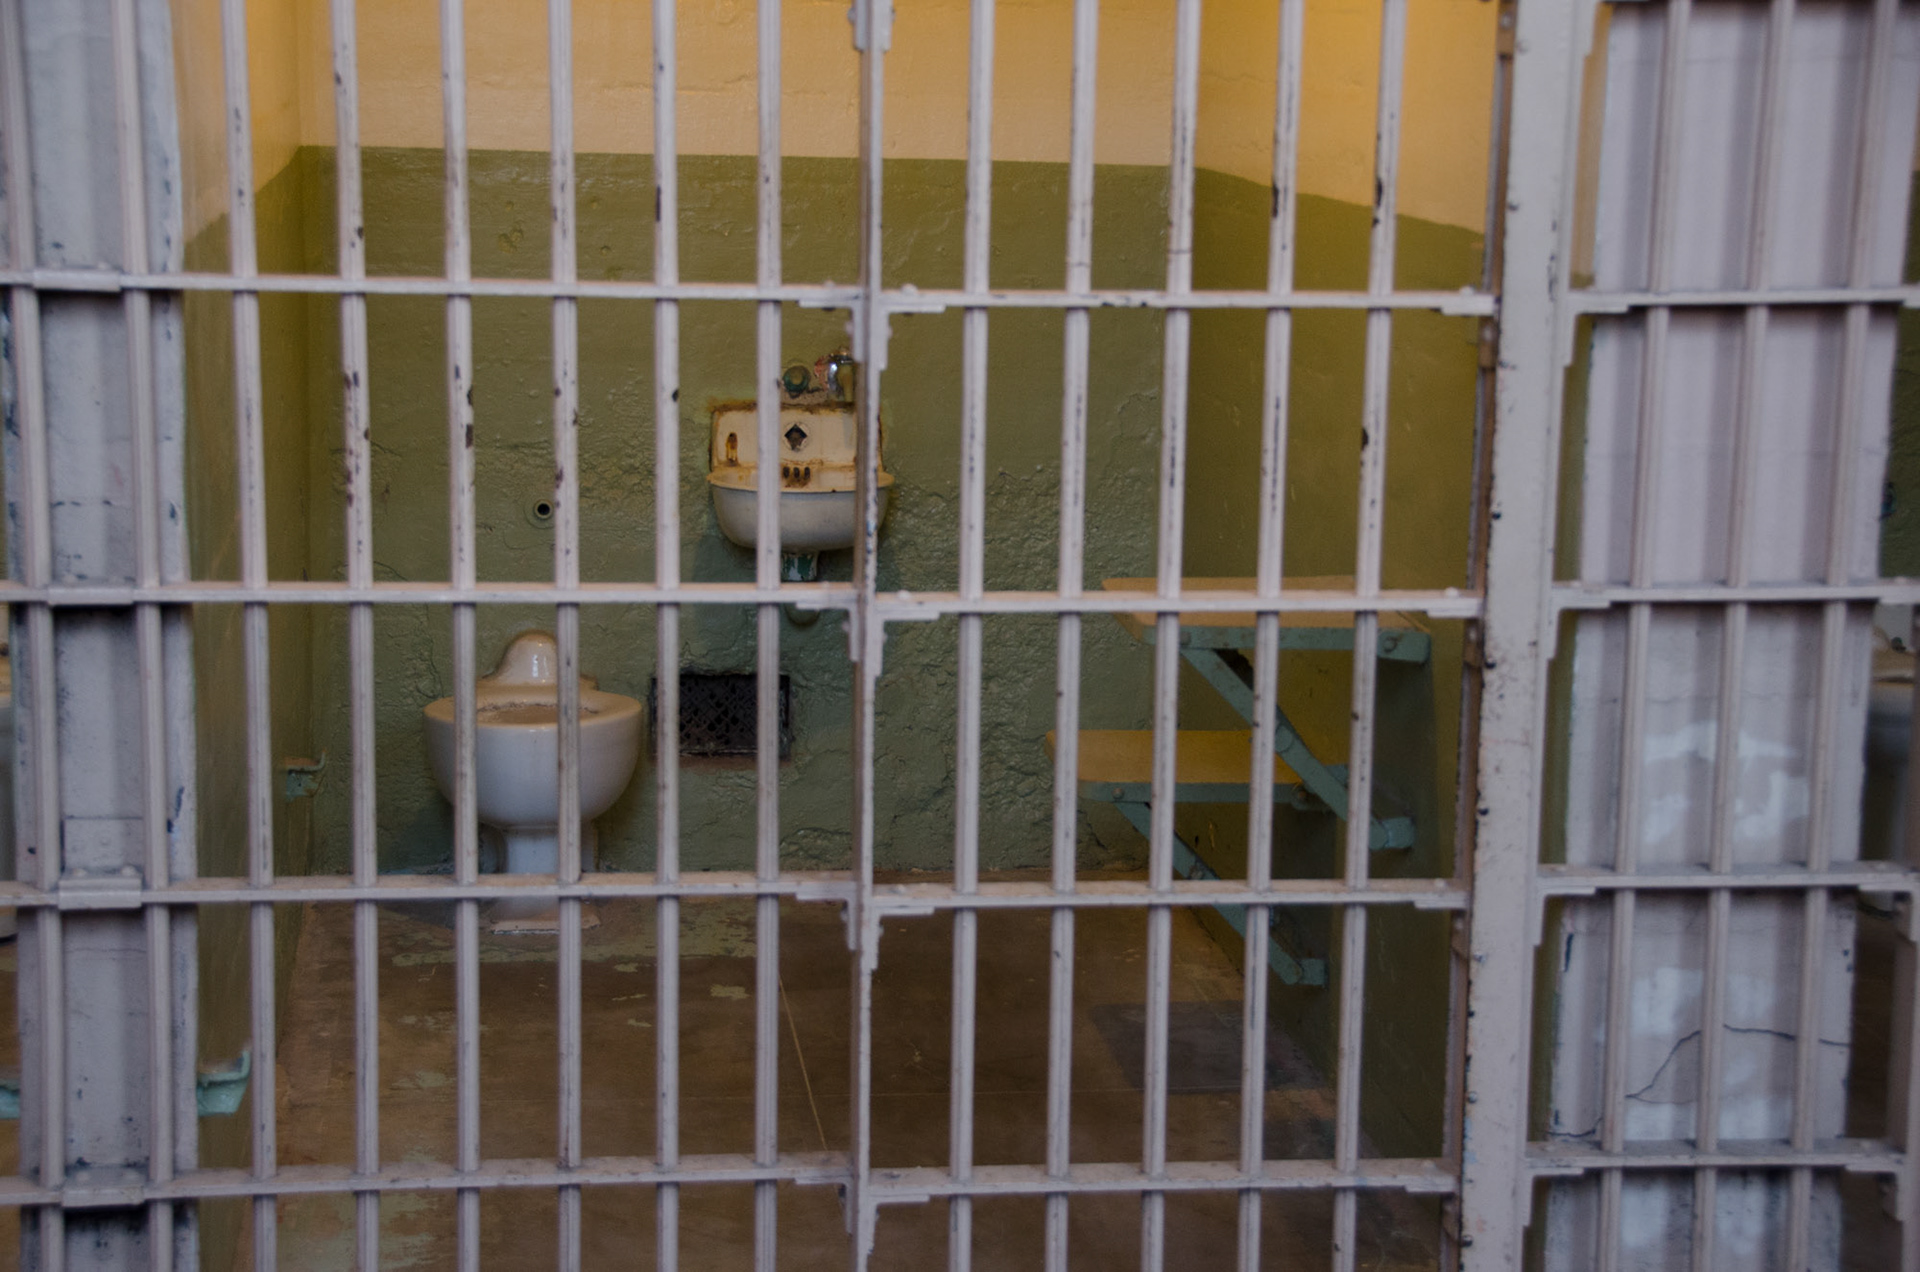


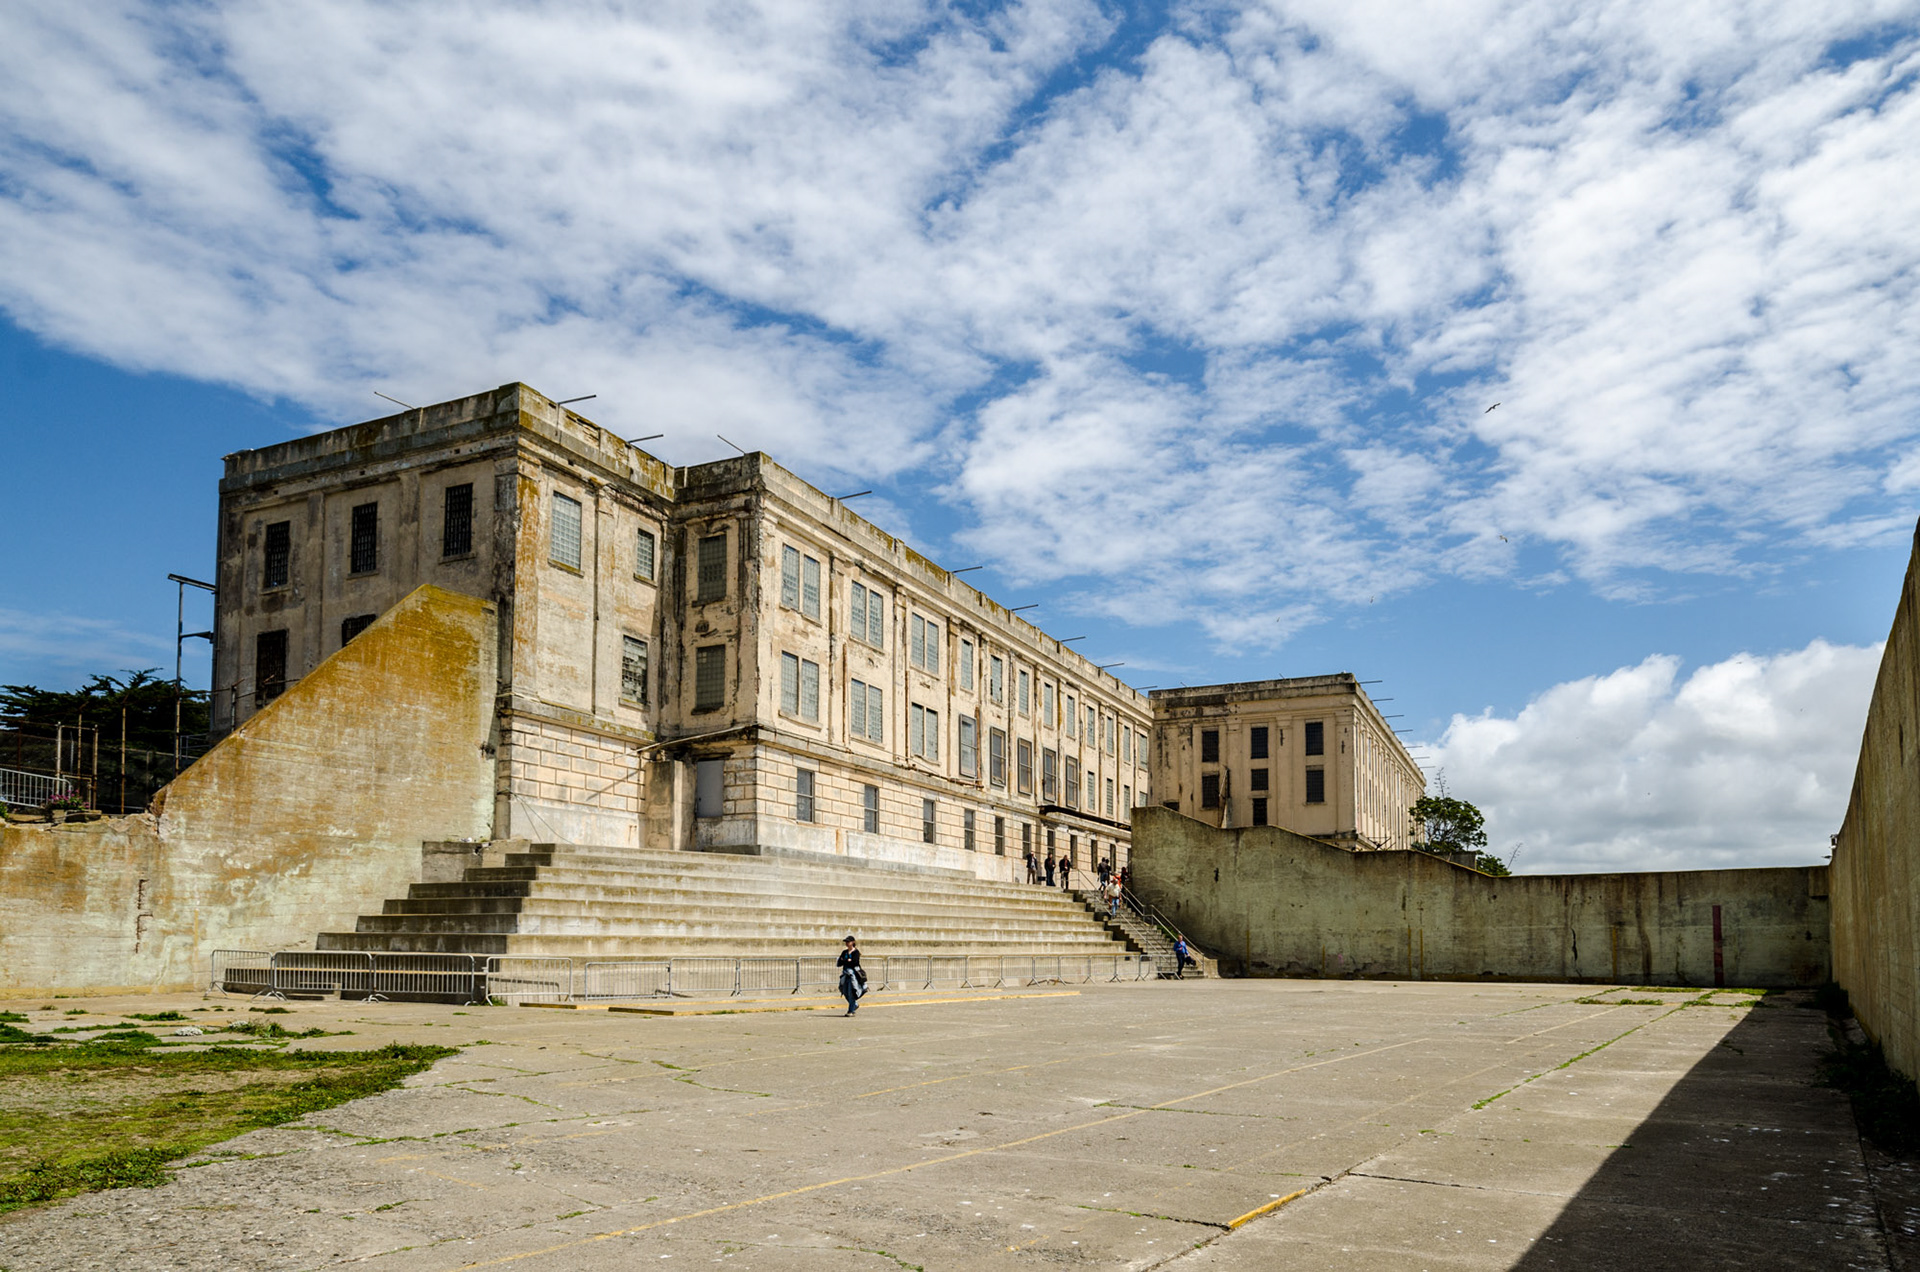


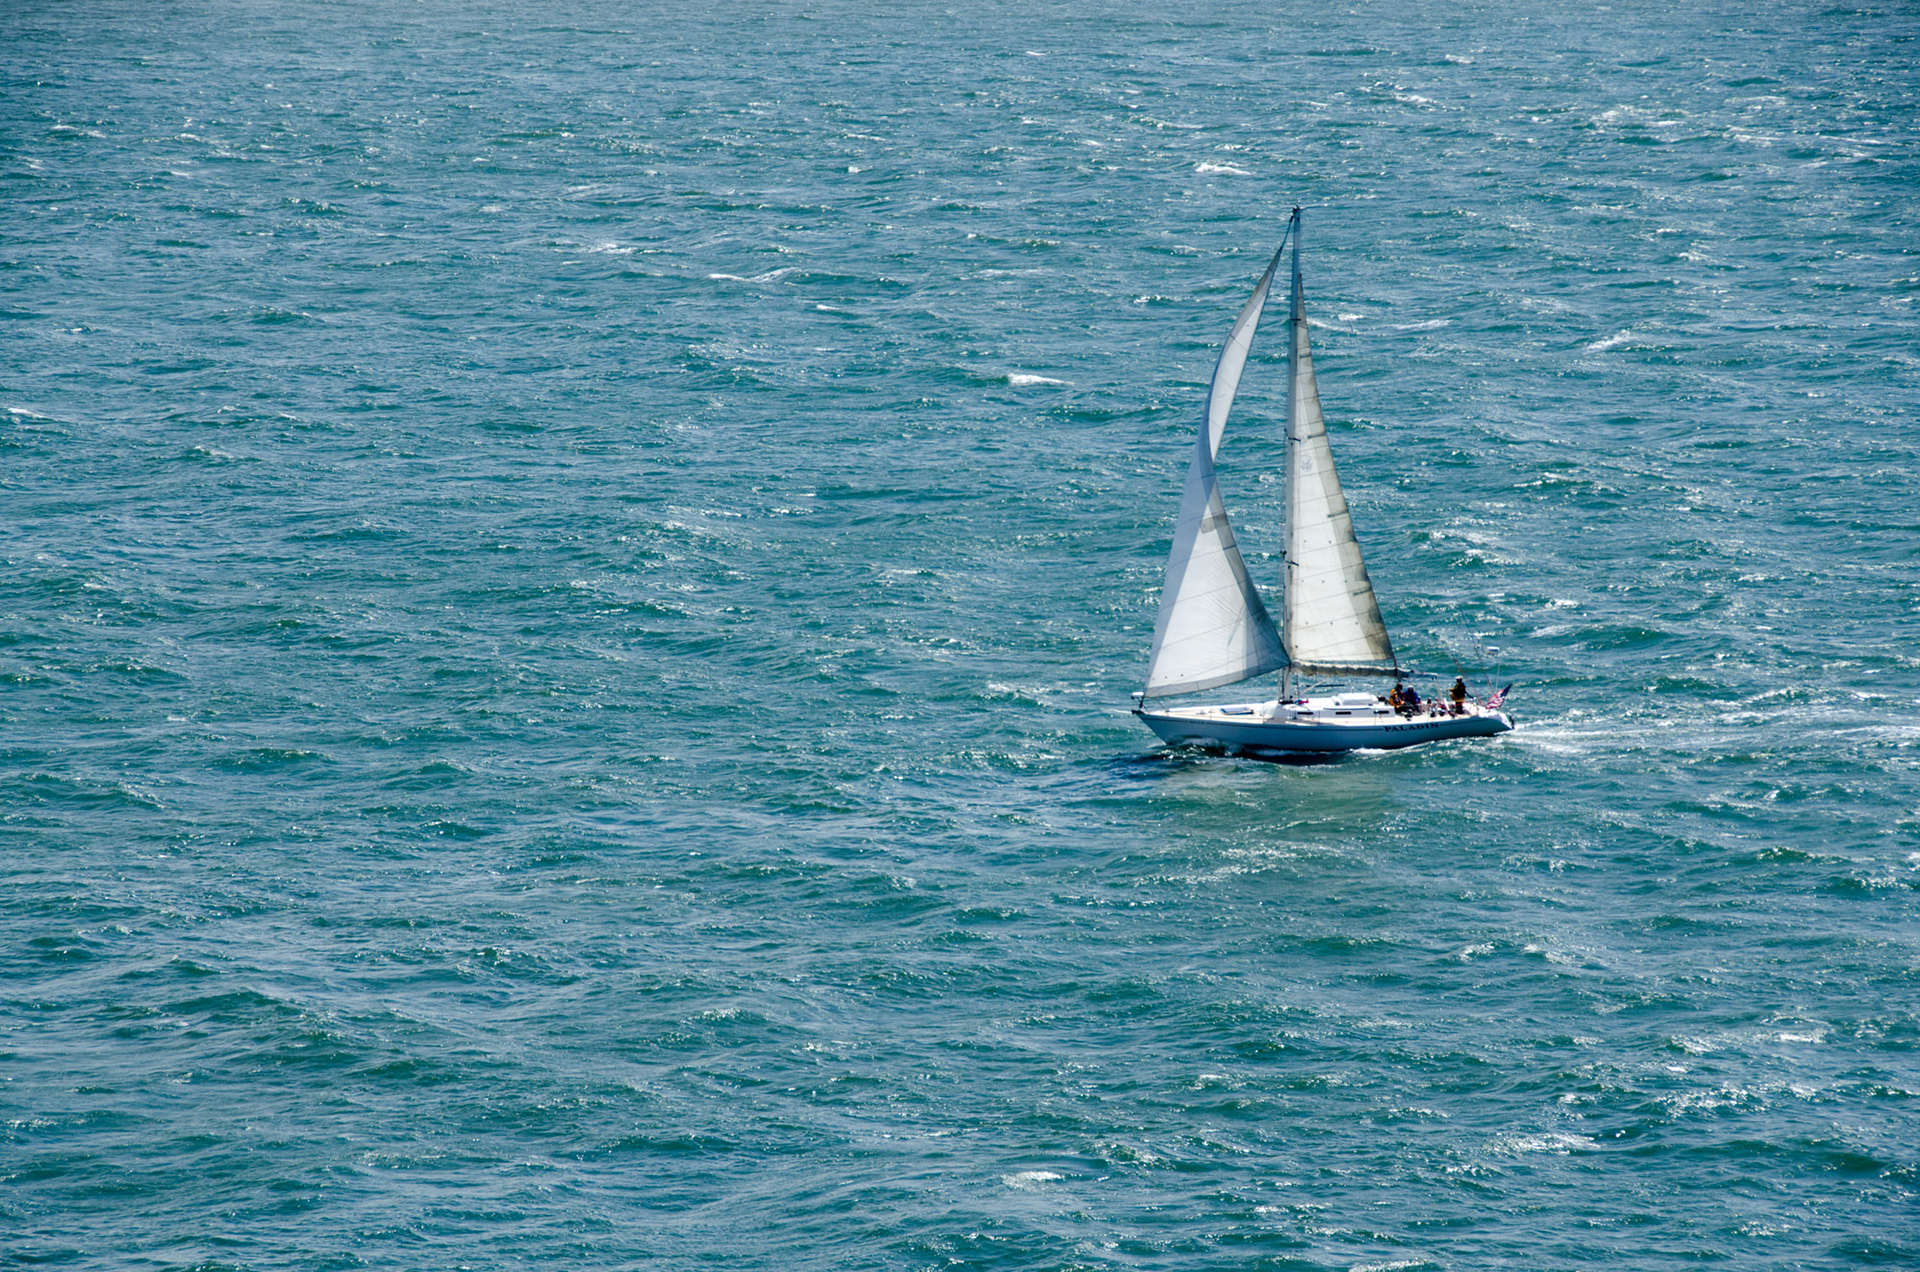


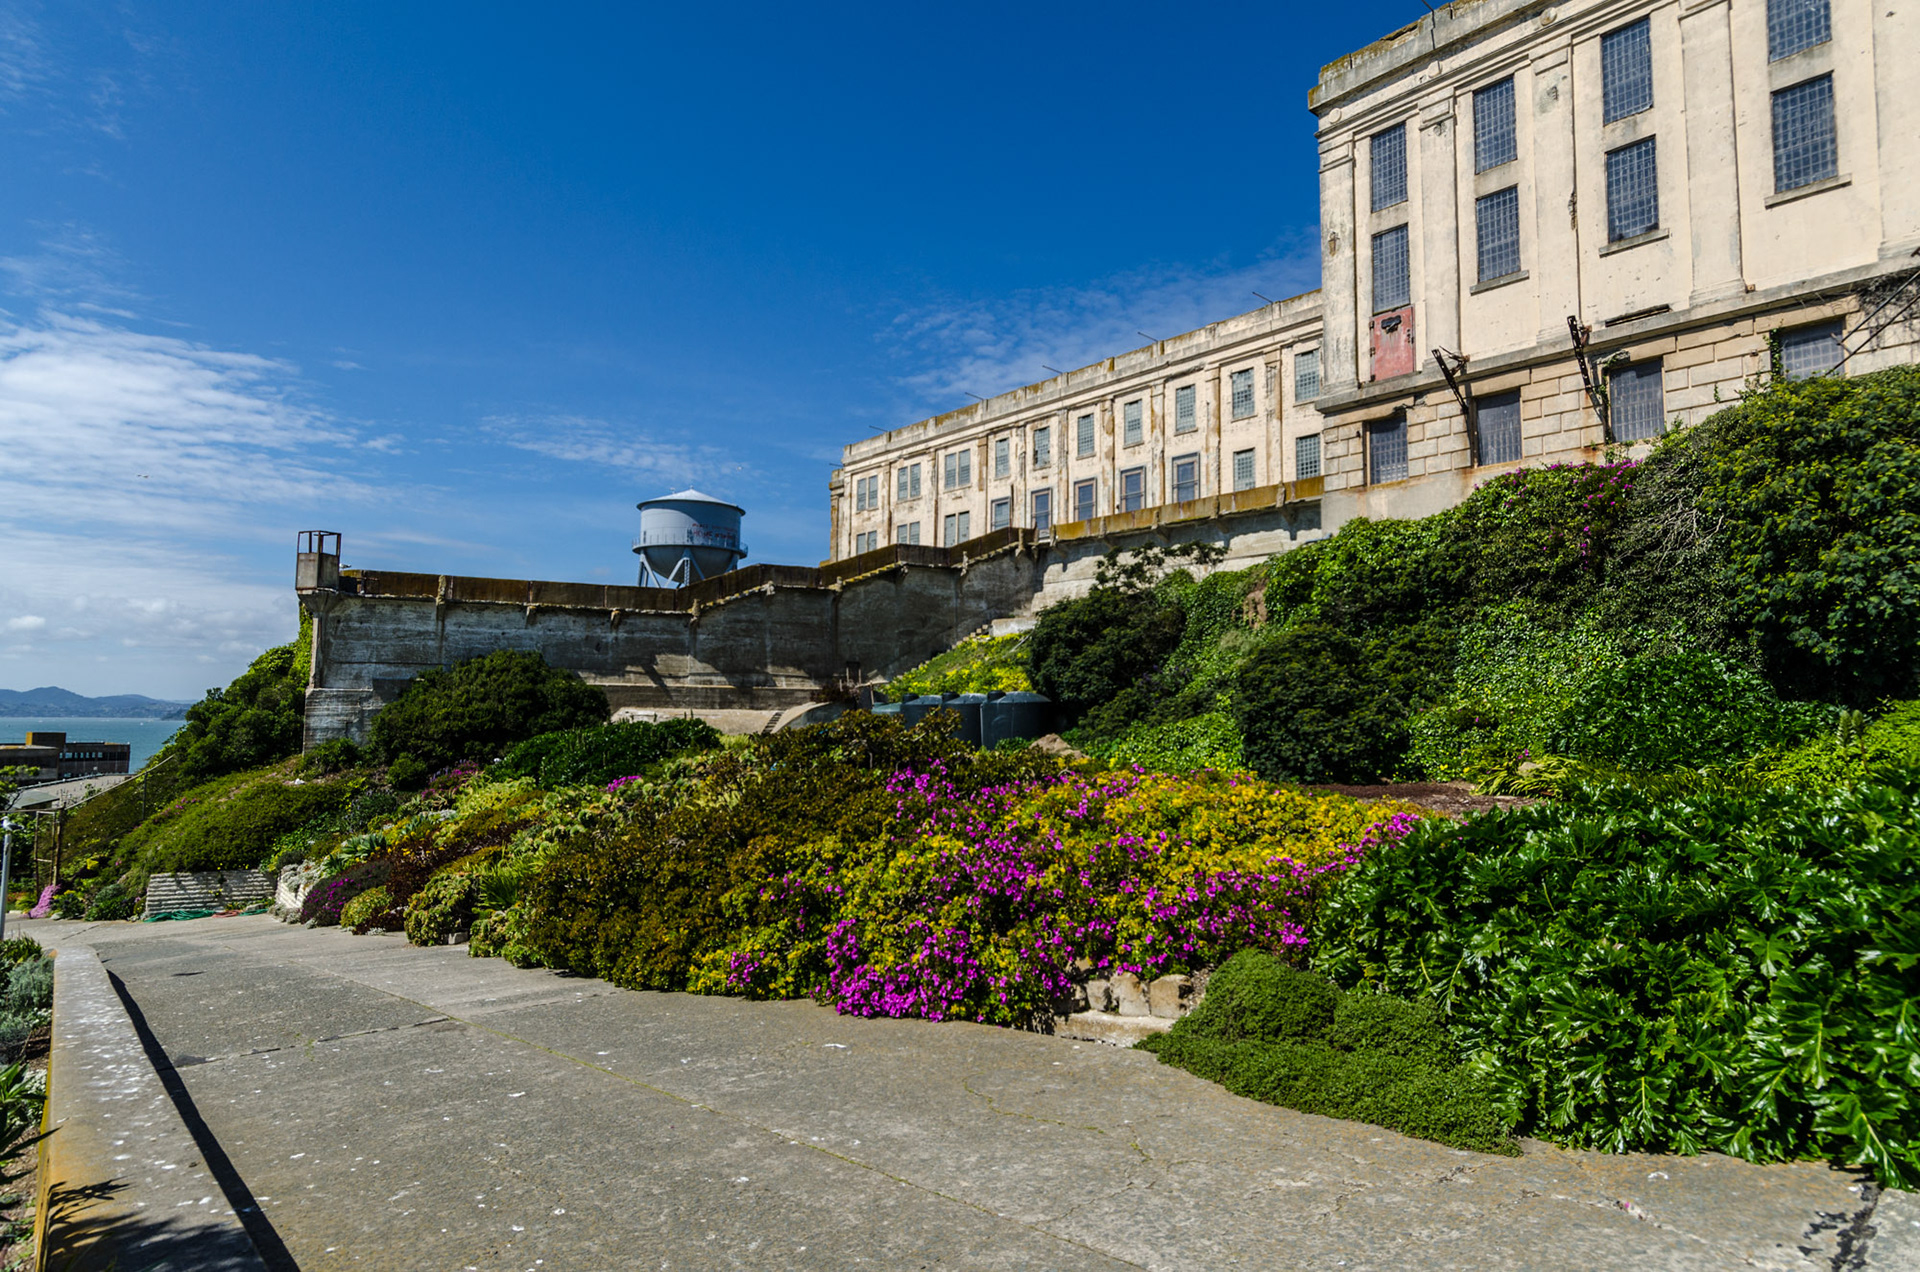
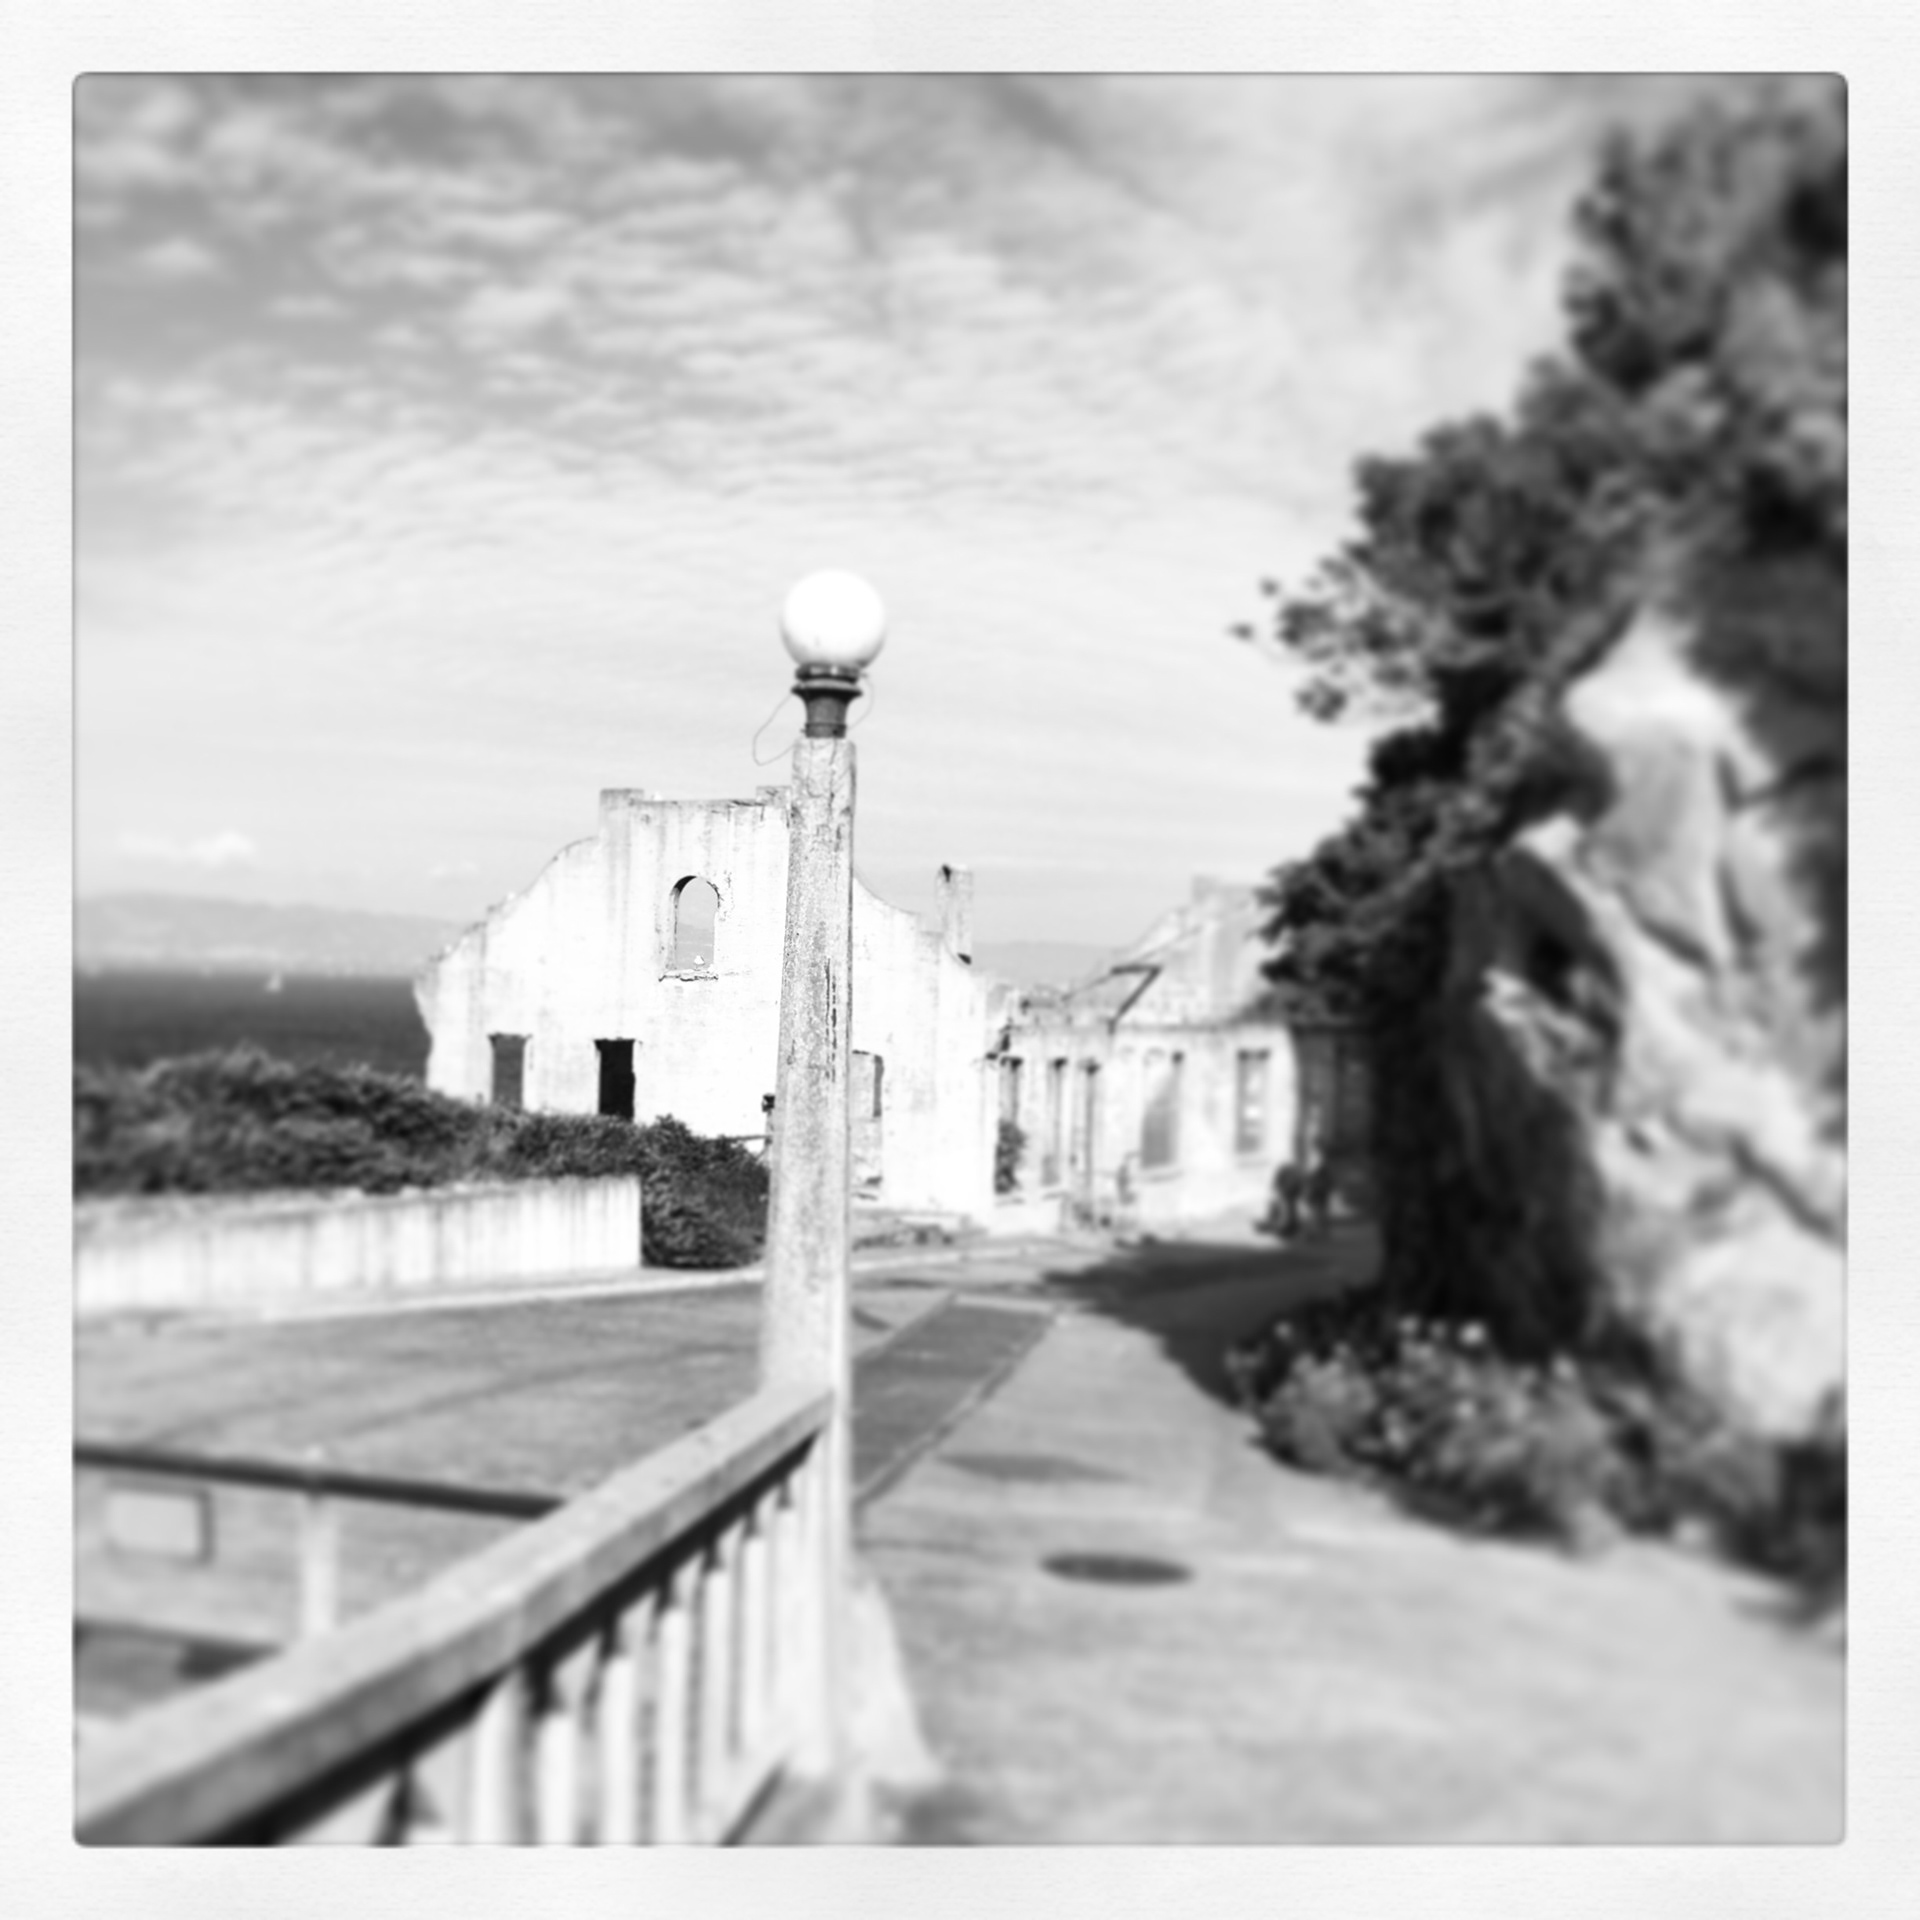
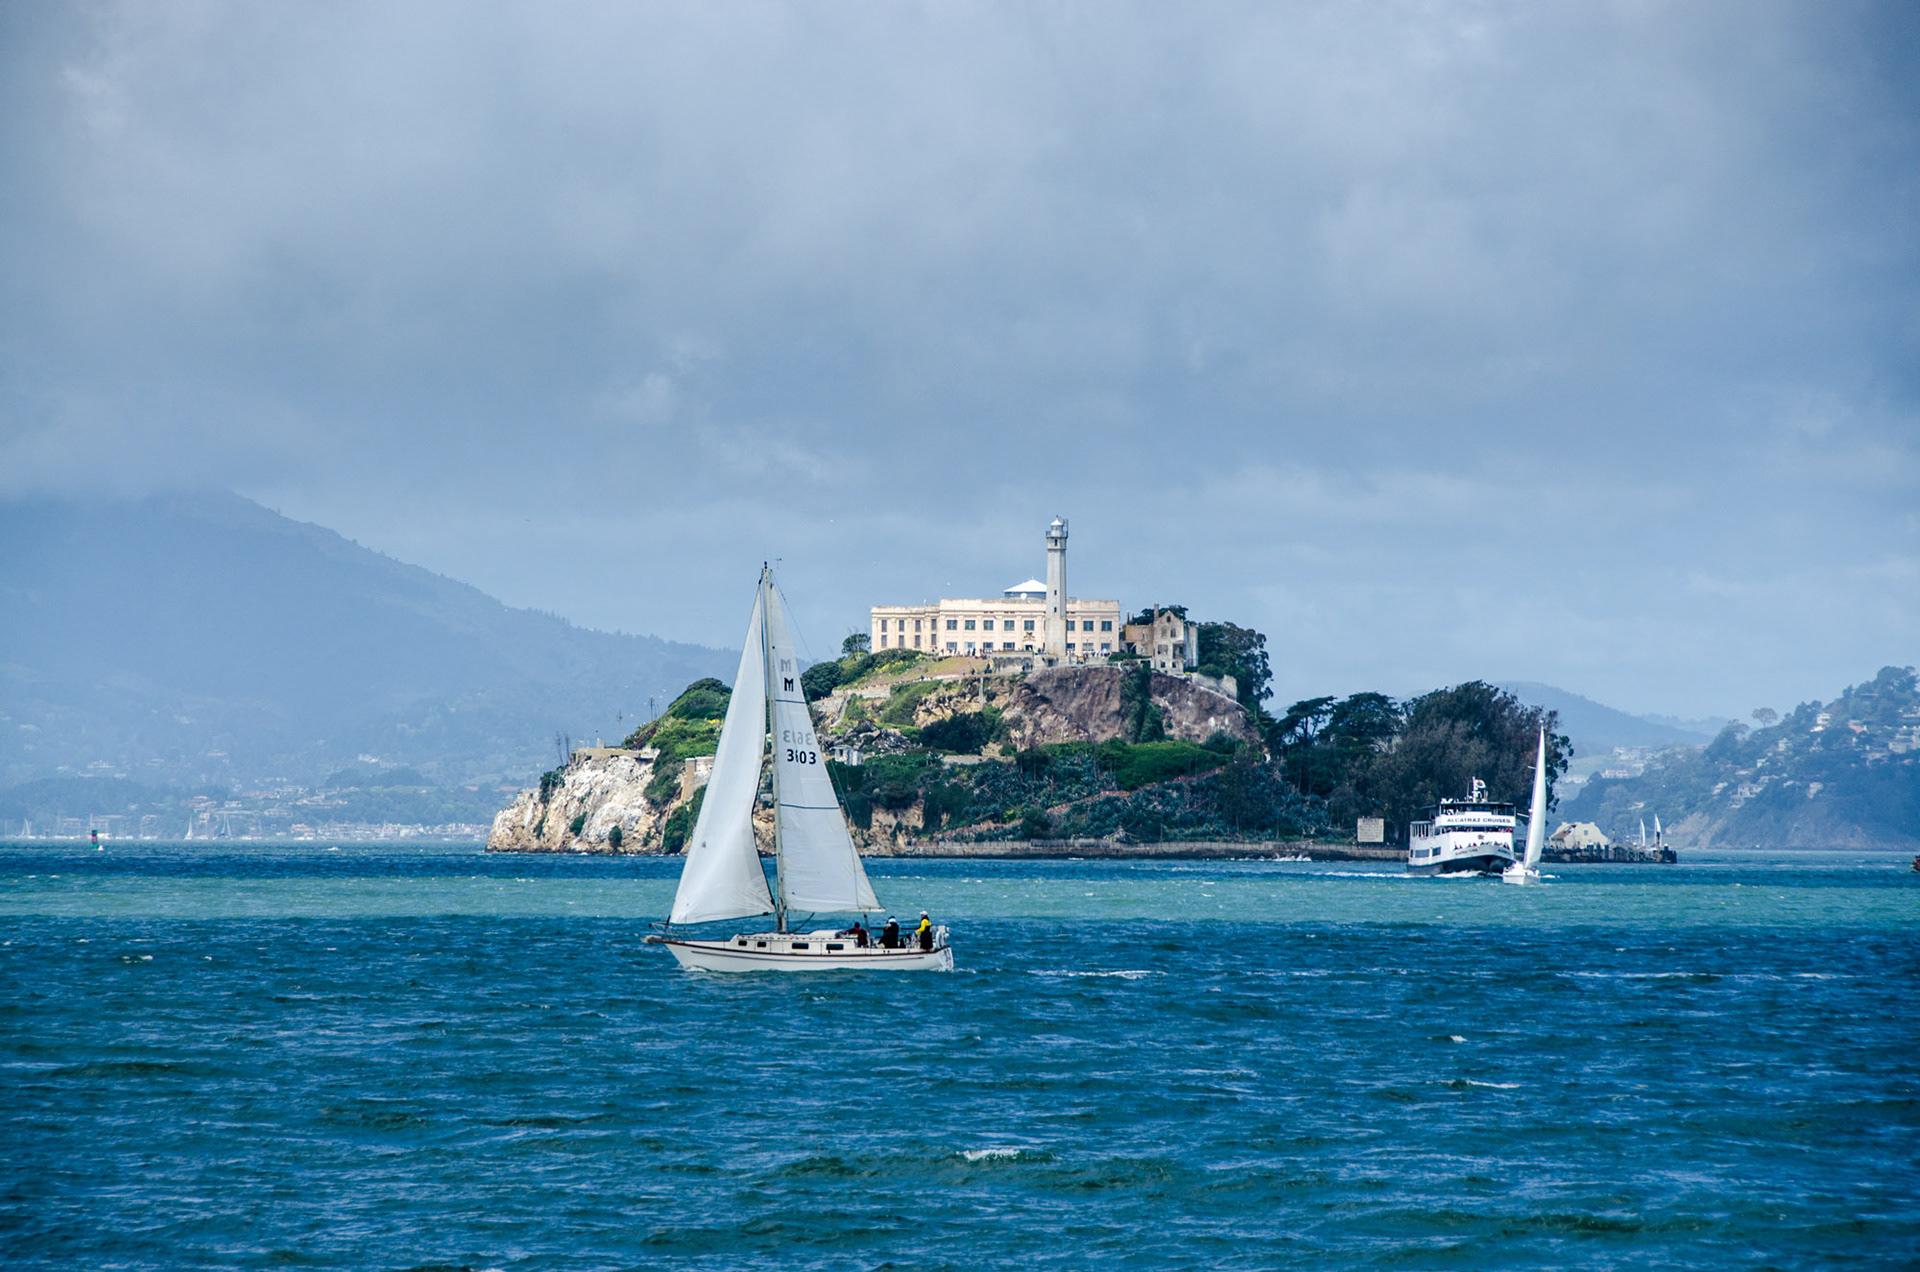
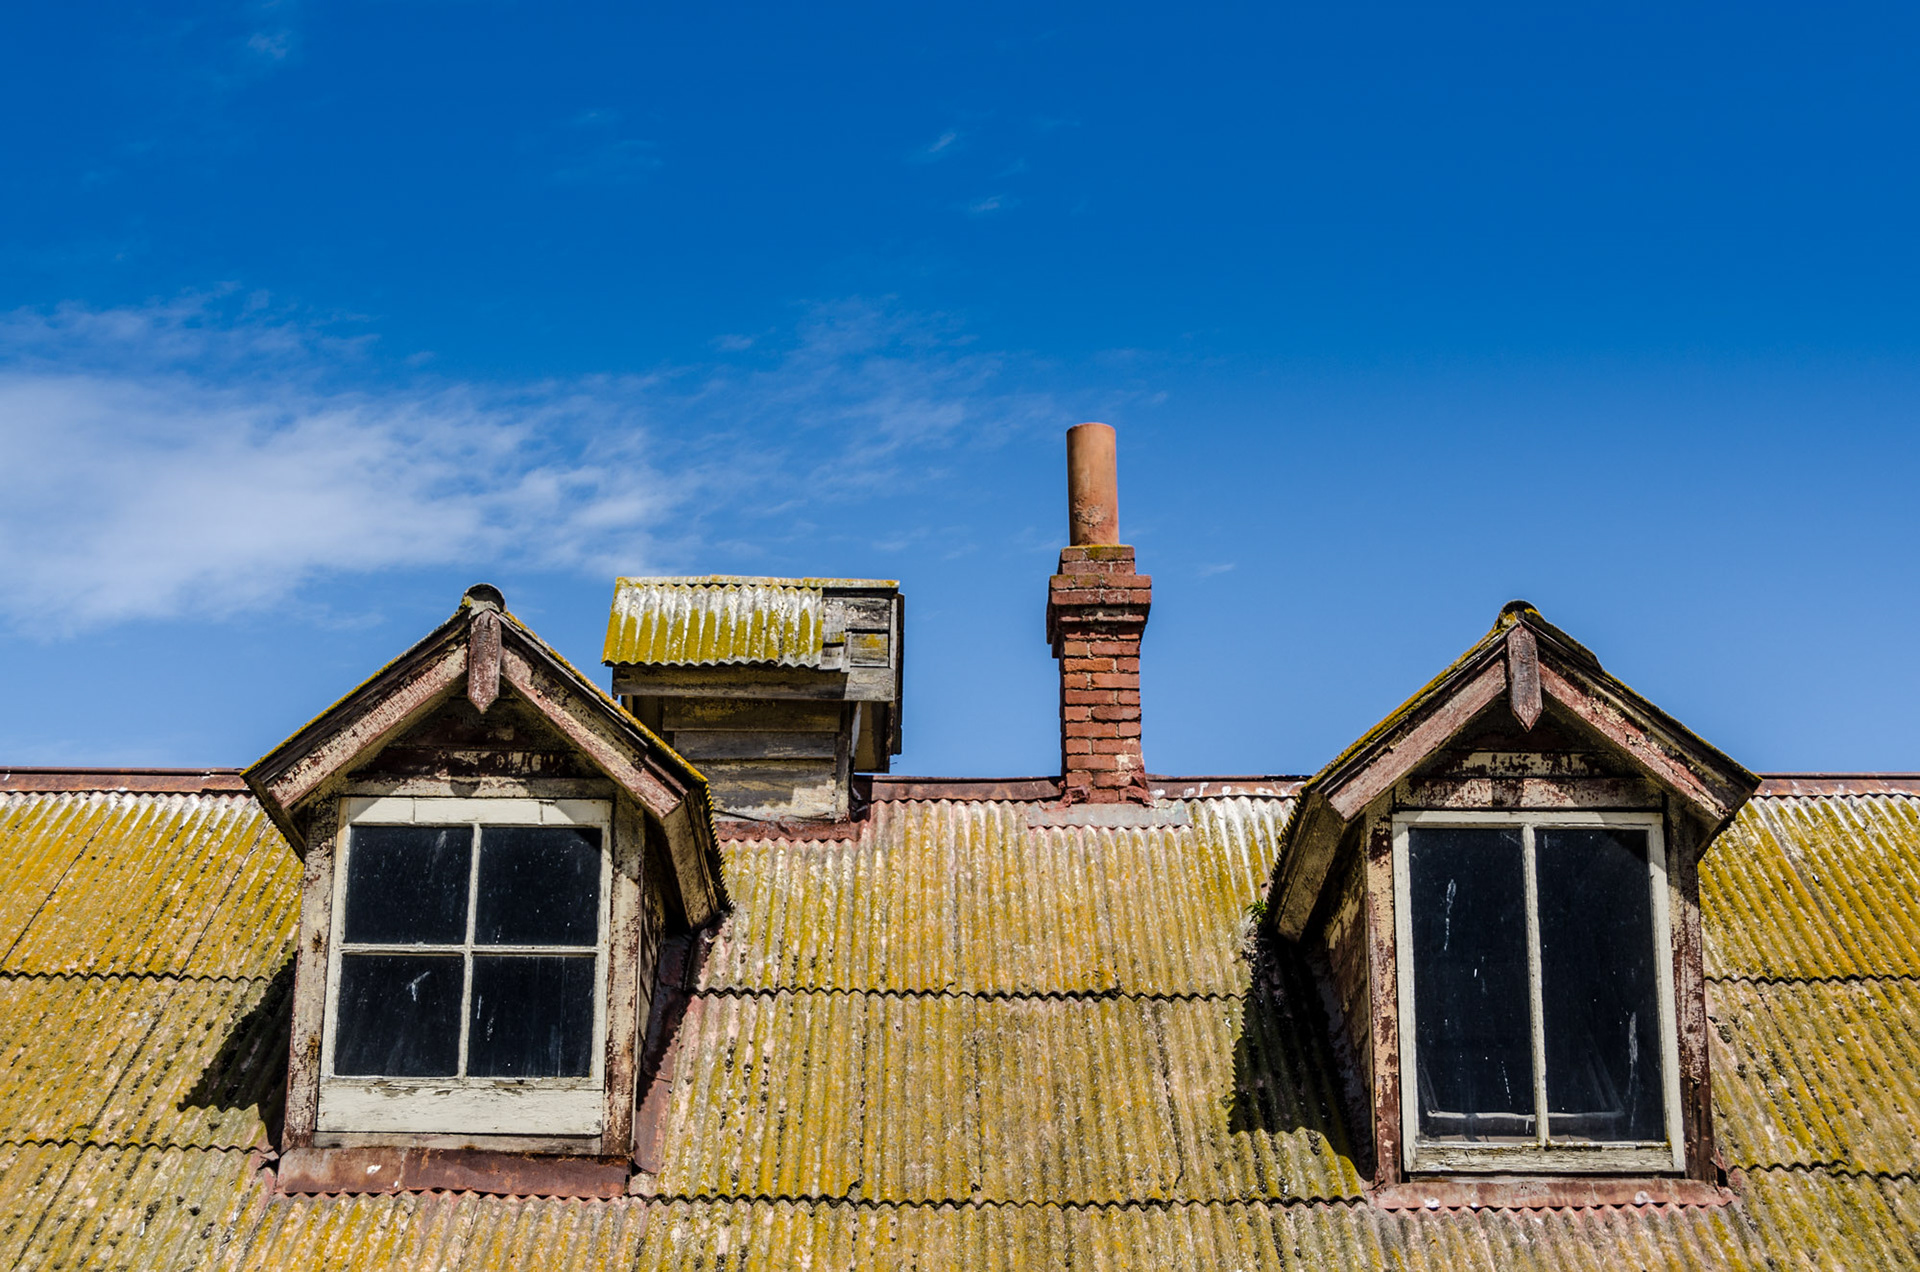
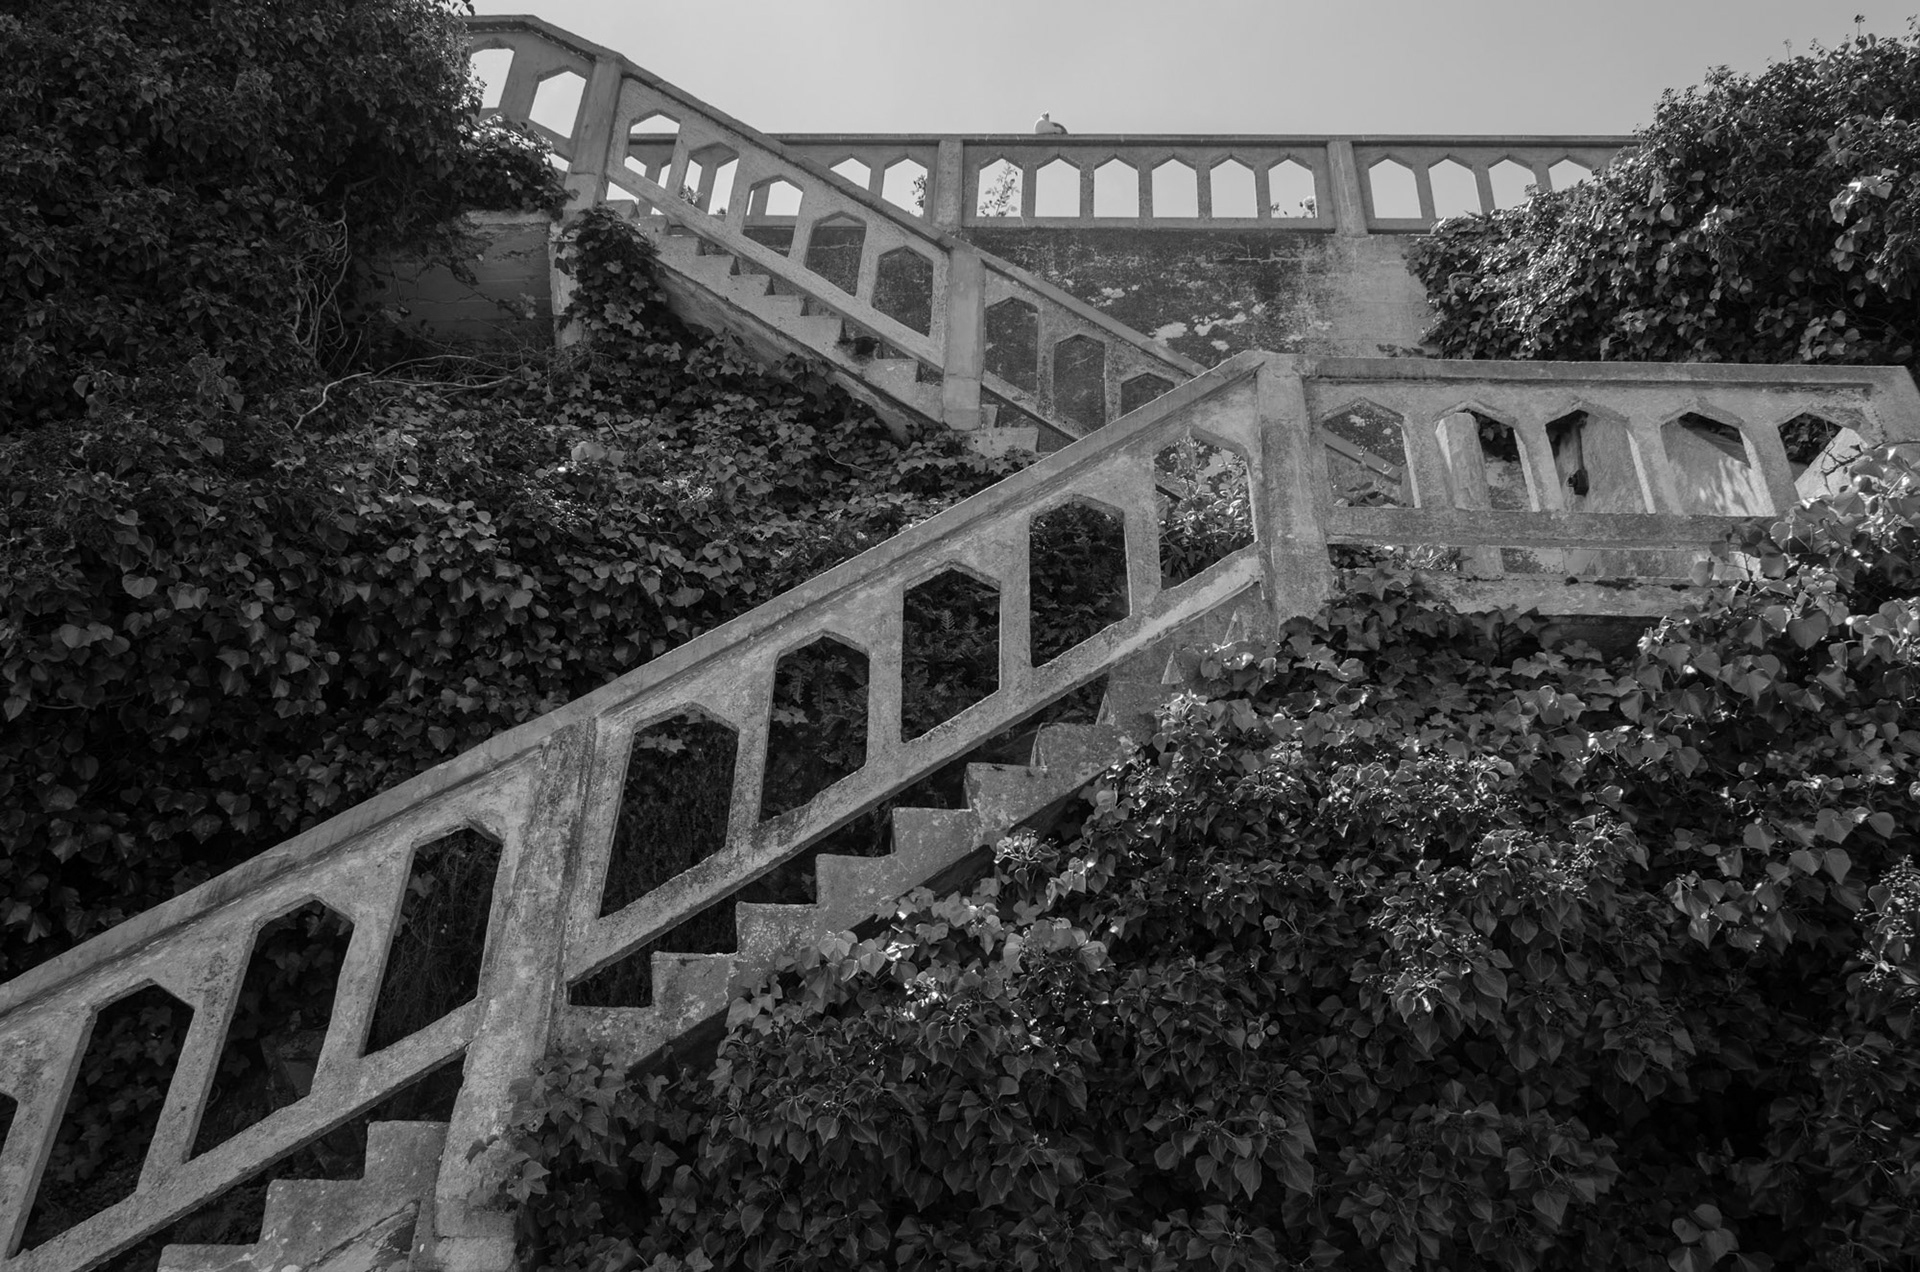
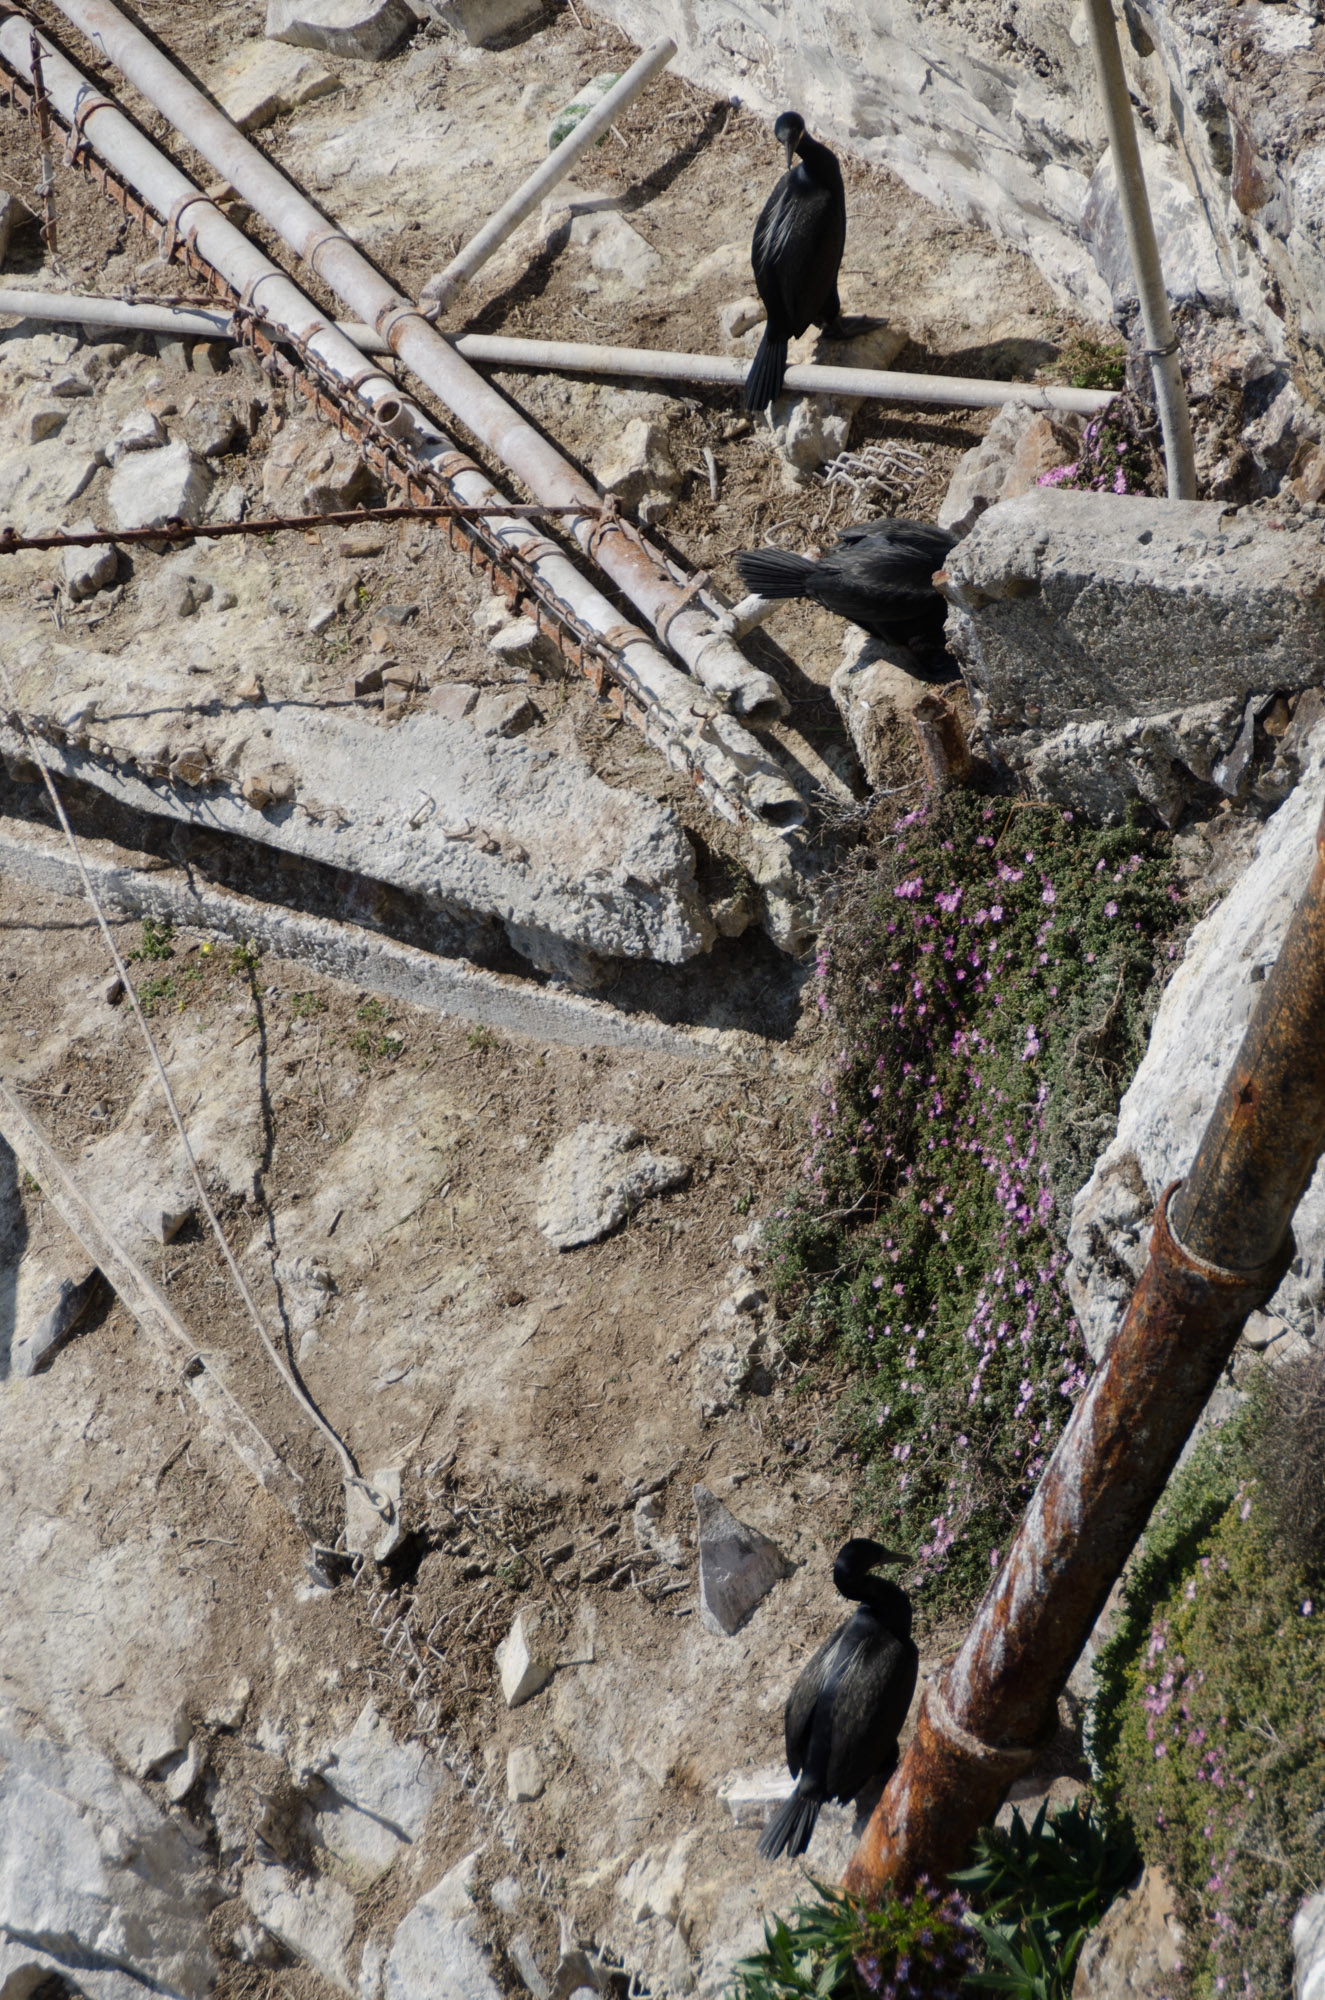
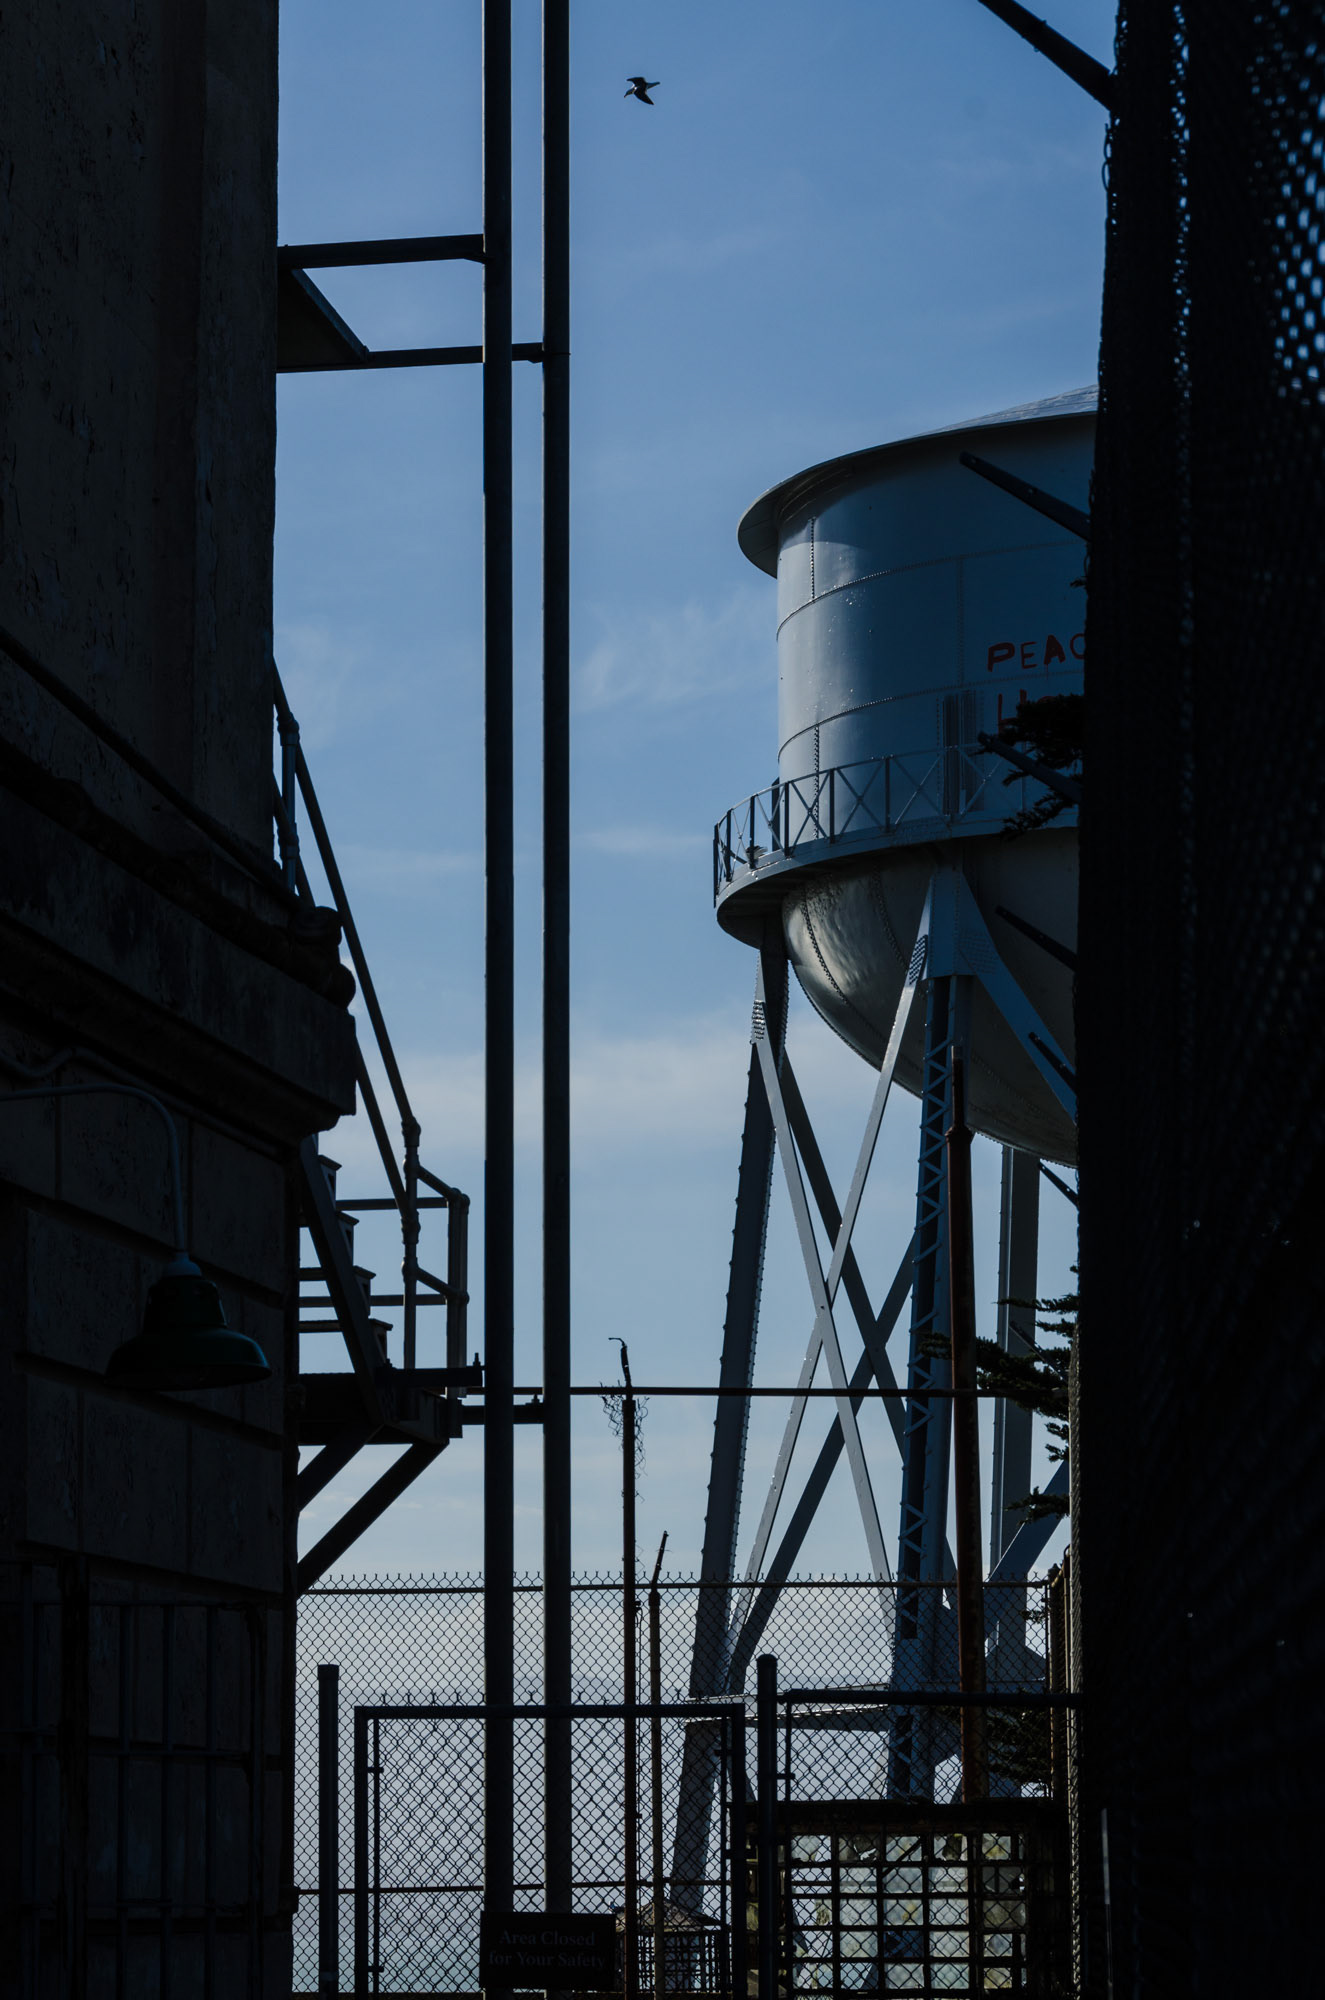
Patience is a virtue, they say. And I needed it. There were several shots where I wanted as few (preferably NO) people as possible. I waited about 20 minutes for the pathway to clear itself of other tourists in order to get this shot.


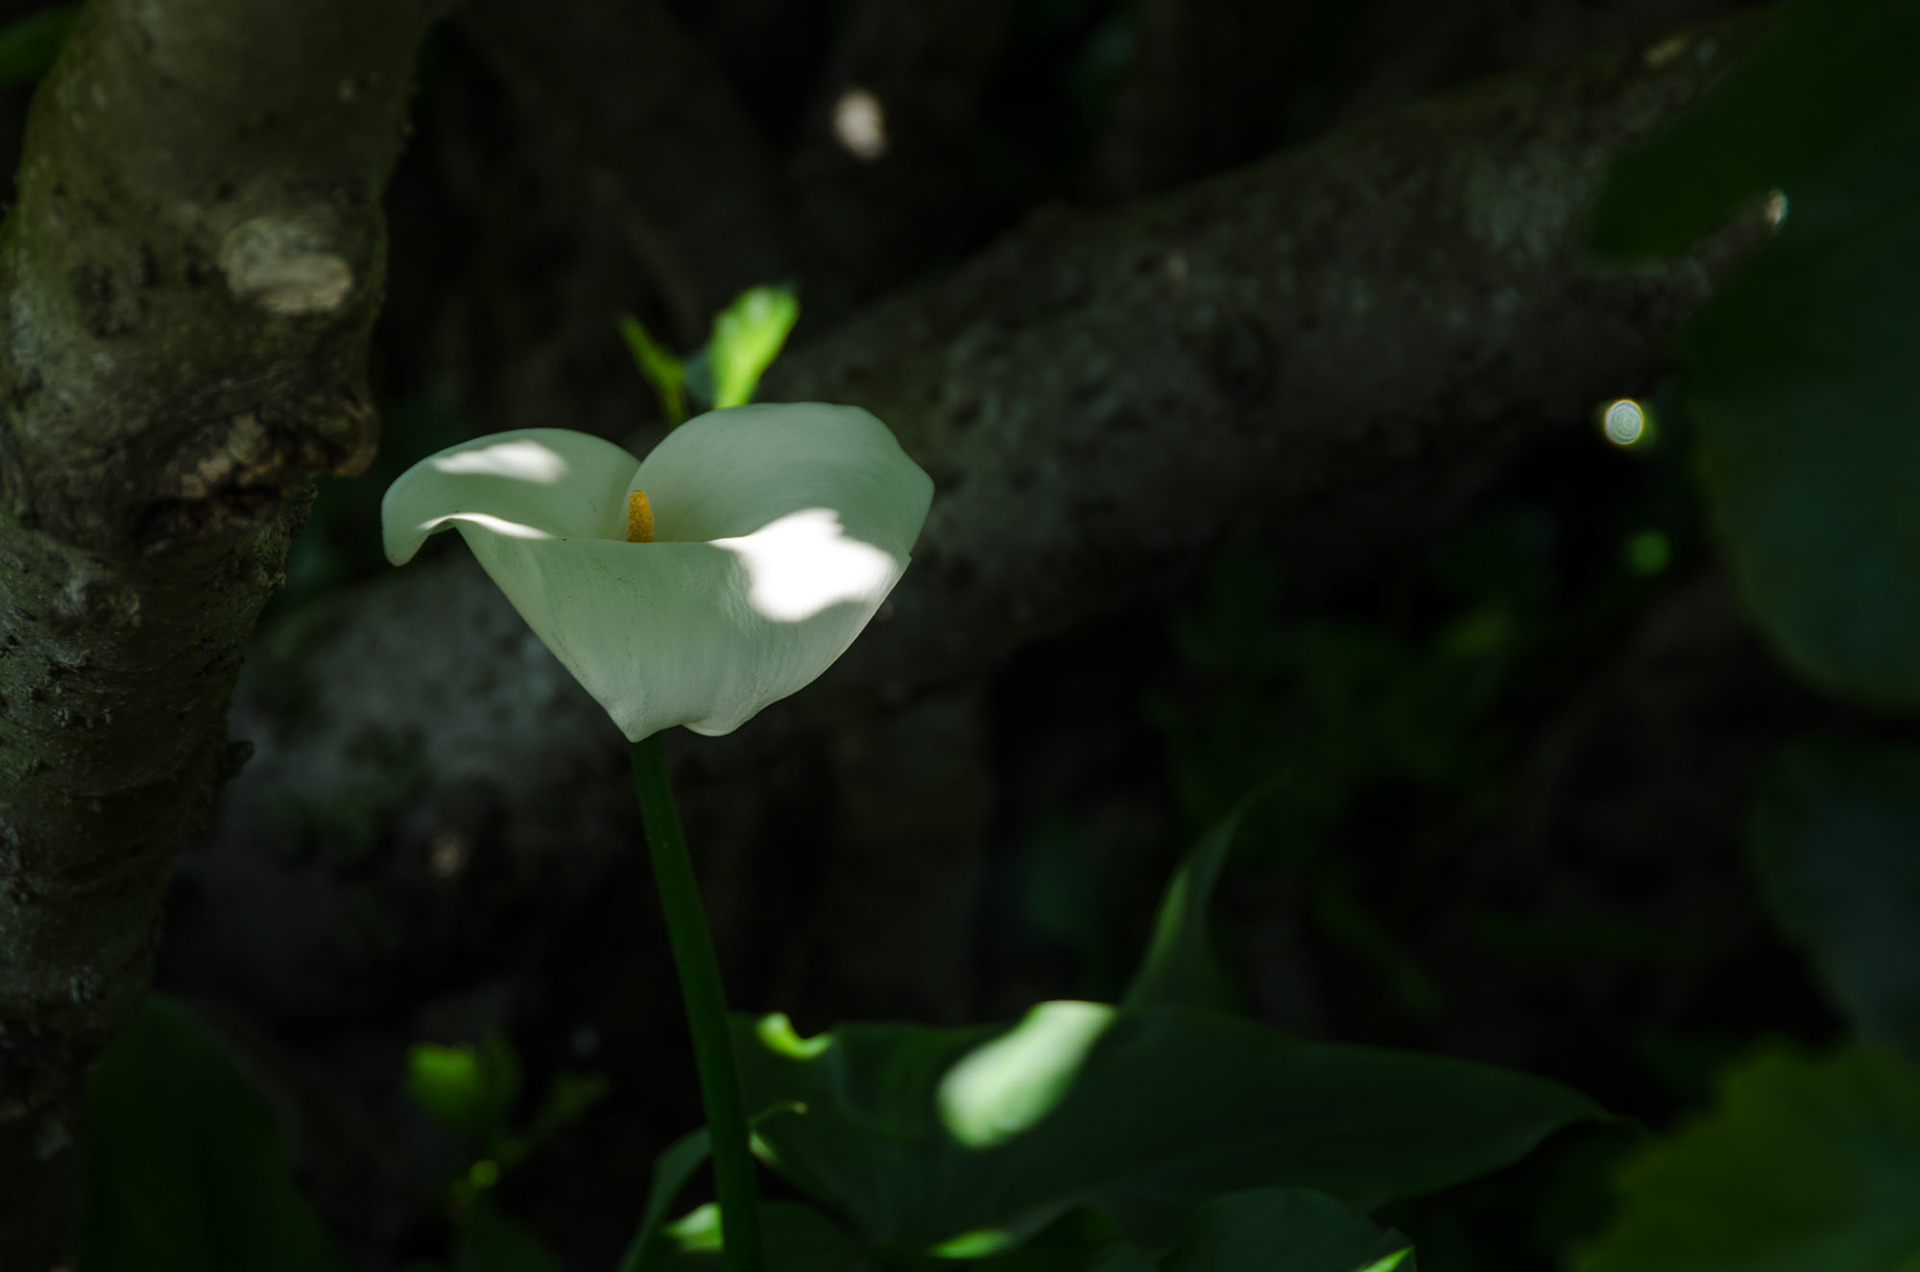
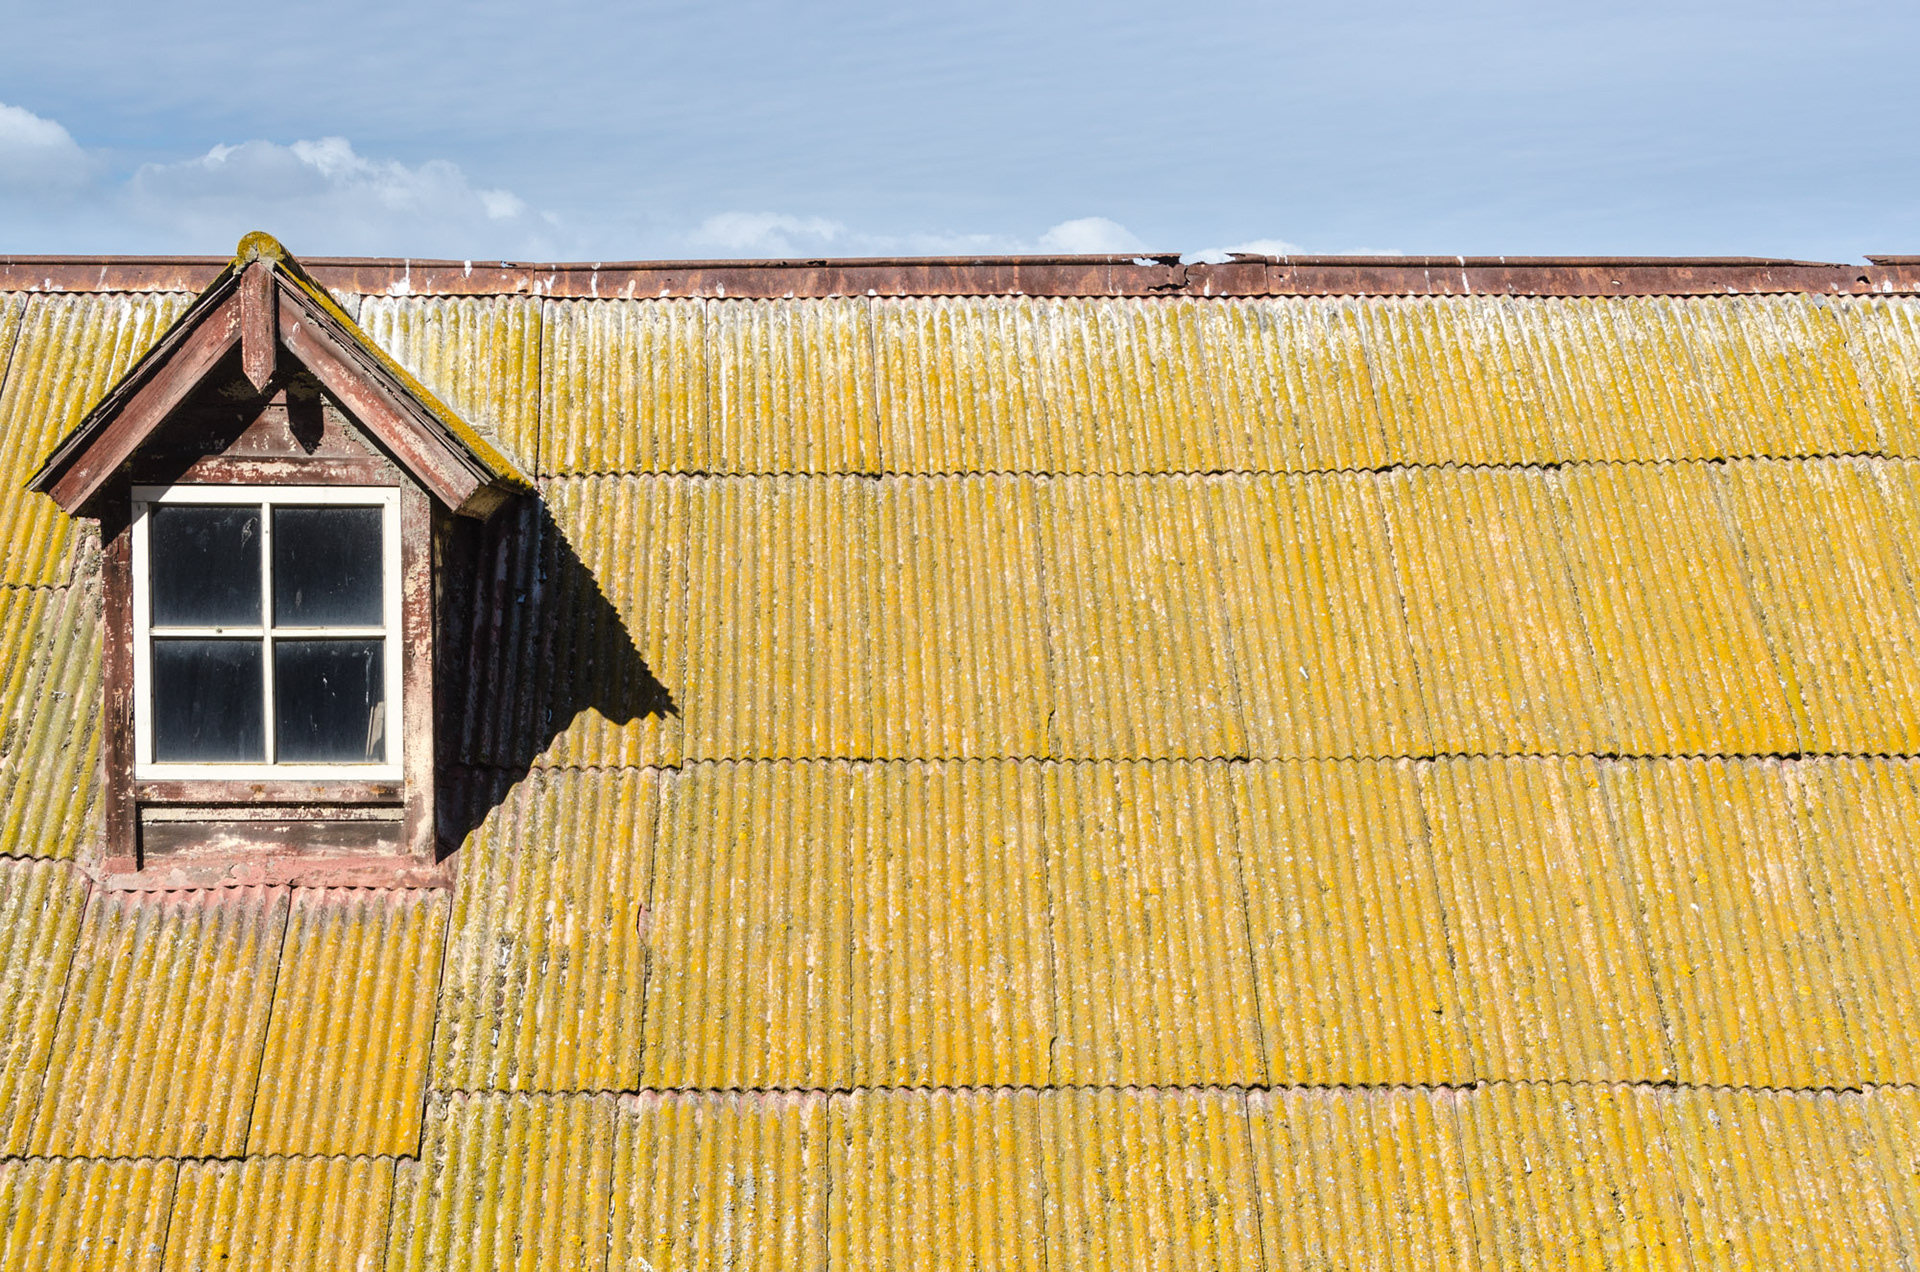
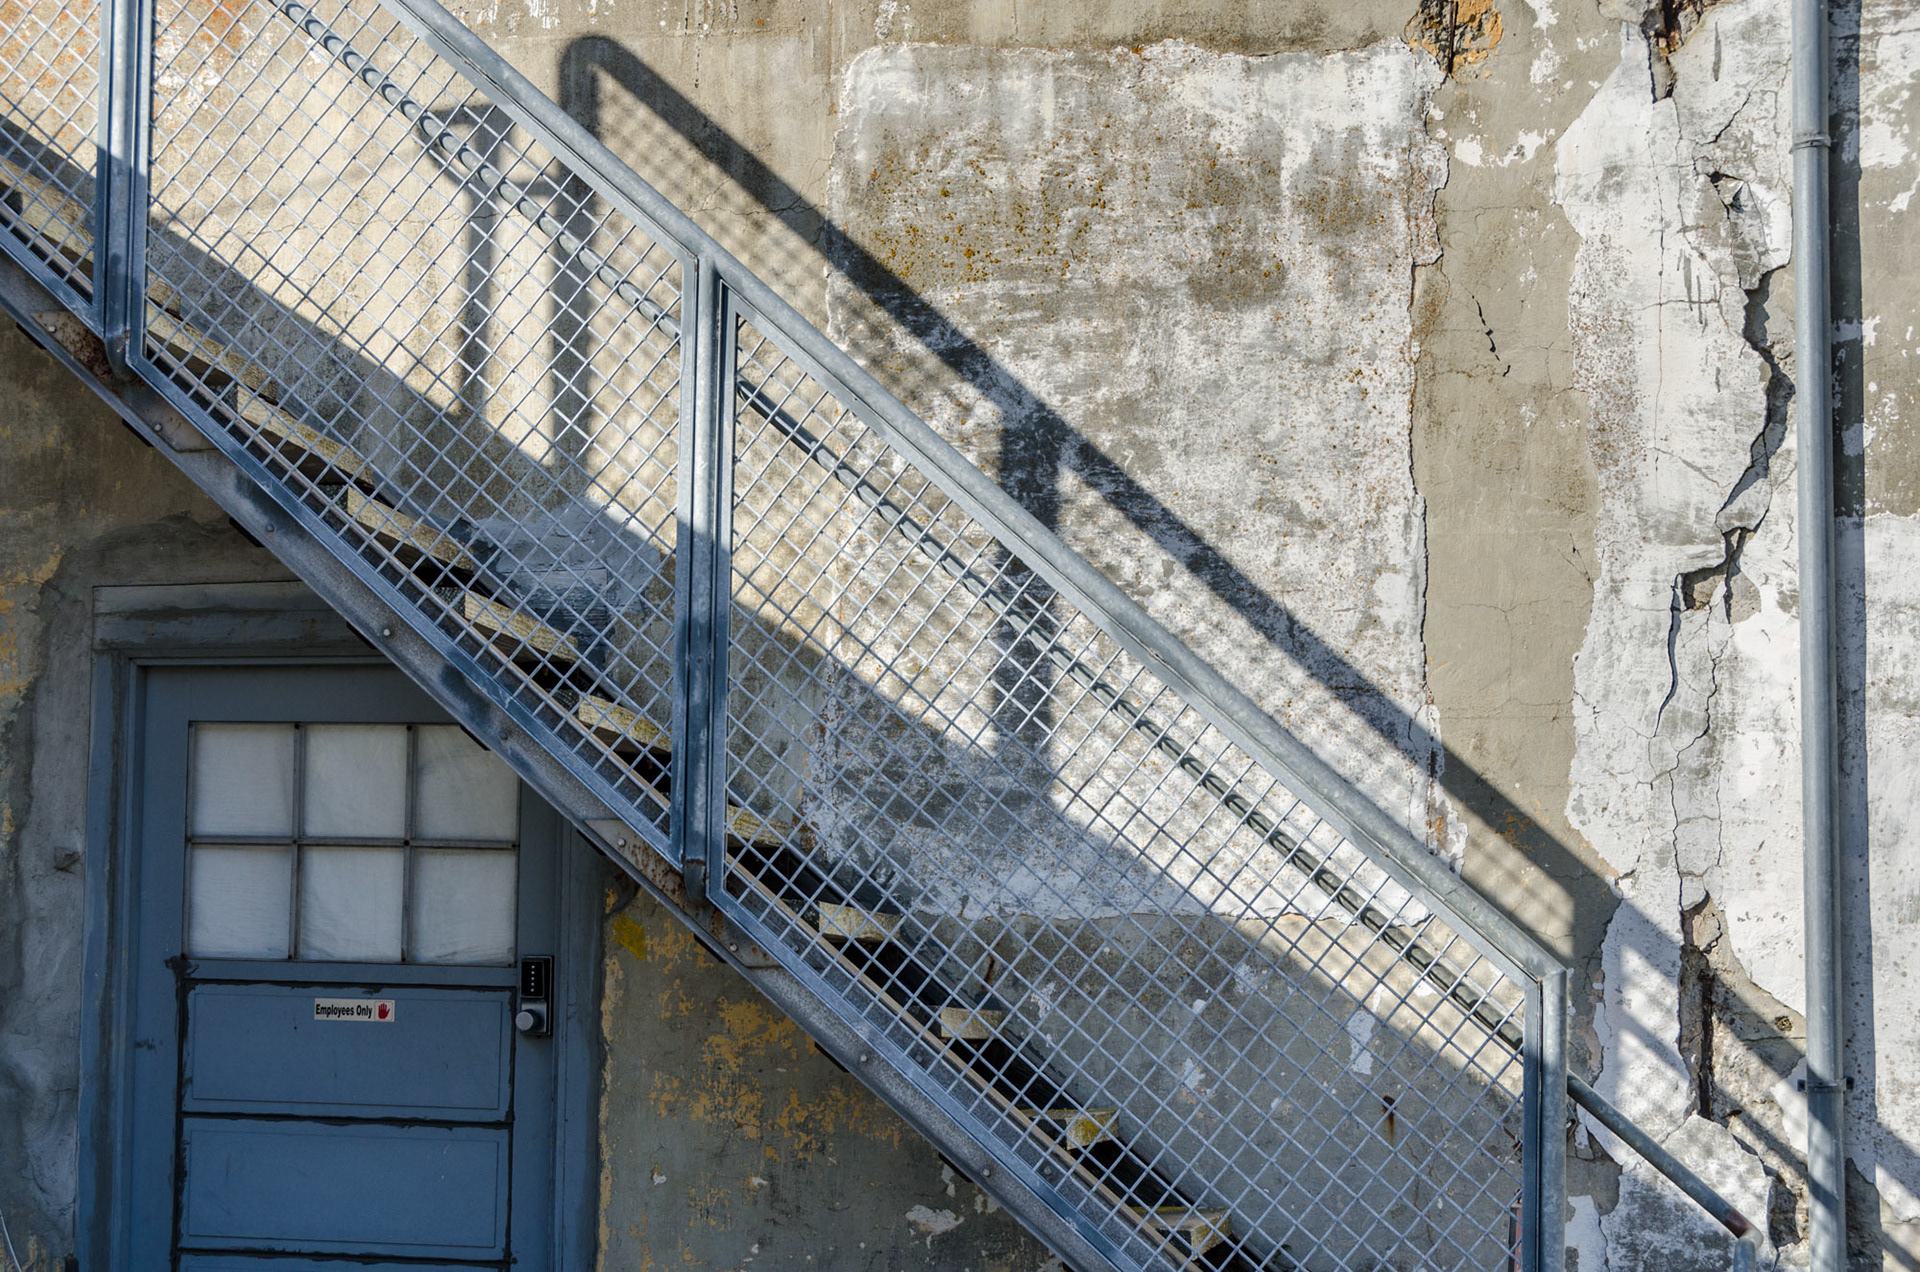
REDUCING the Clarity in an image can produce some very interestng, soft-focus effects.


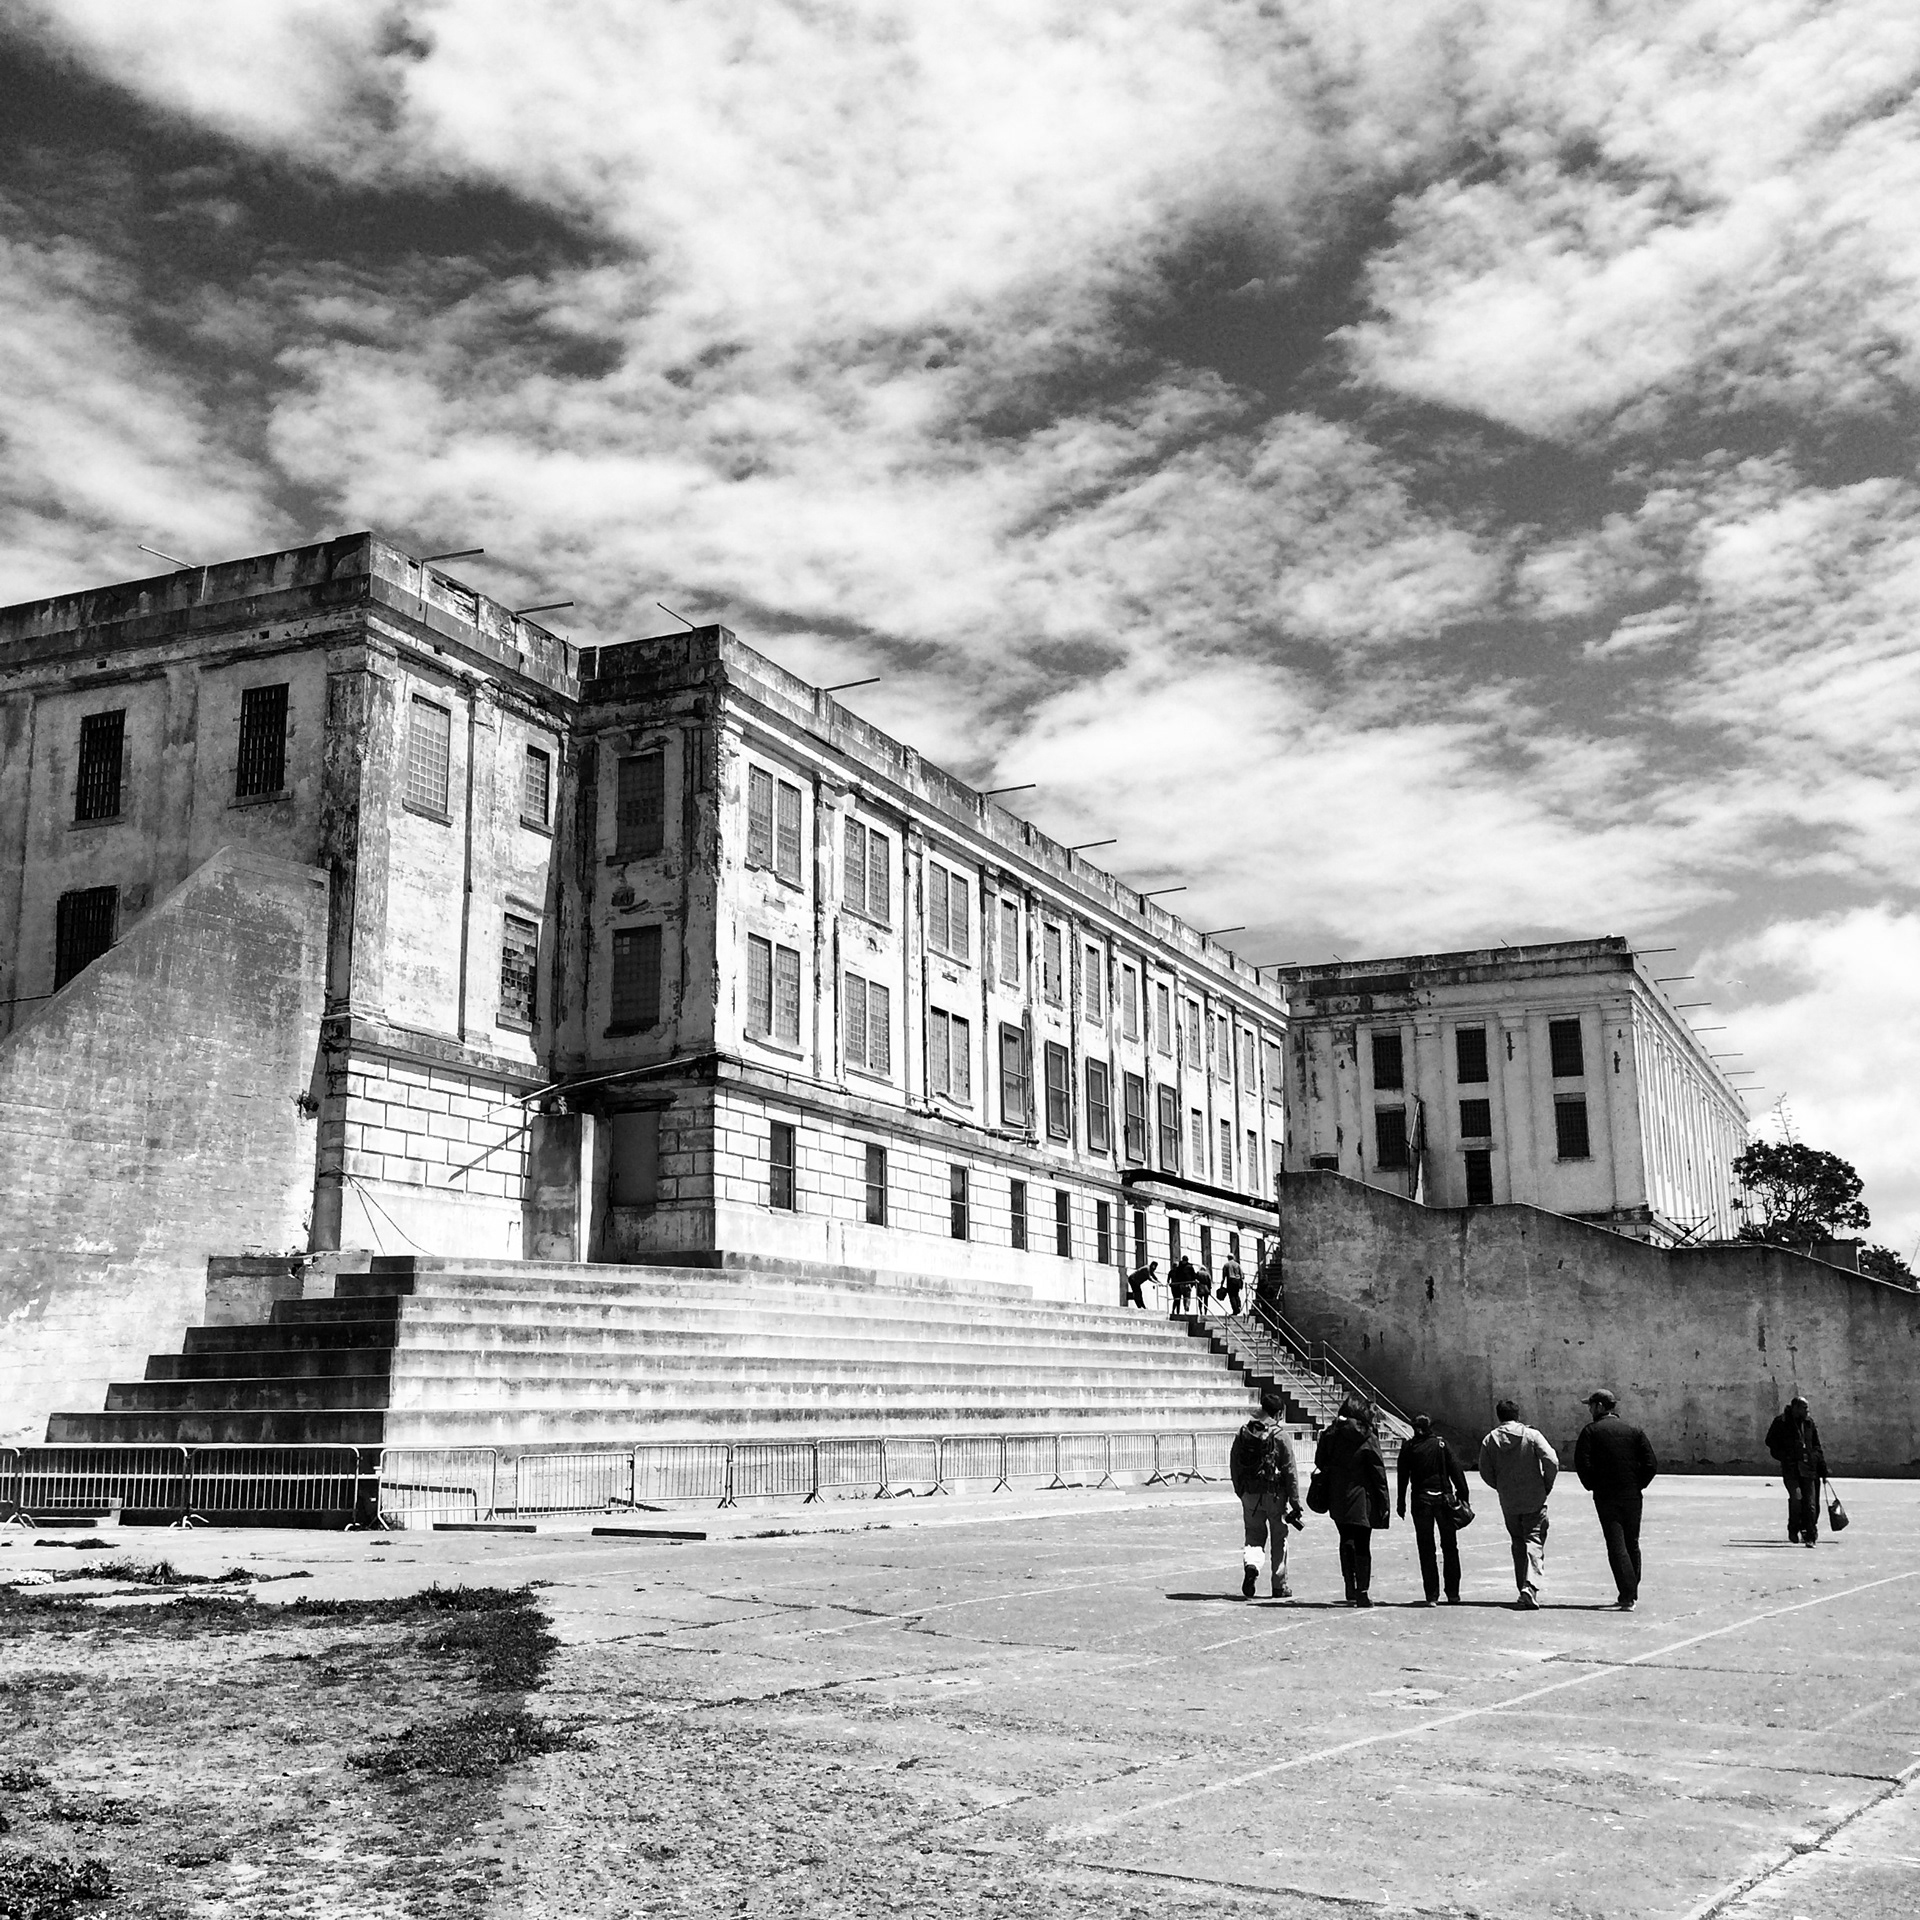
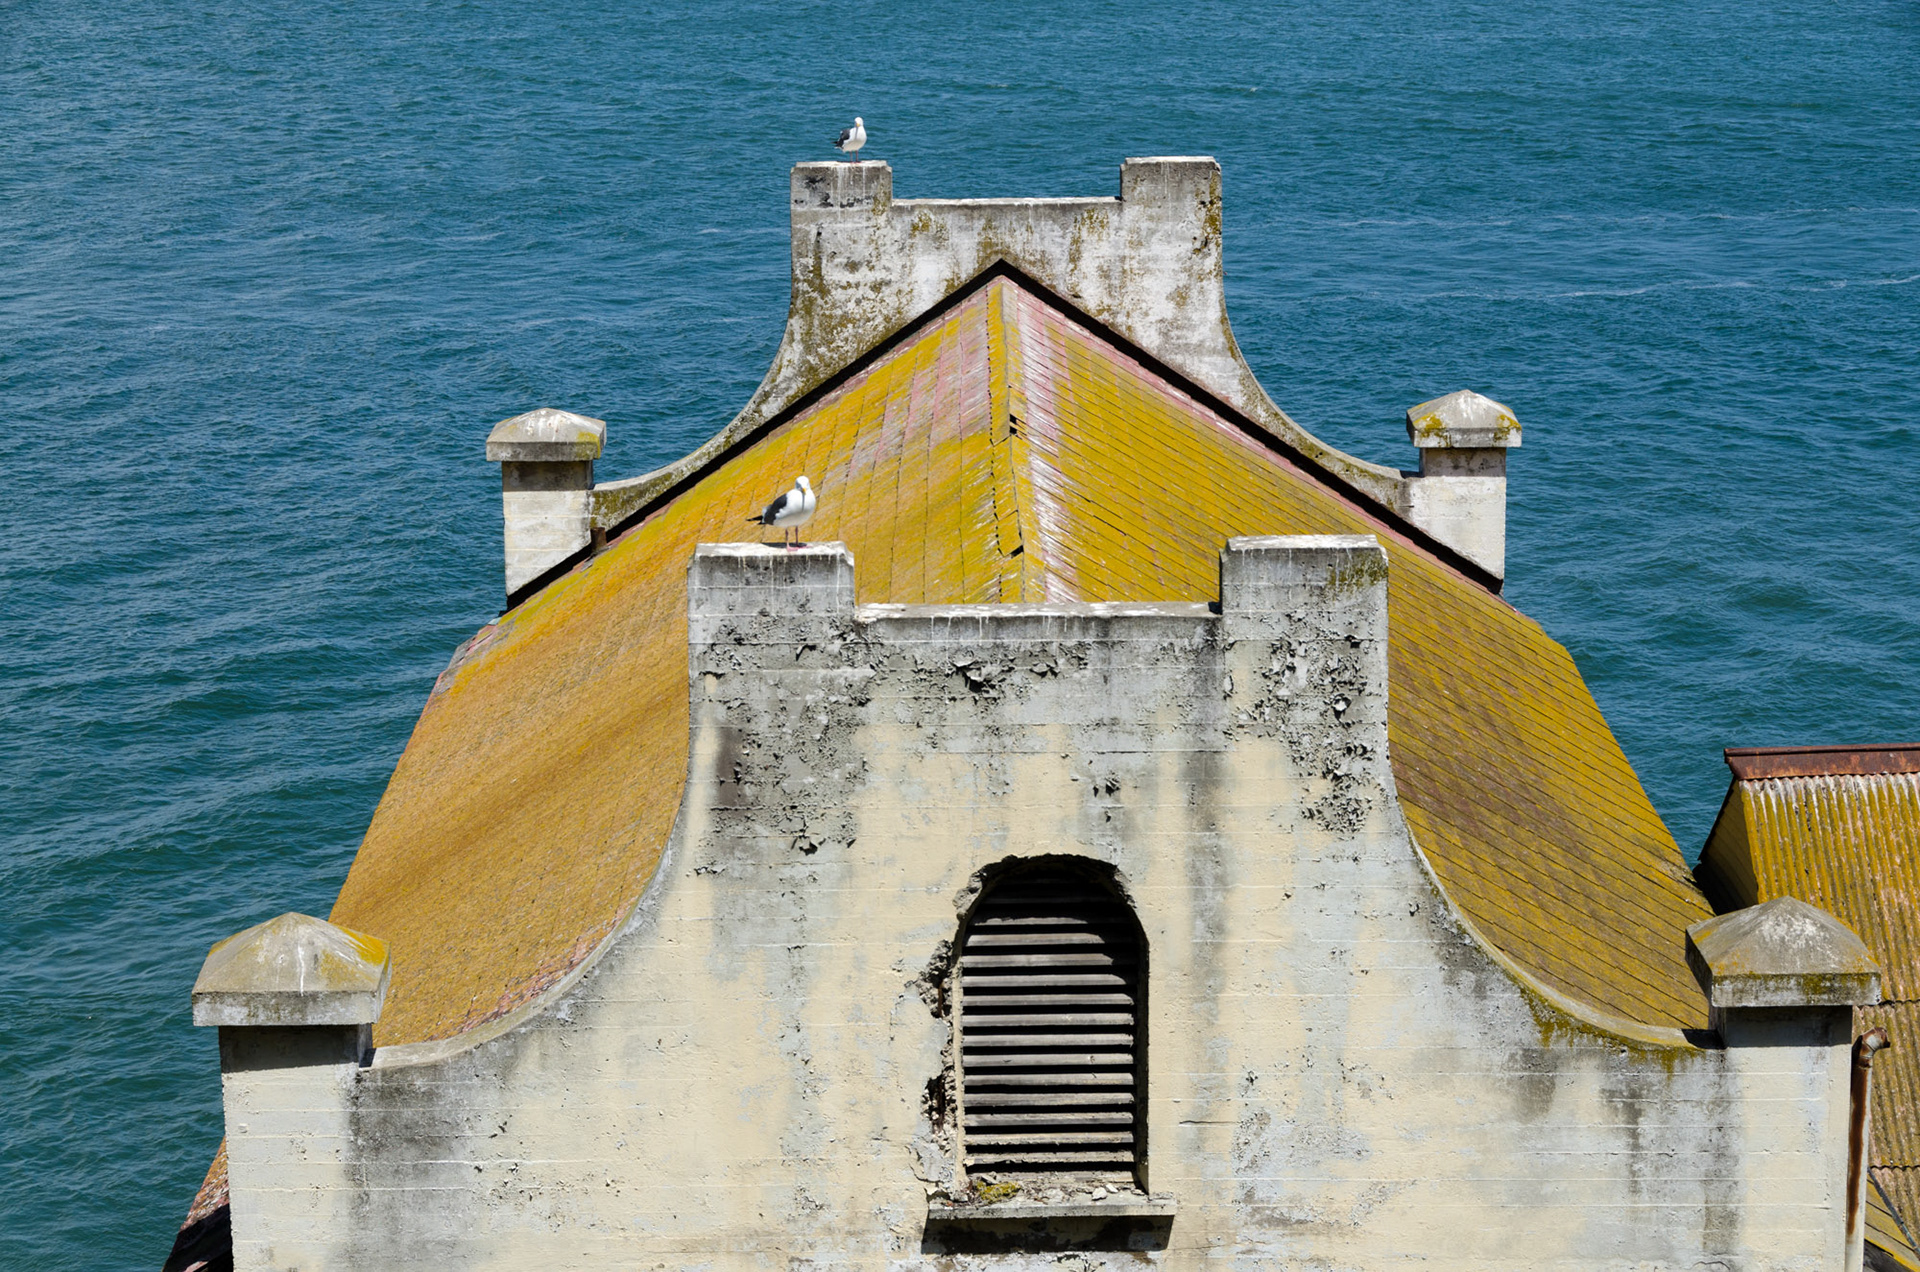
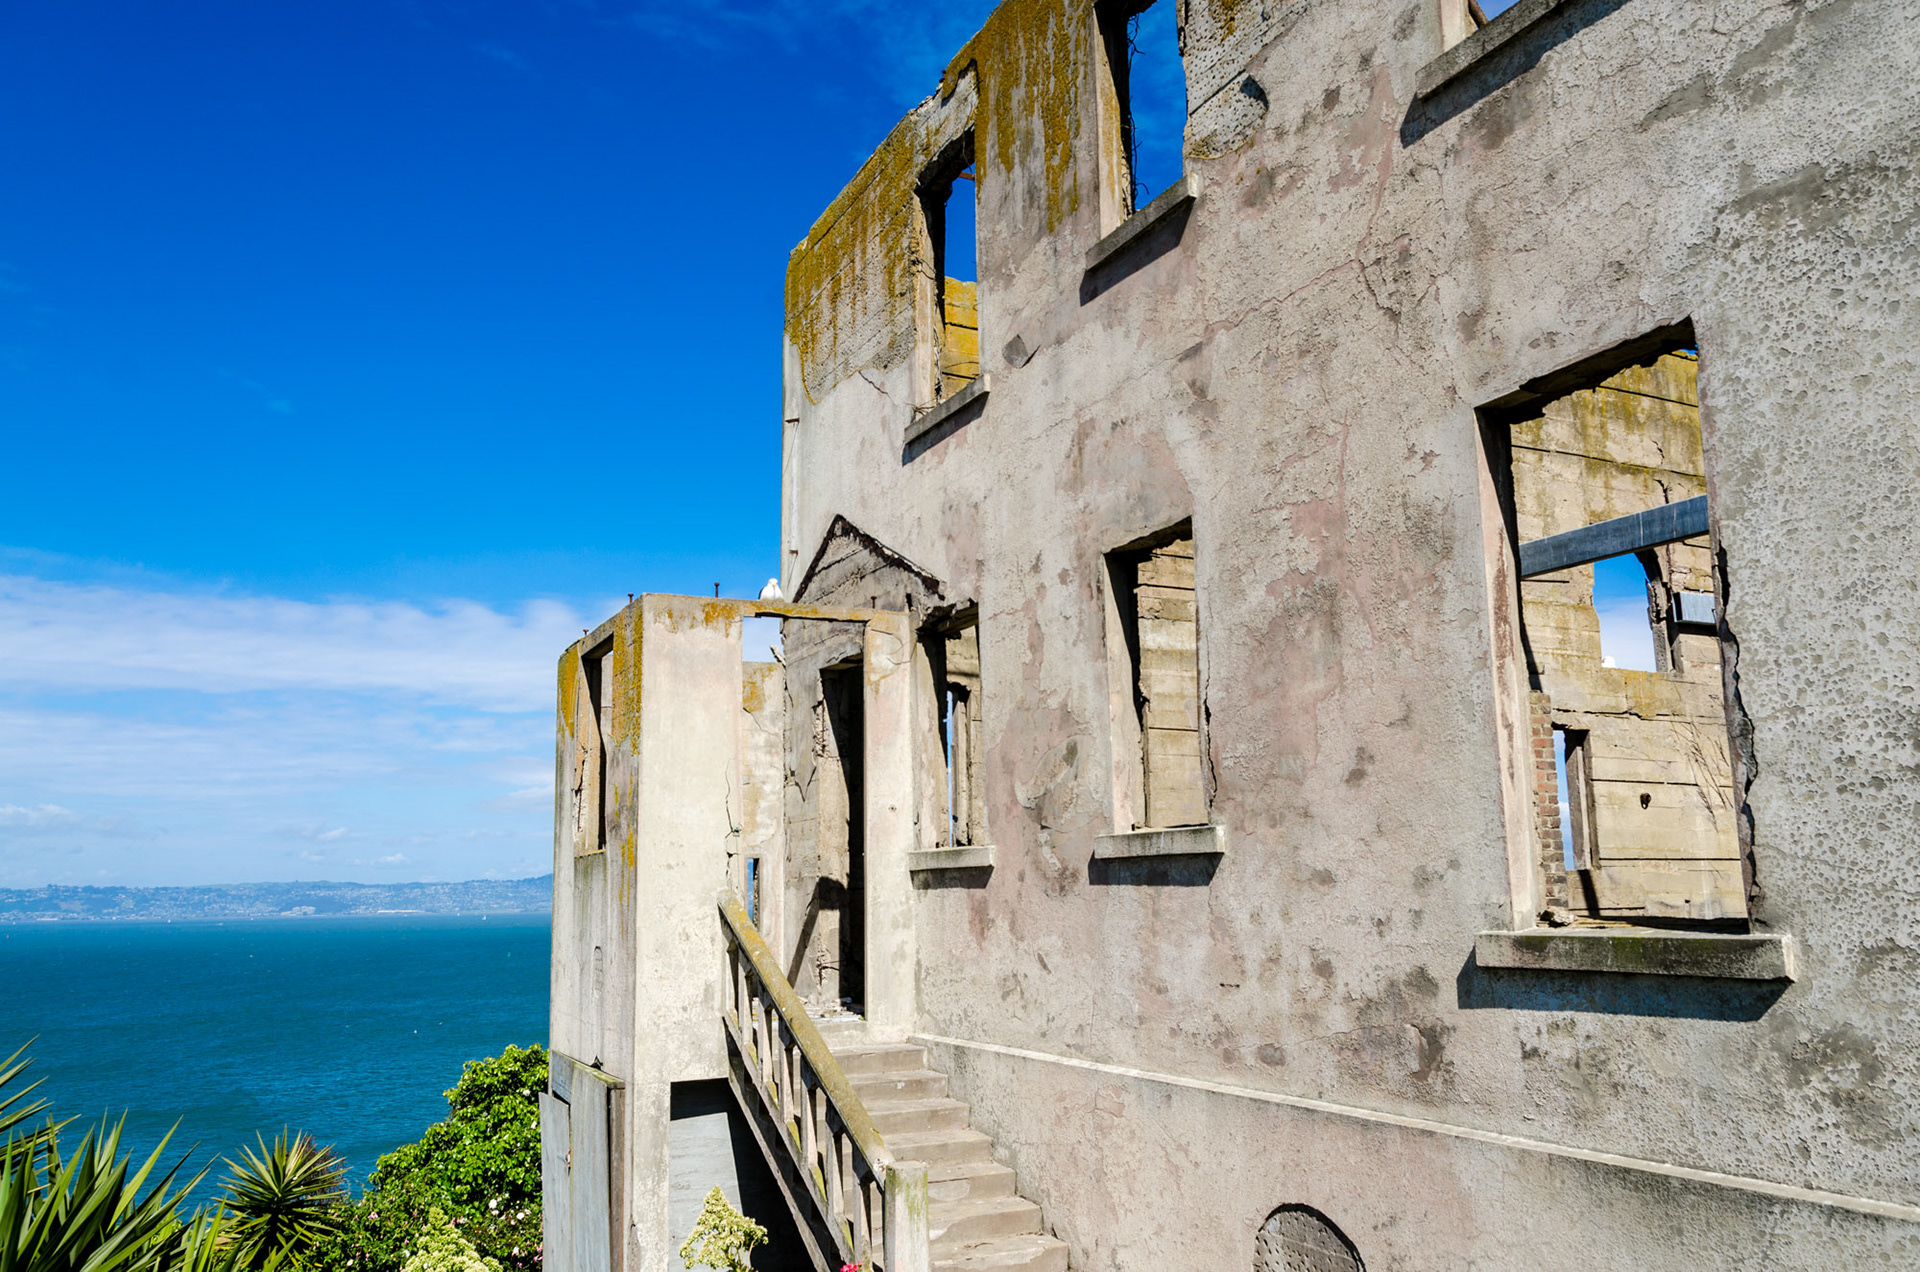
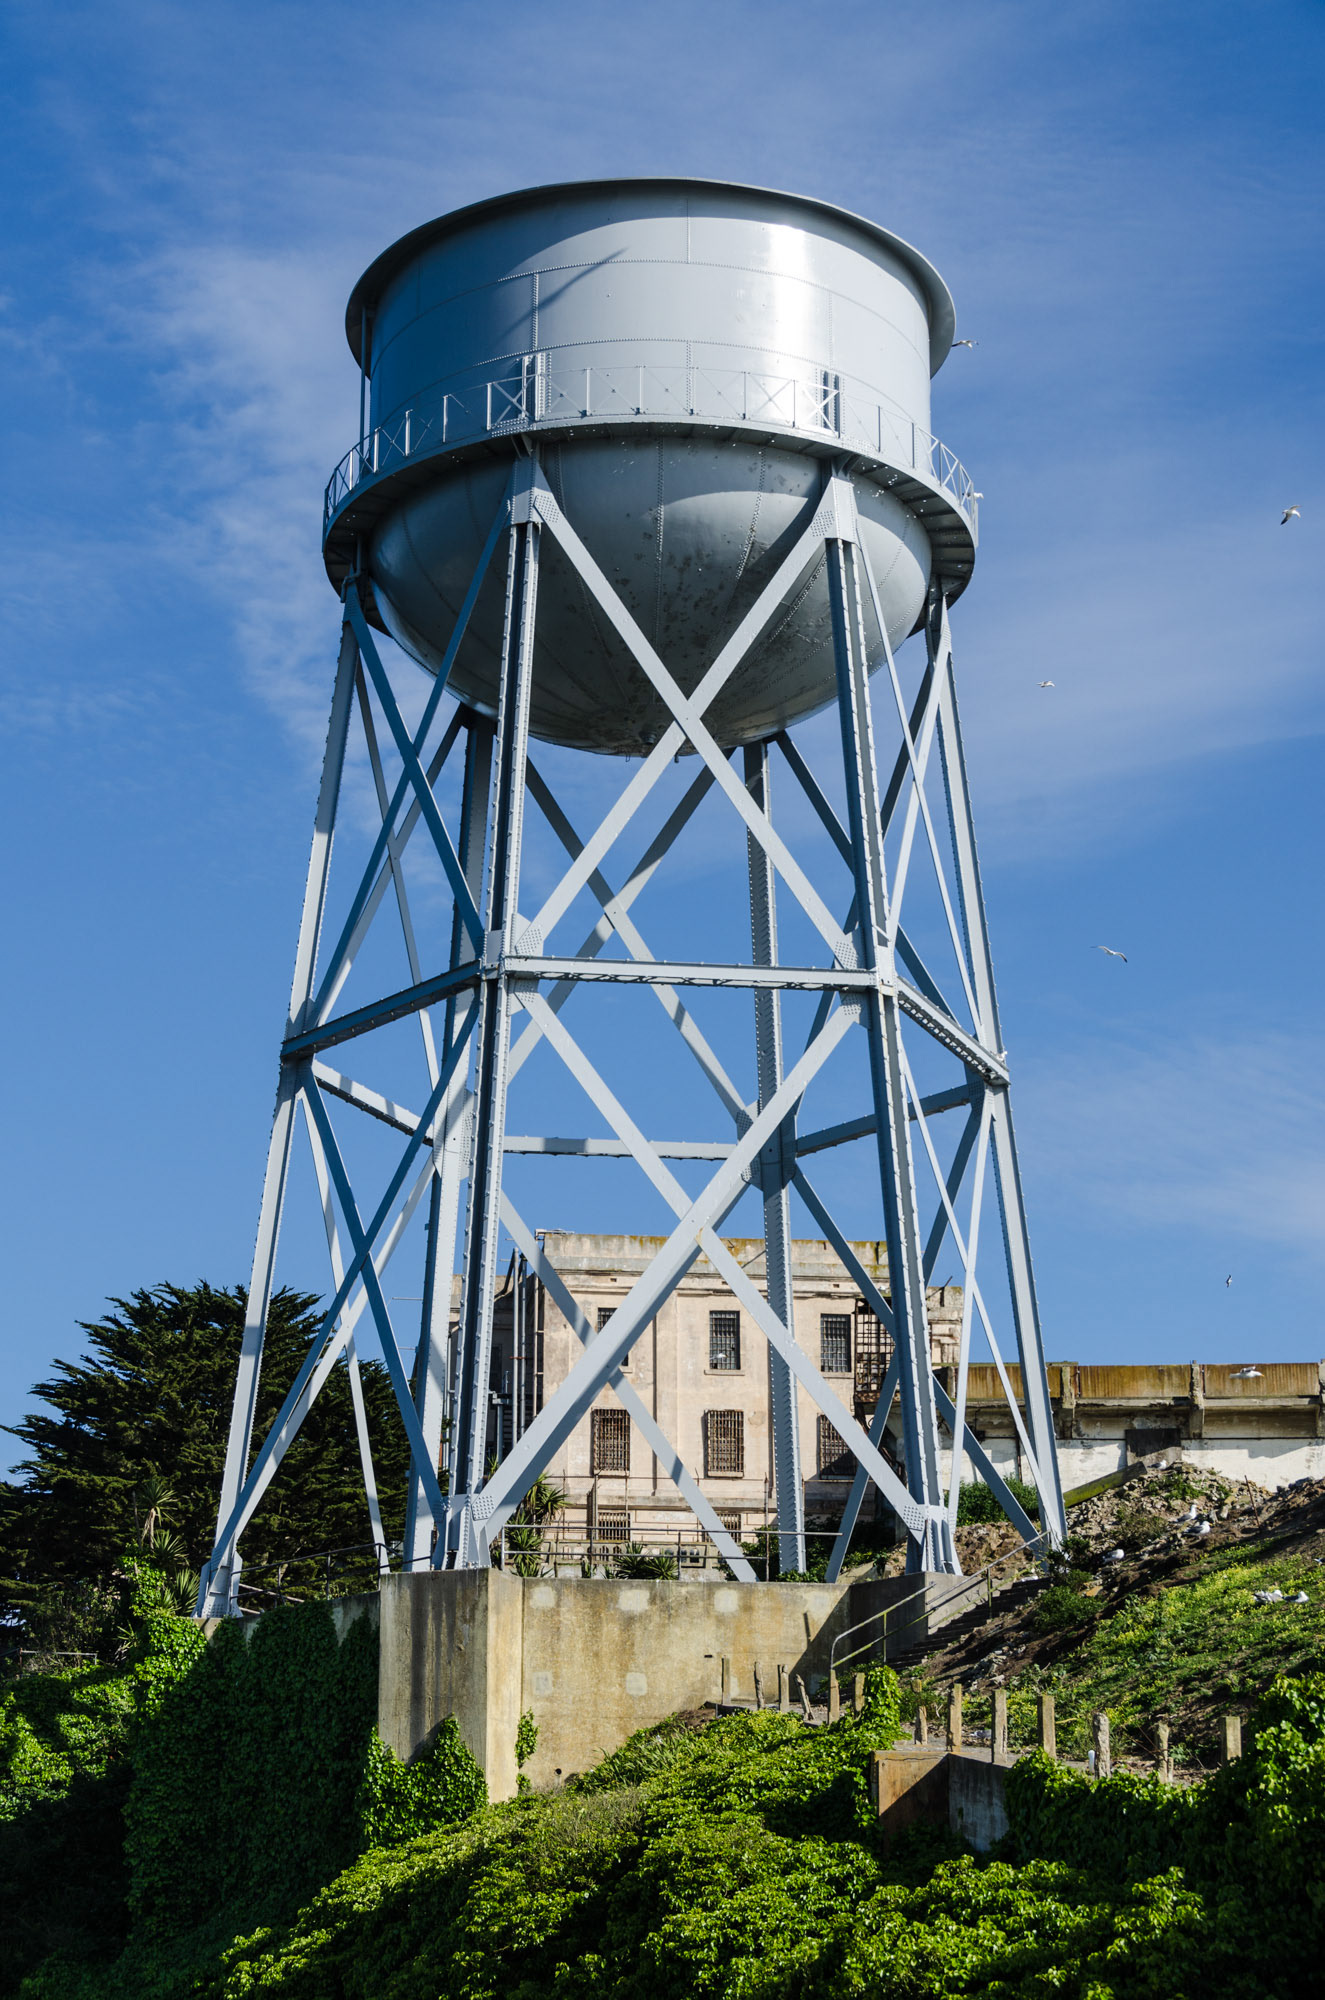
My first HDR image of the day, I wanted to ensure I had good (and realistic) detail in the shadows of the overhang, as well as the clouds in the background. Four frames, merged in HDR Pro as a 32-bit image, then processed in Lightroom.

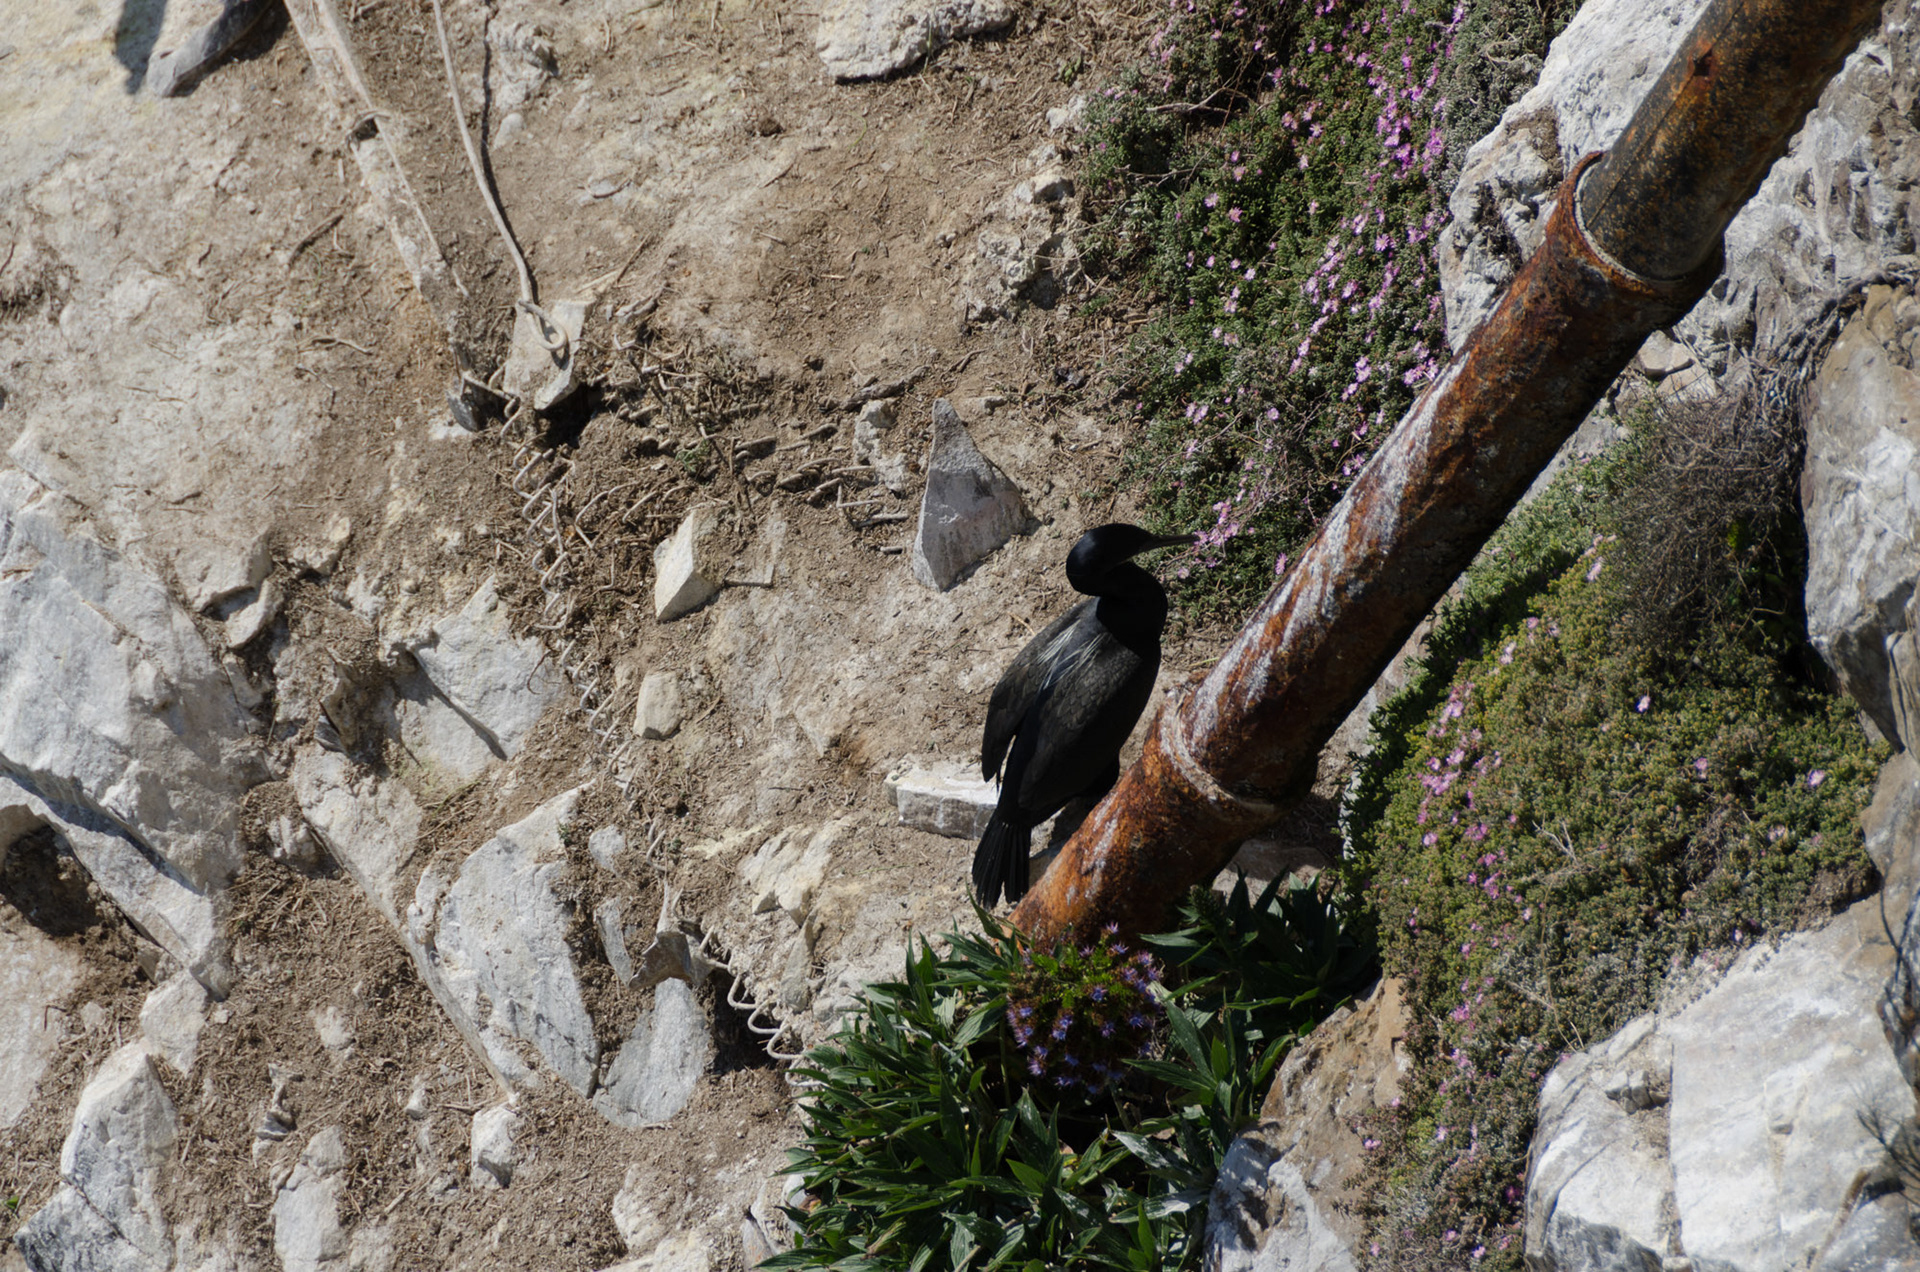

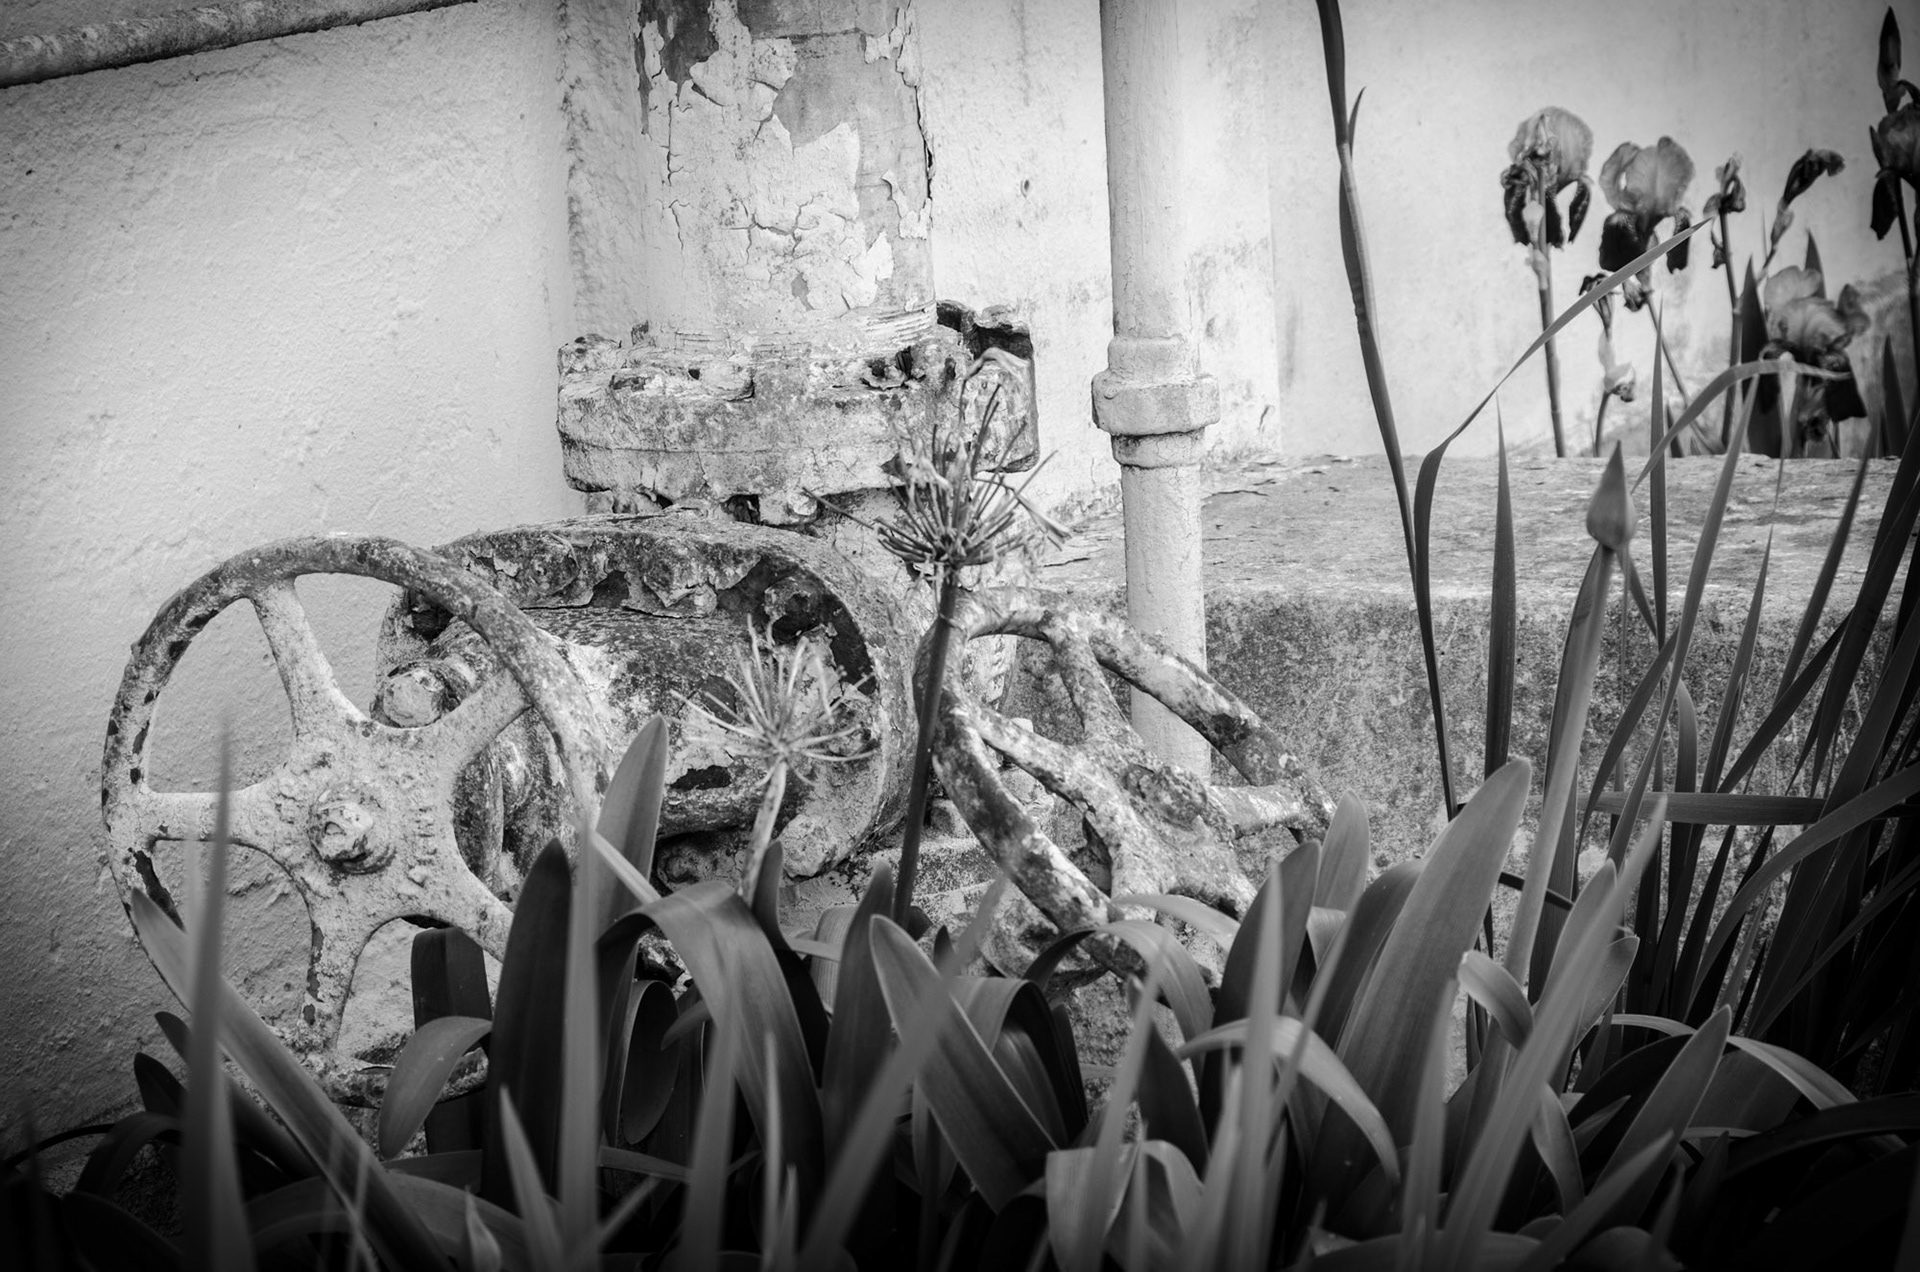
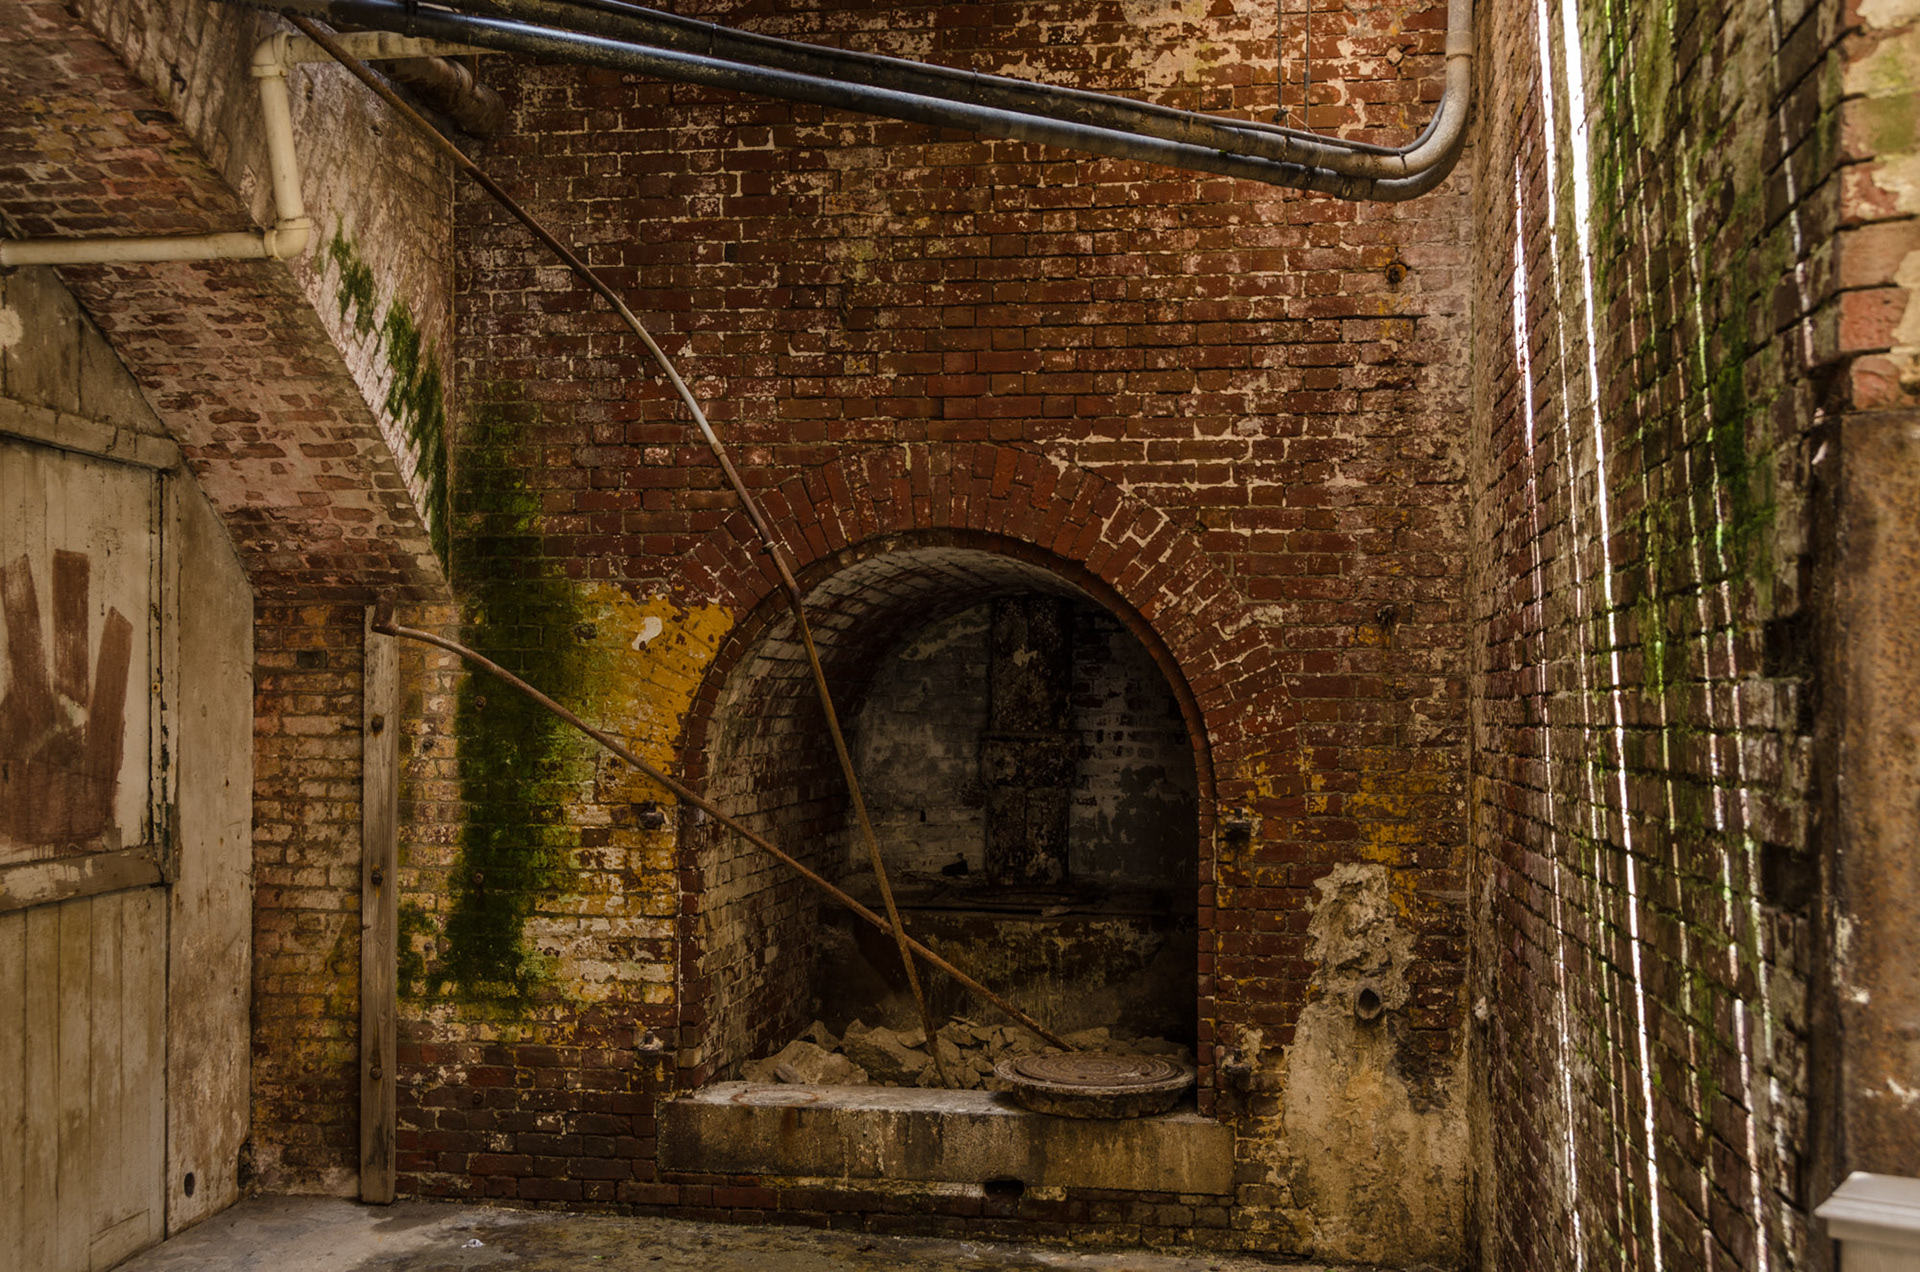
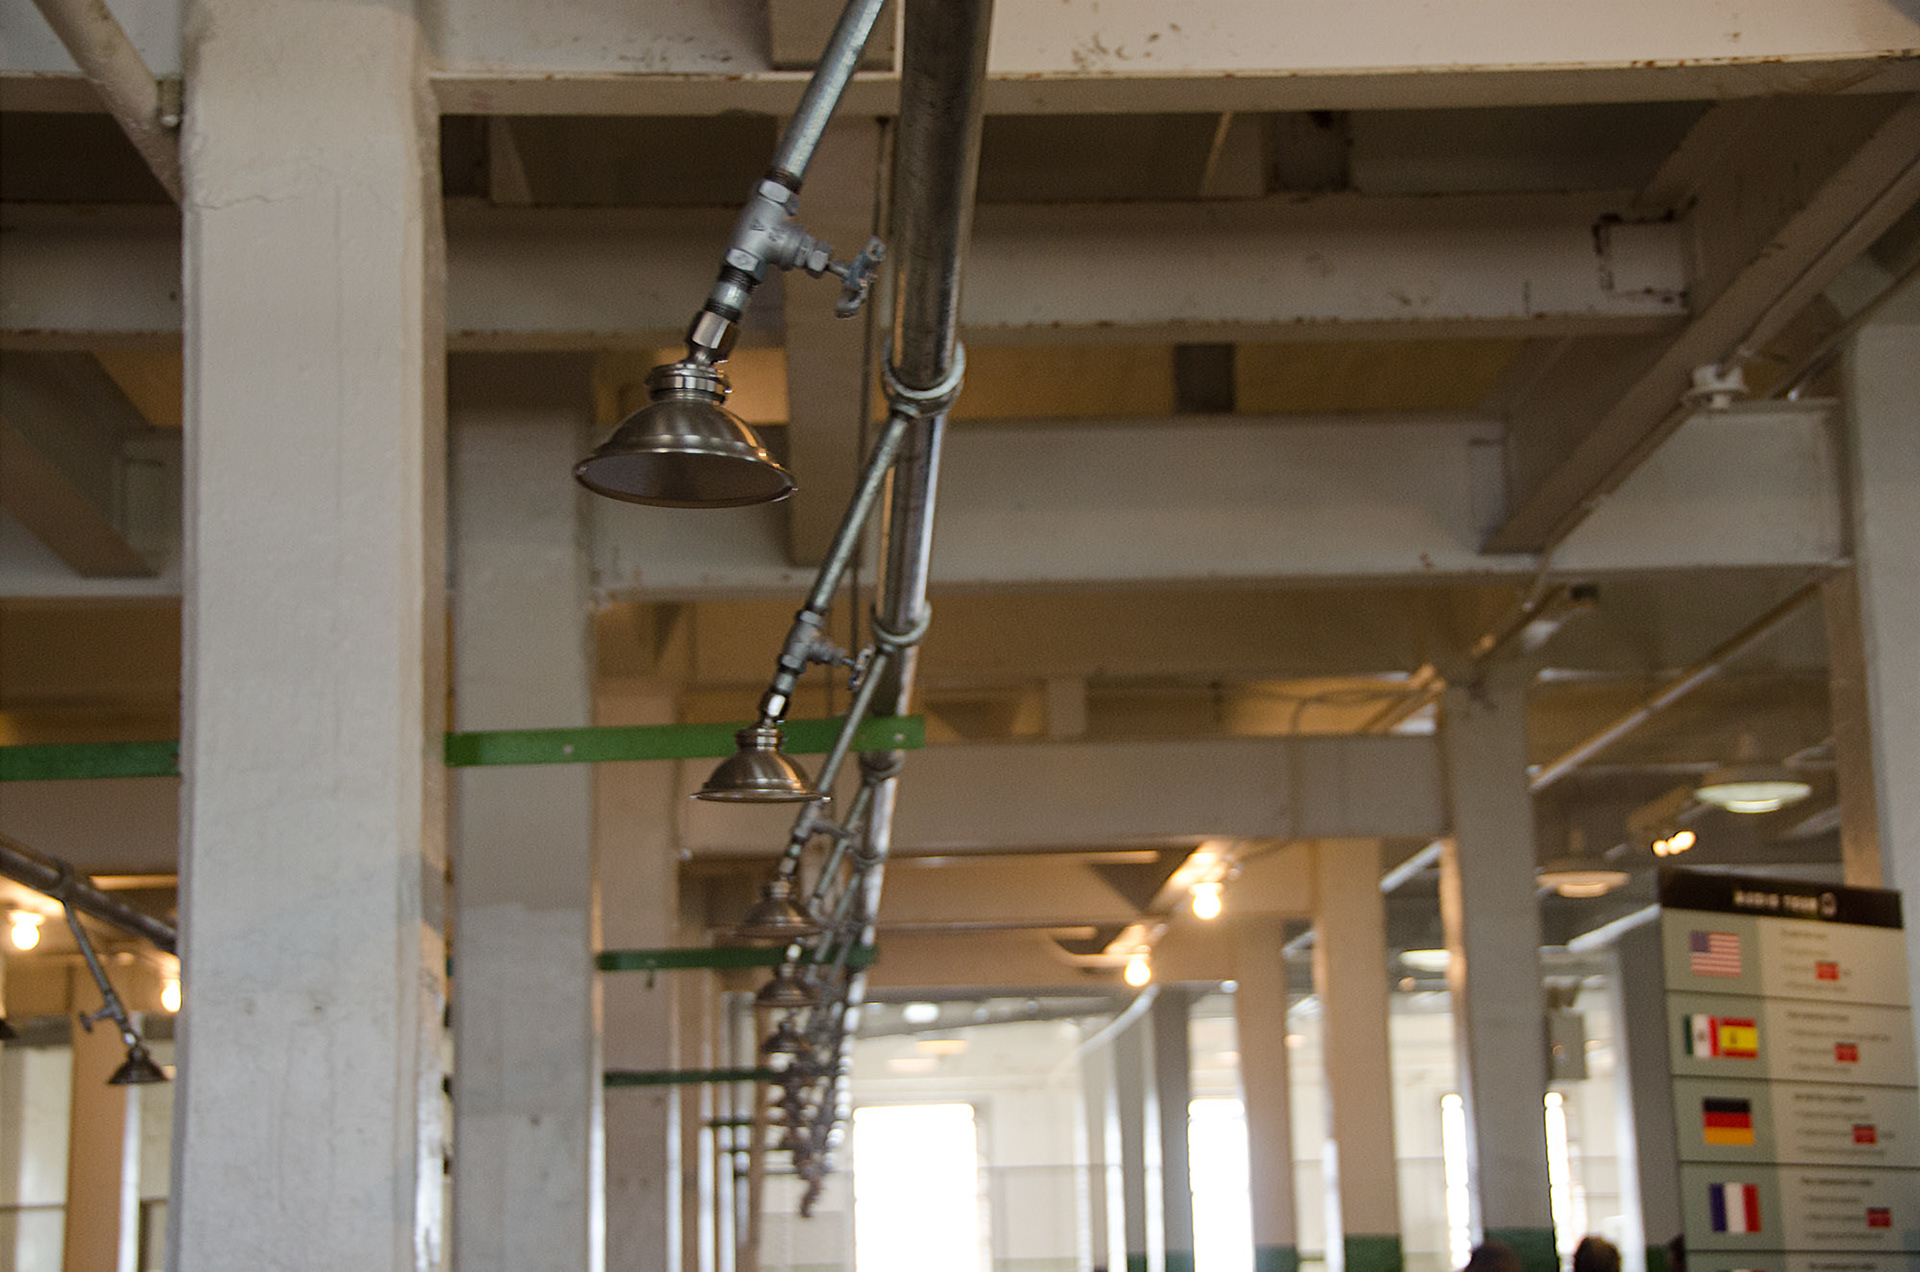
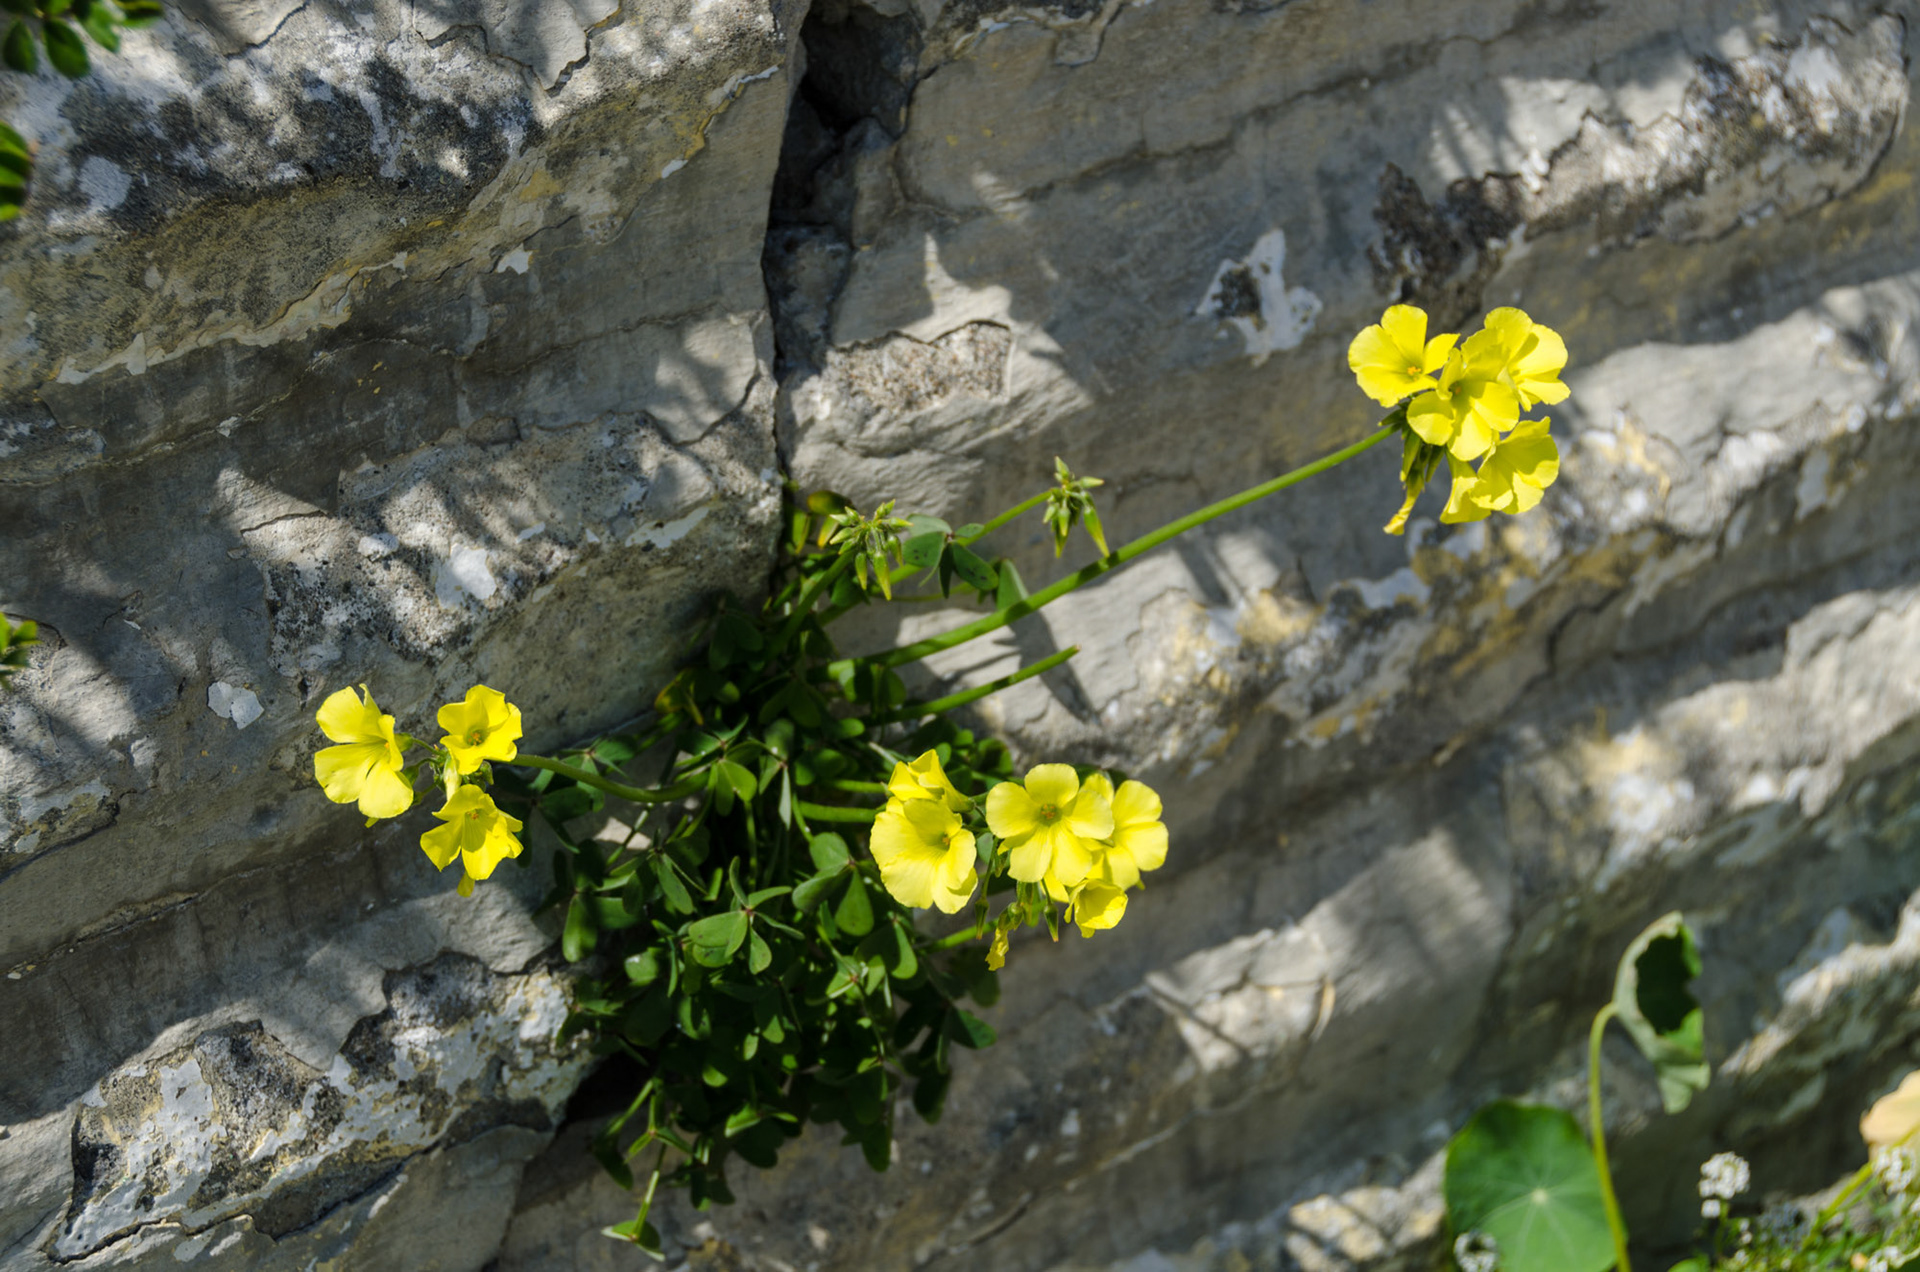
While the irises were pretty in ths shot, I visualized something more gritty, based on the rusting and paint-peeled pipes. Keeping the image in color didn't fit that mood. Adding a subtle vignette helped even more.
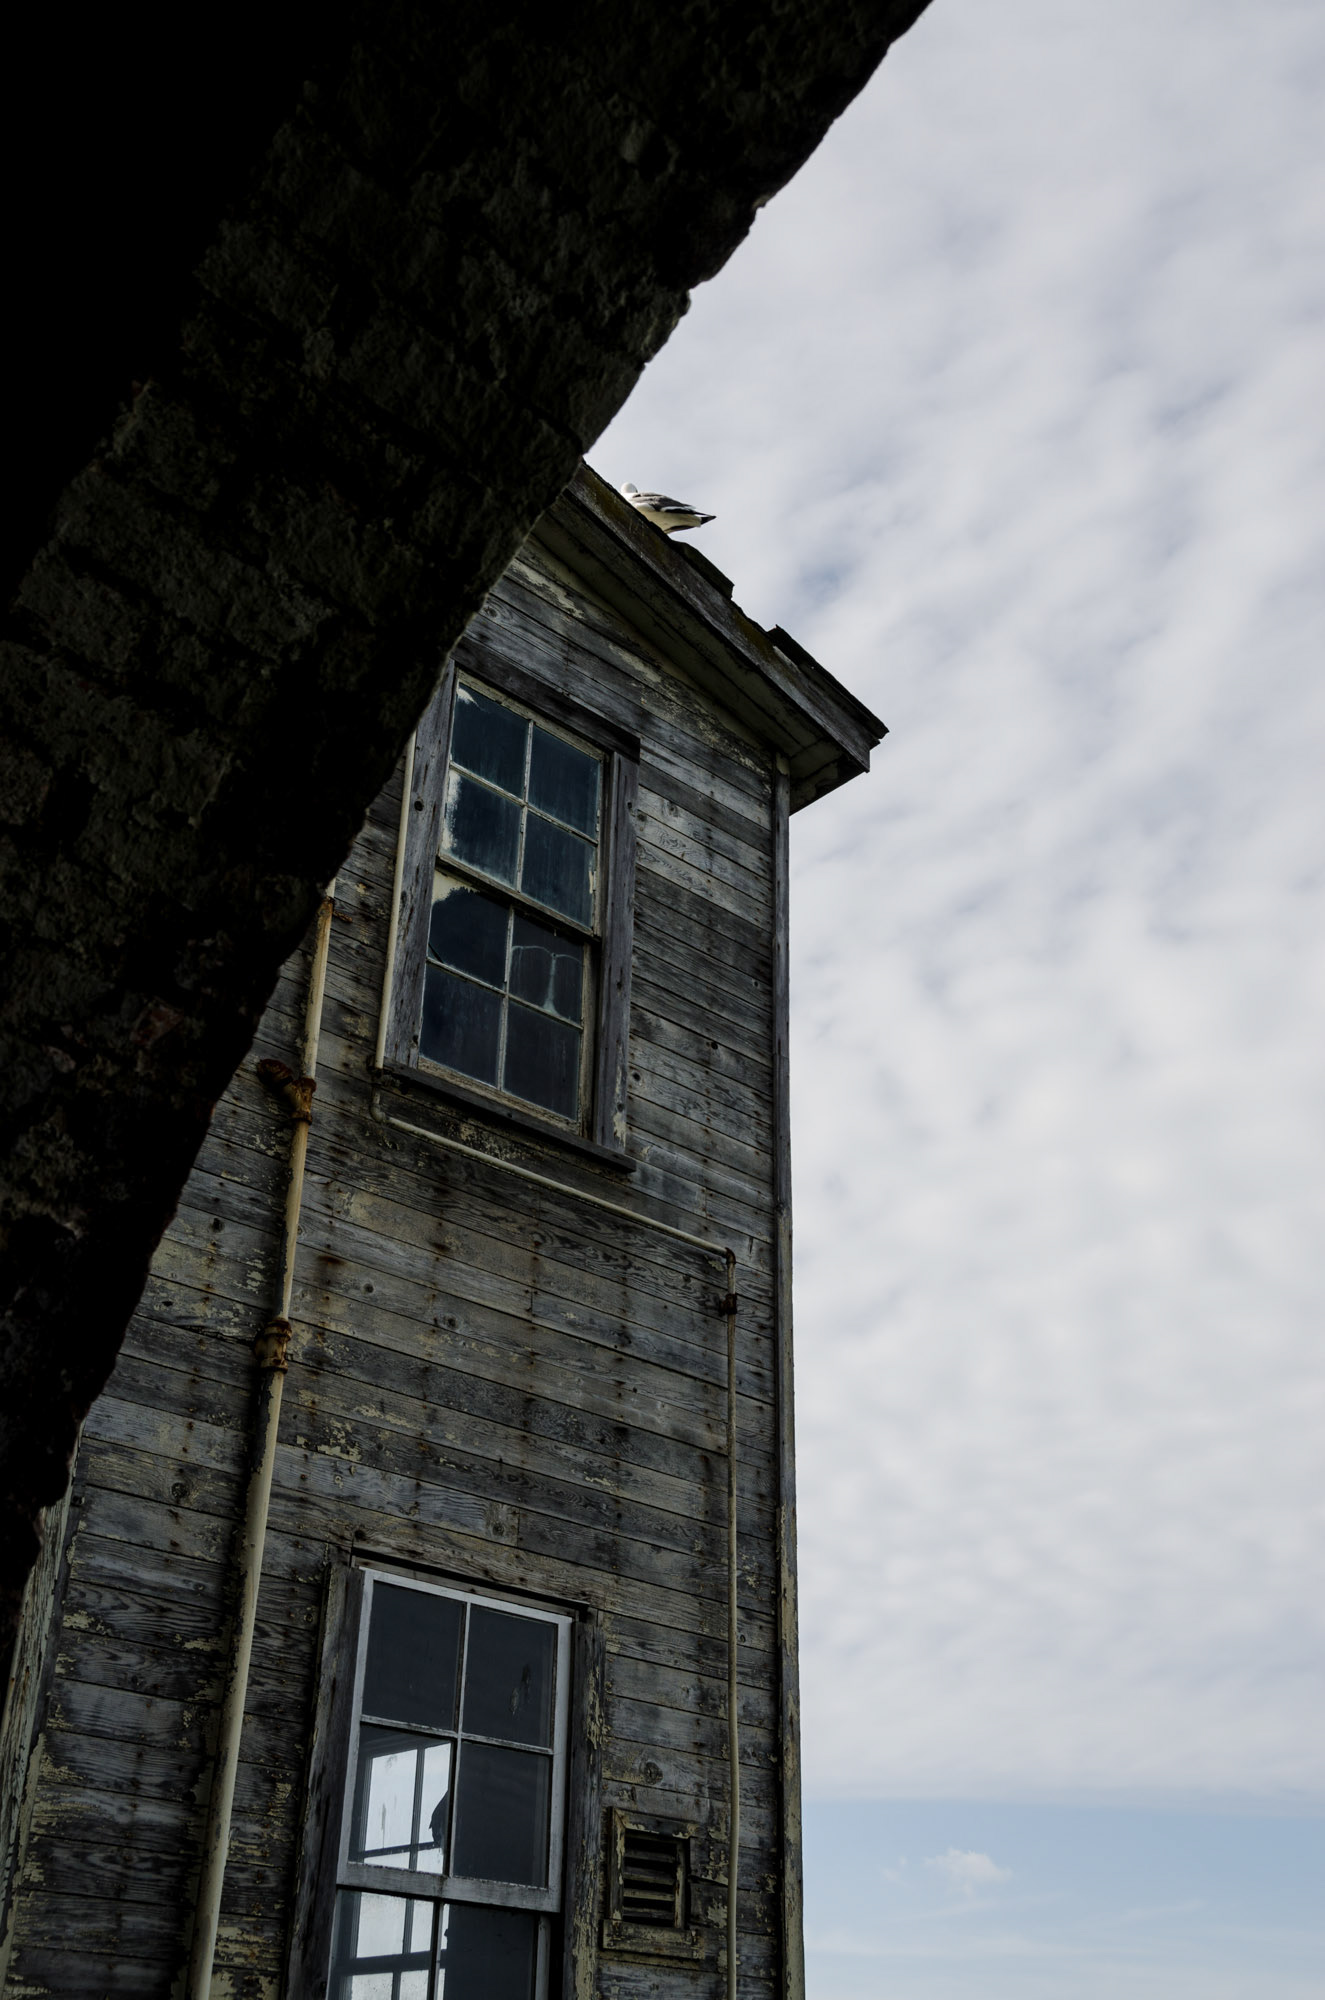

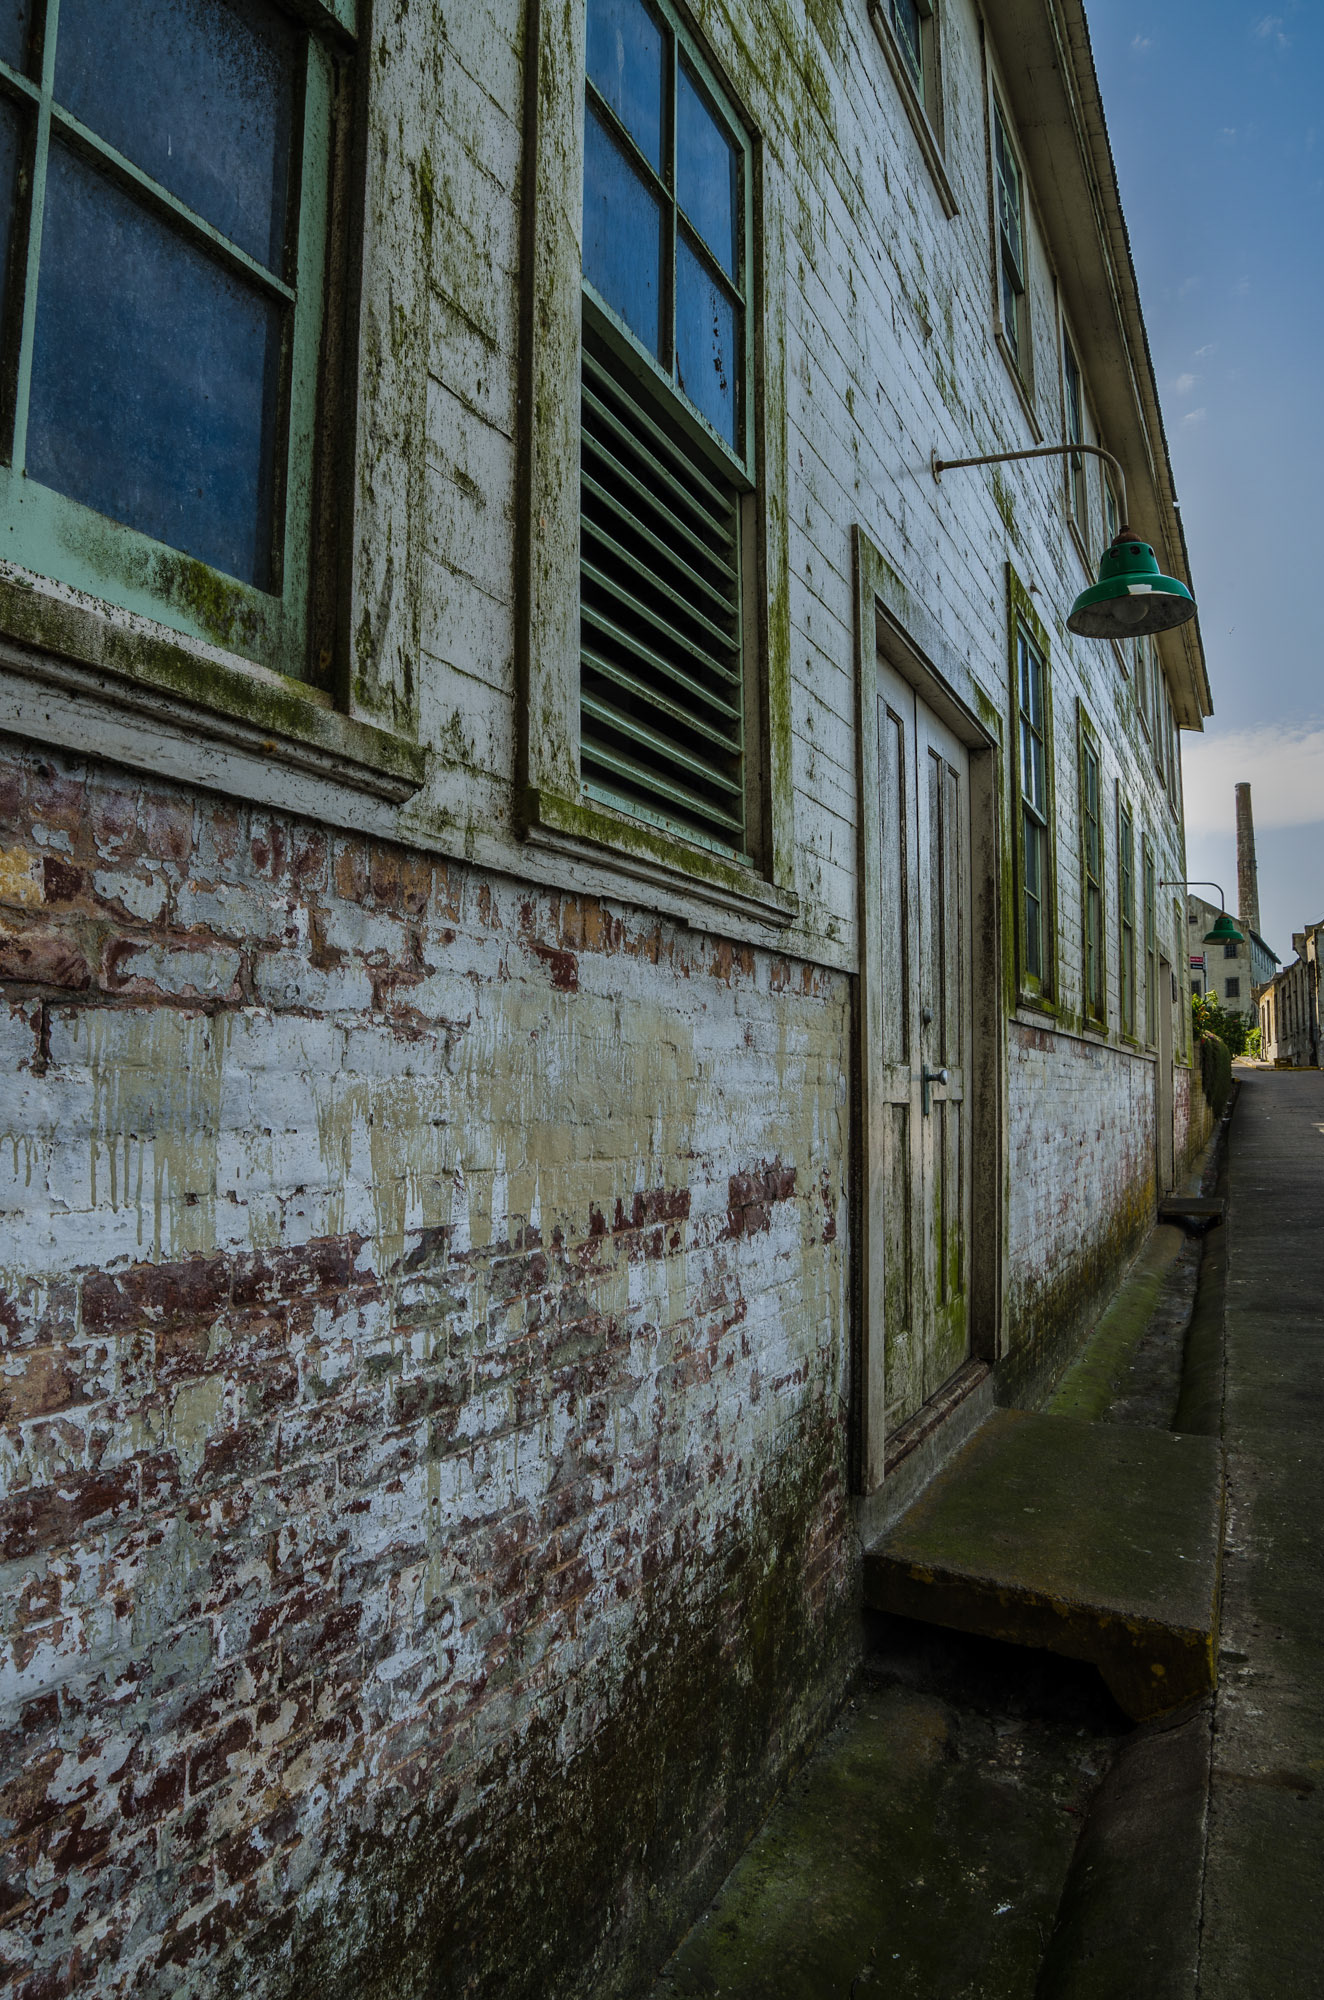
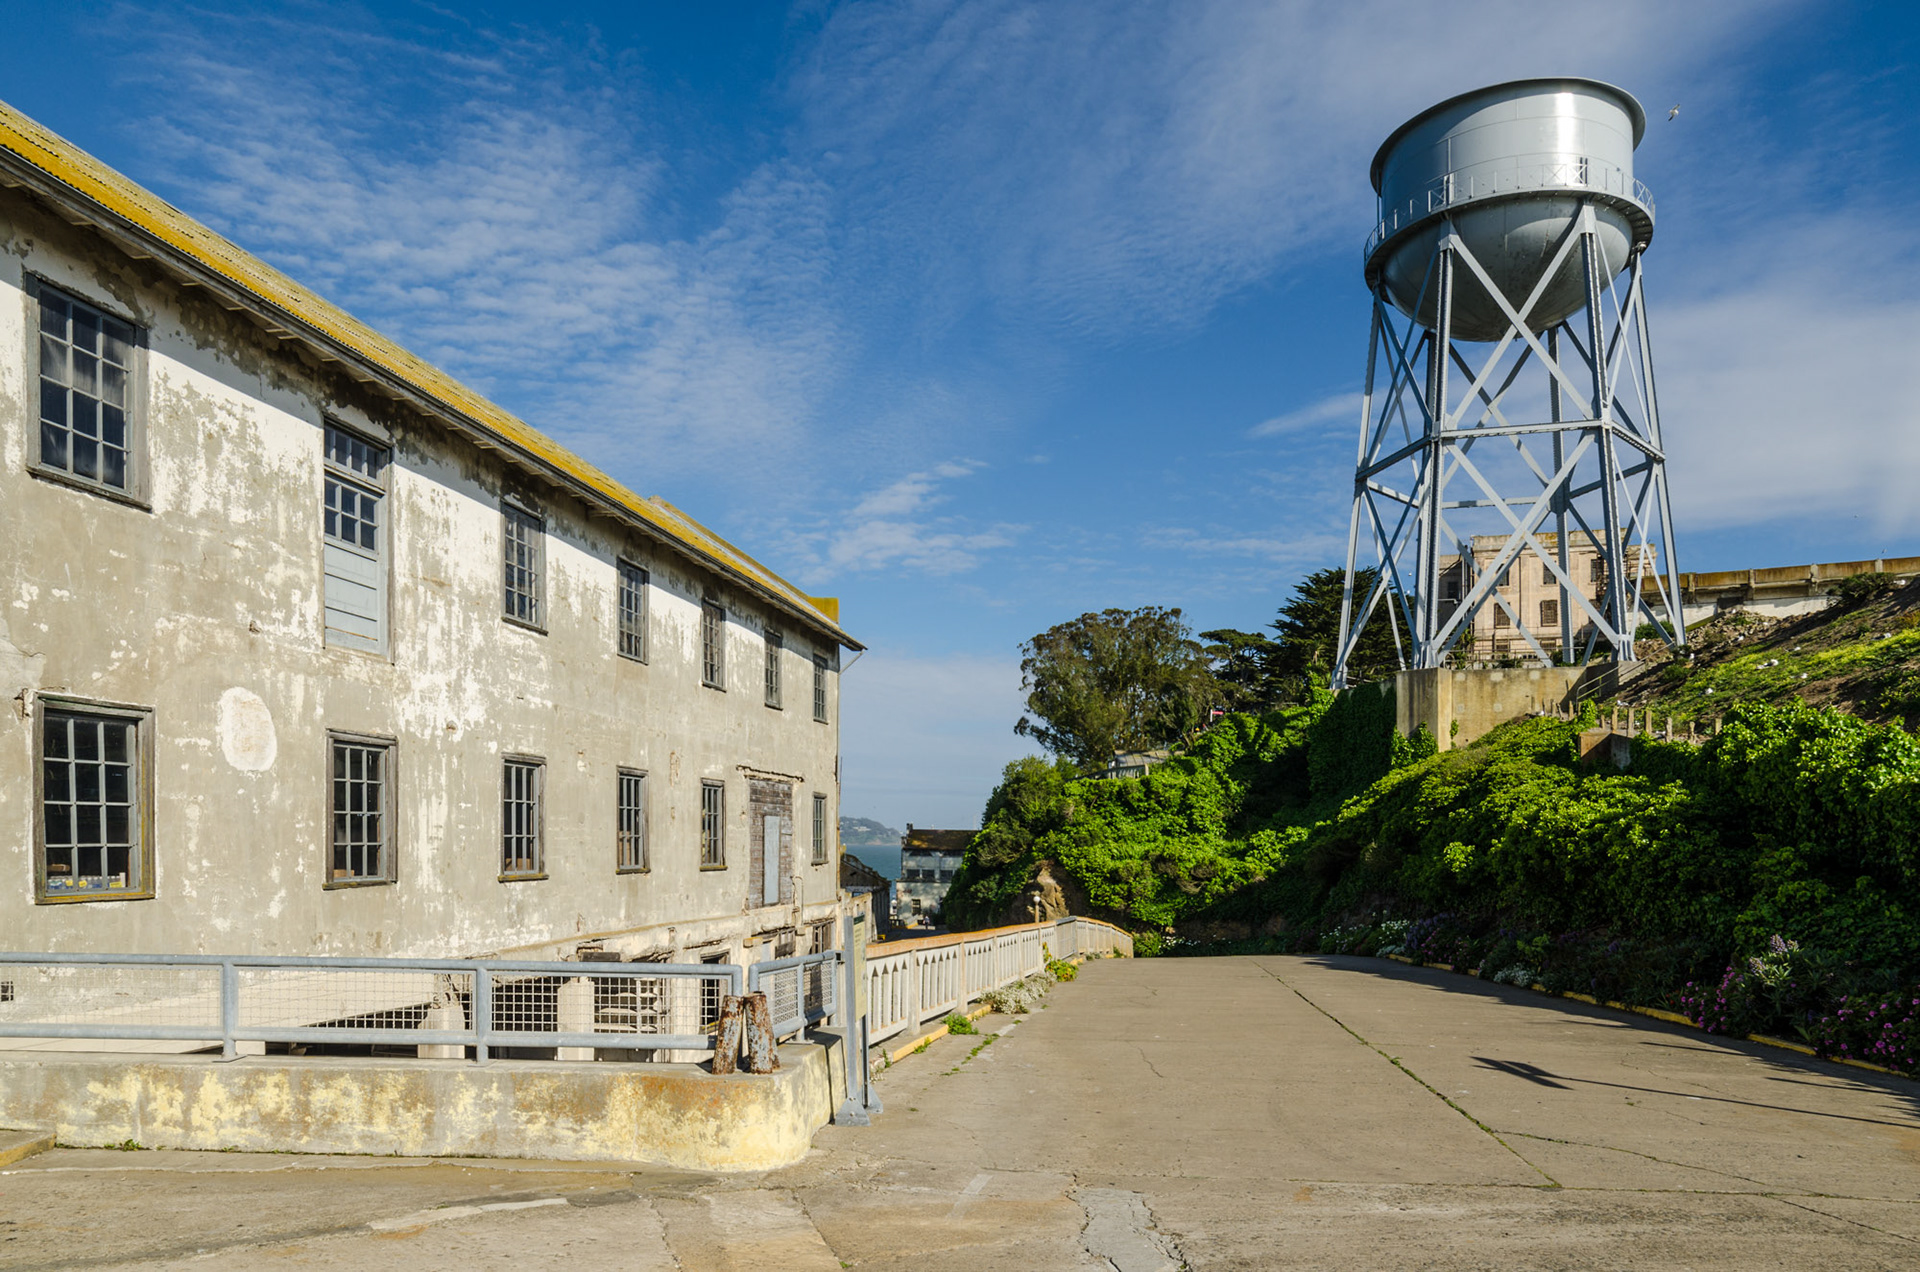

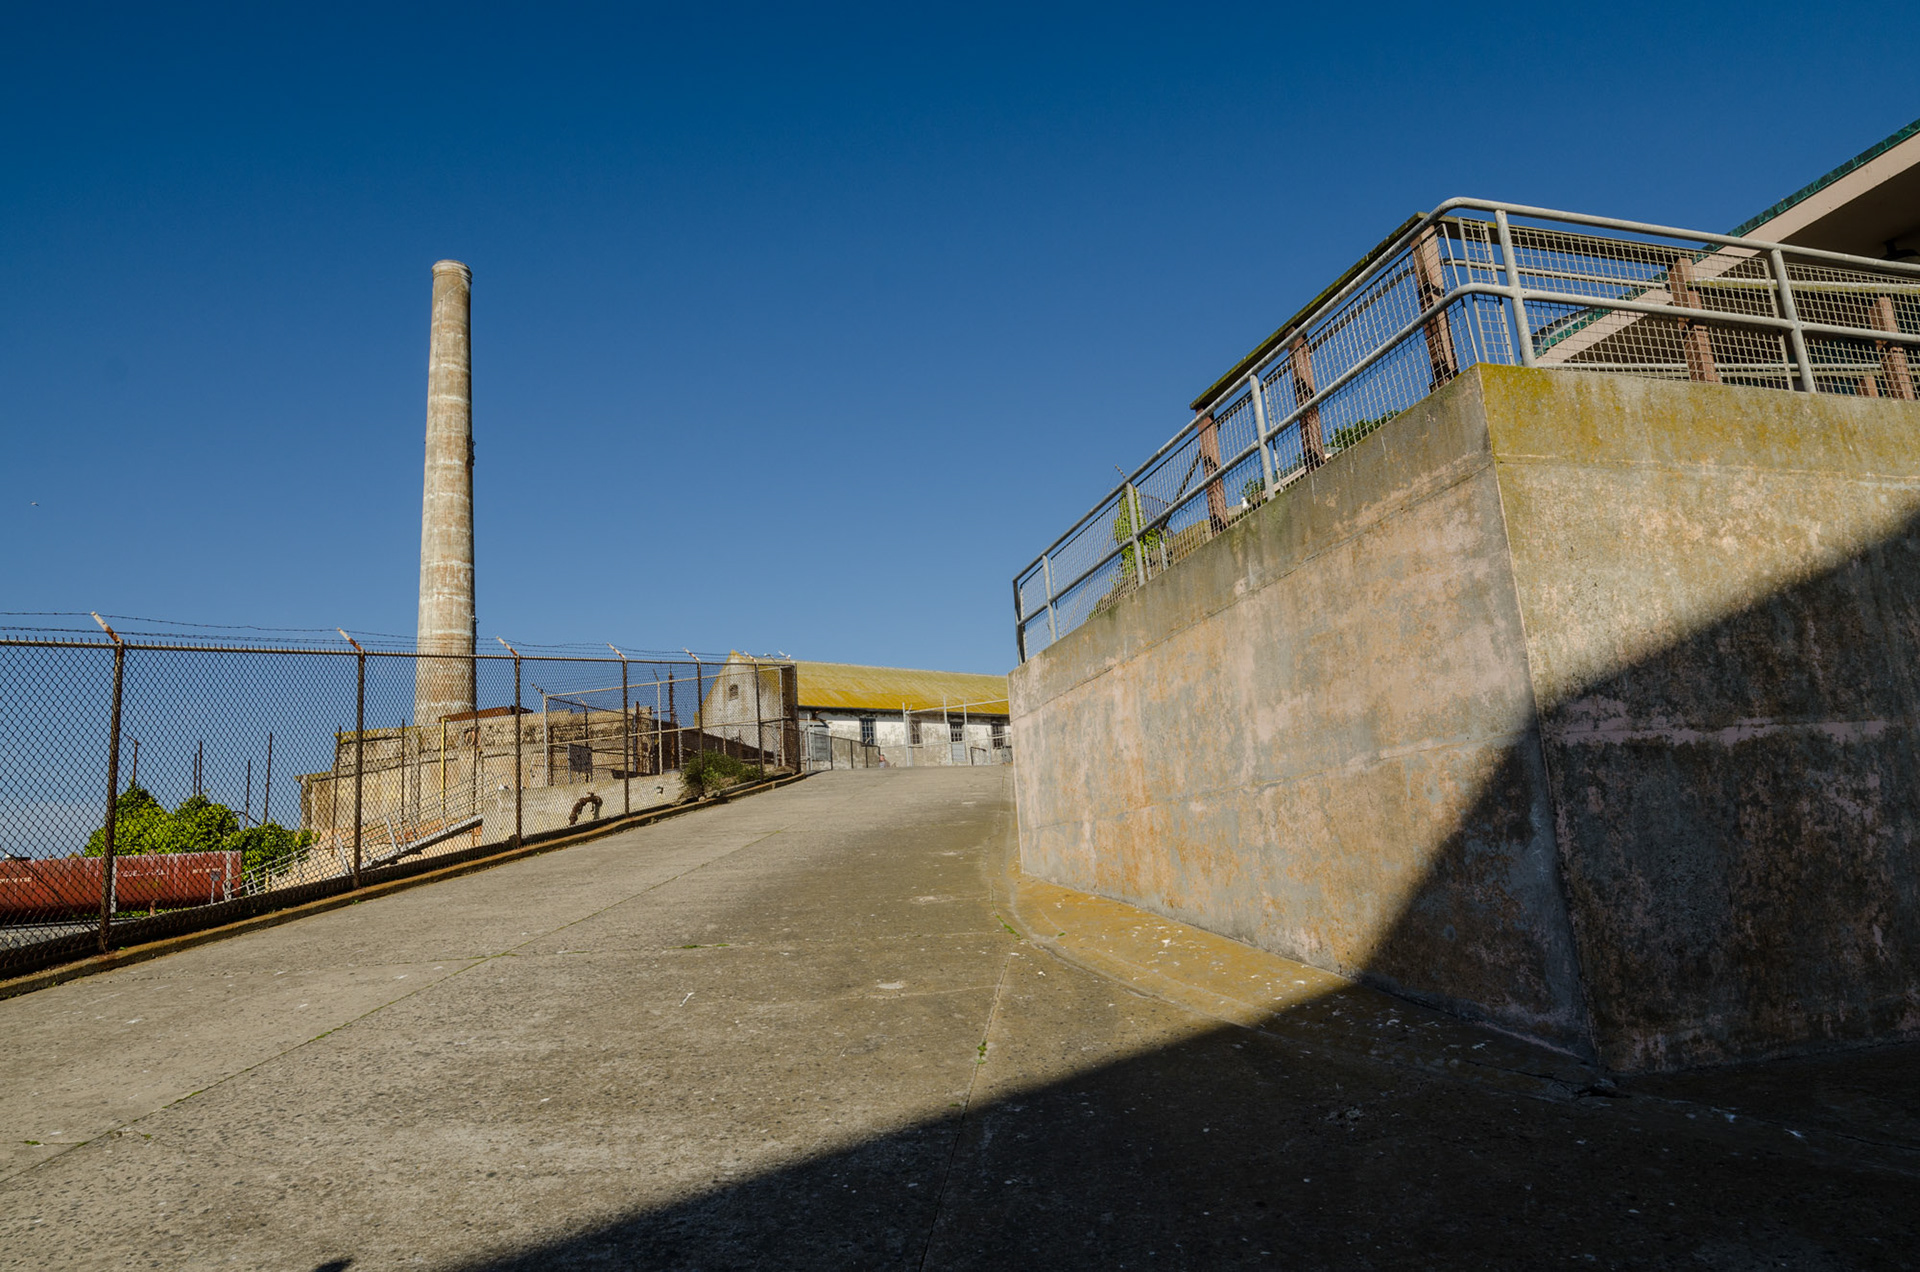
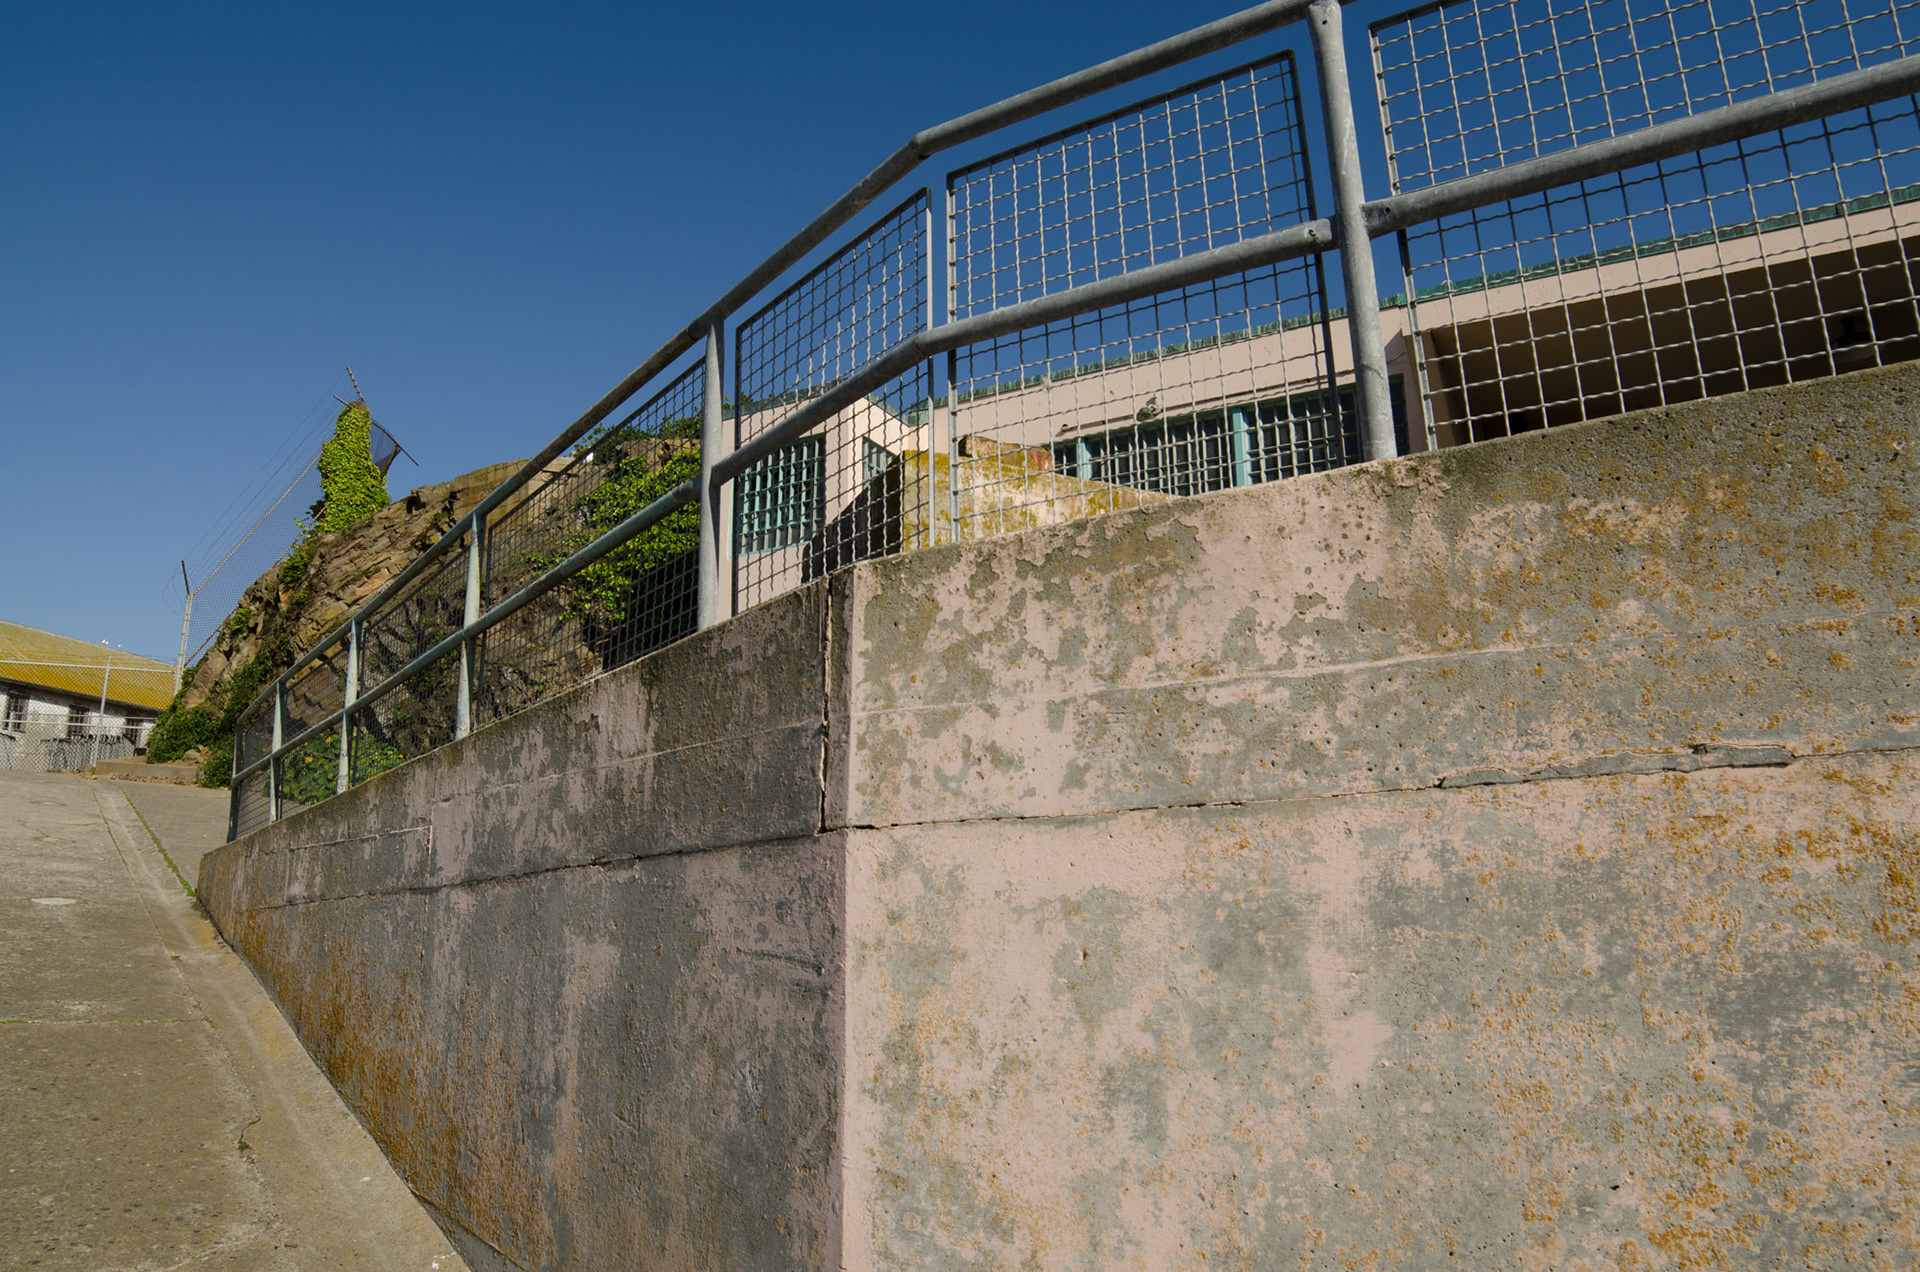
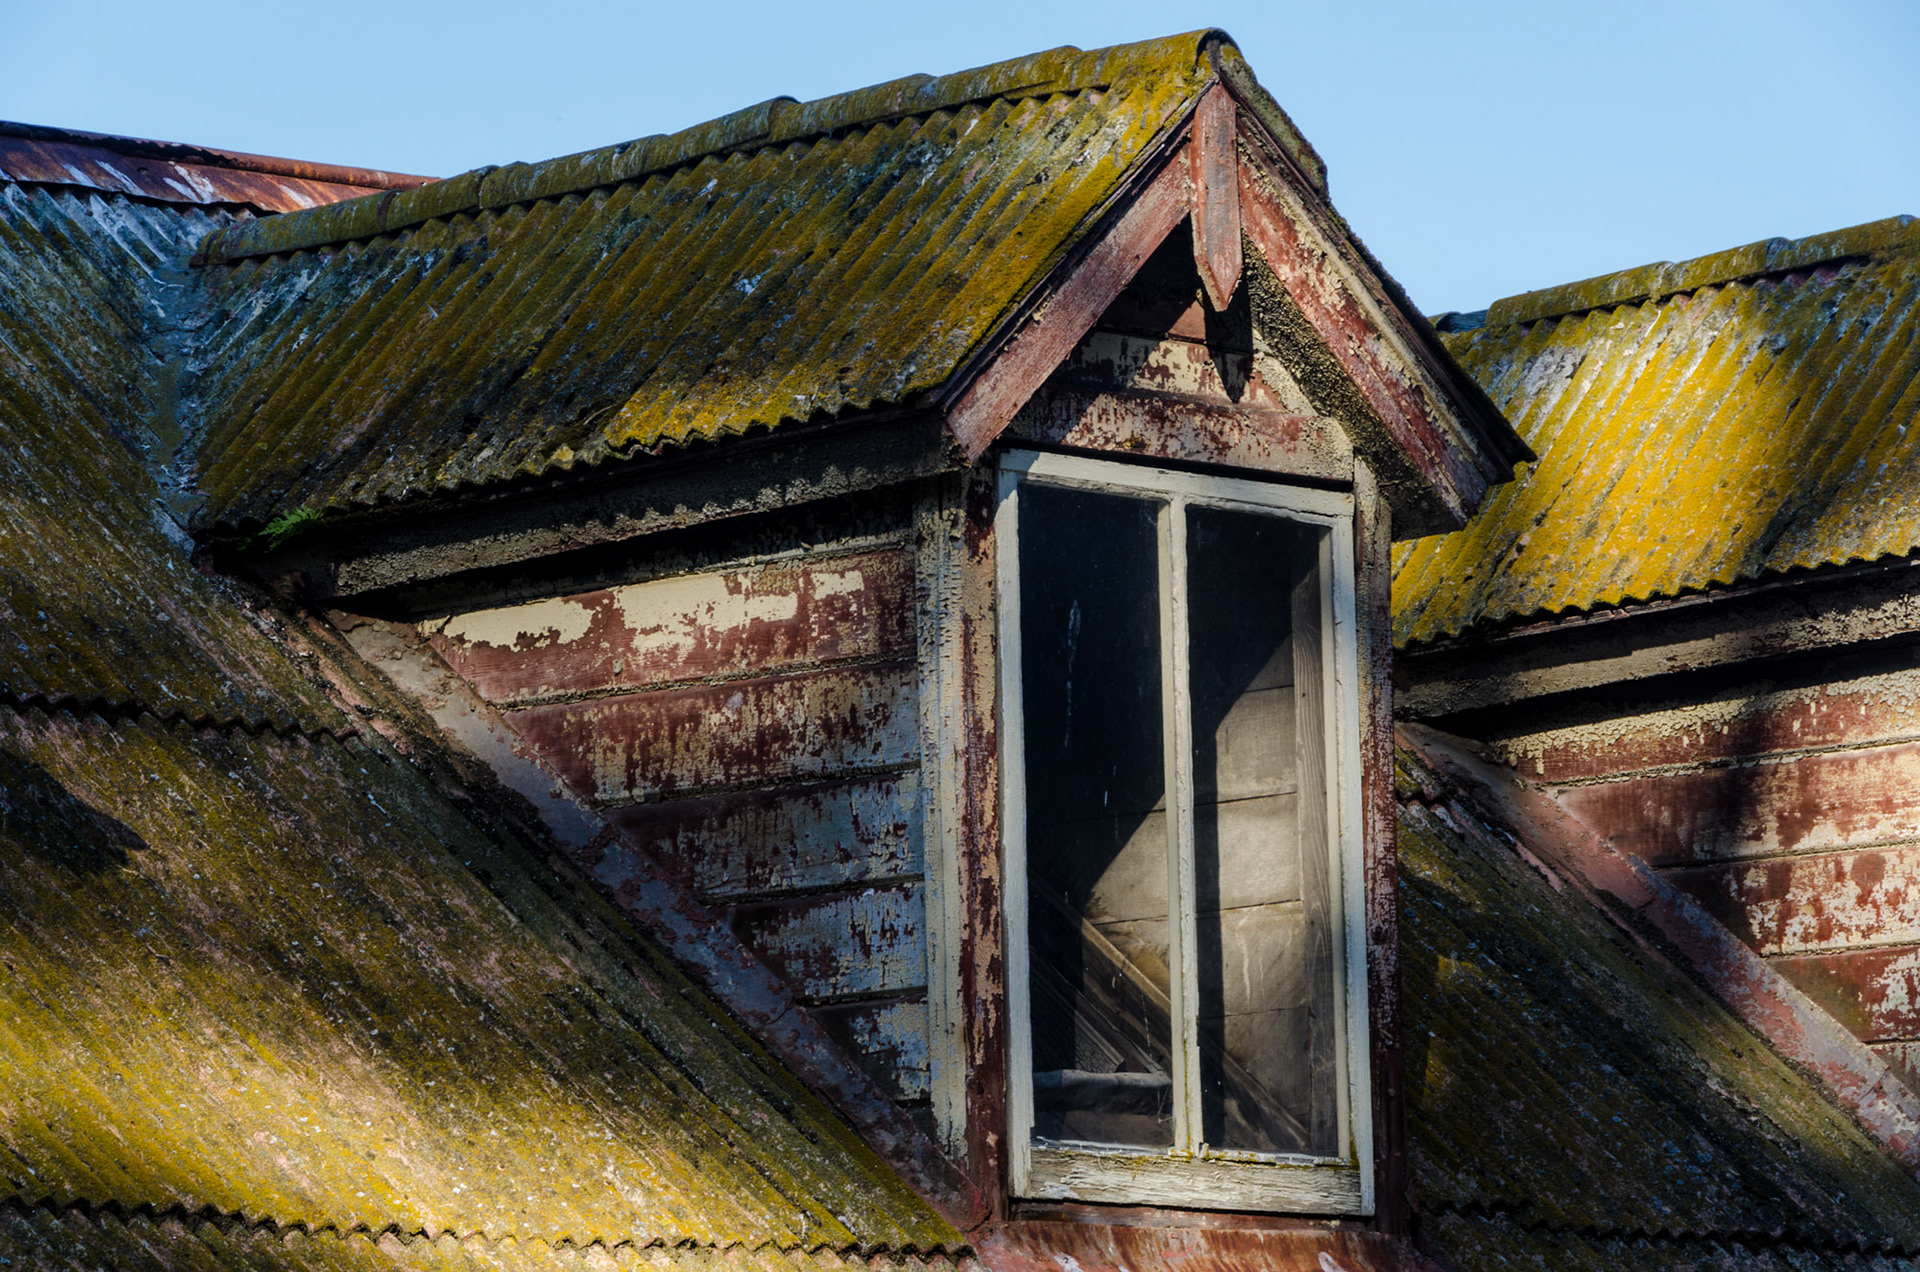


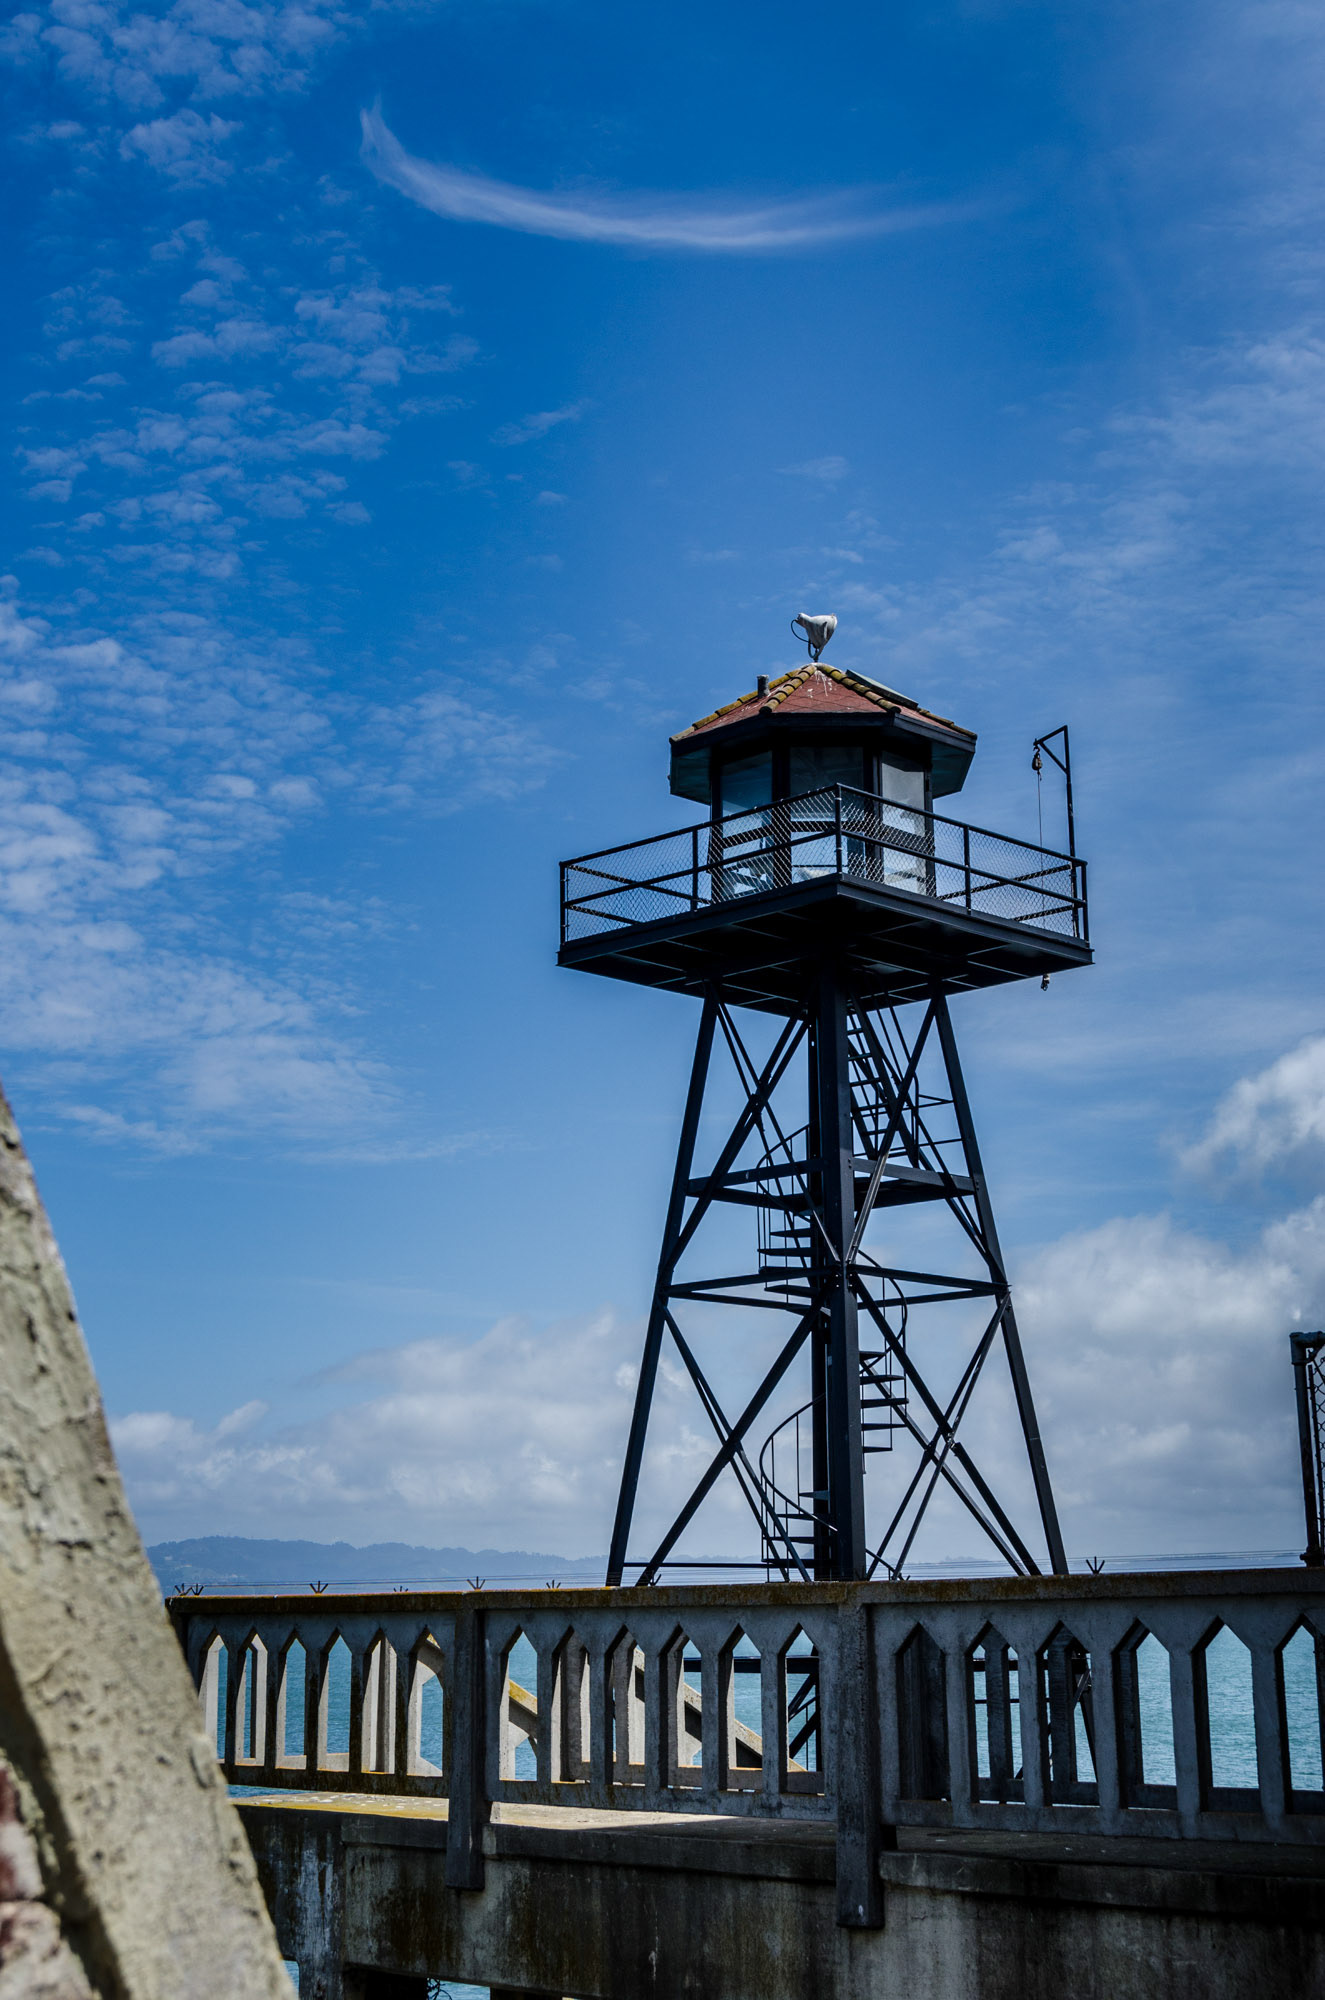
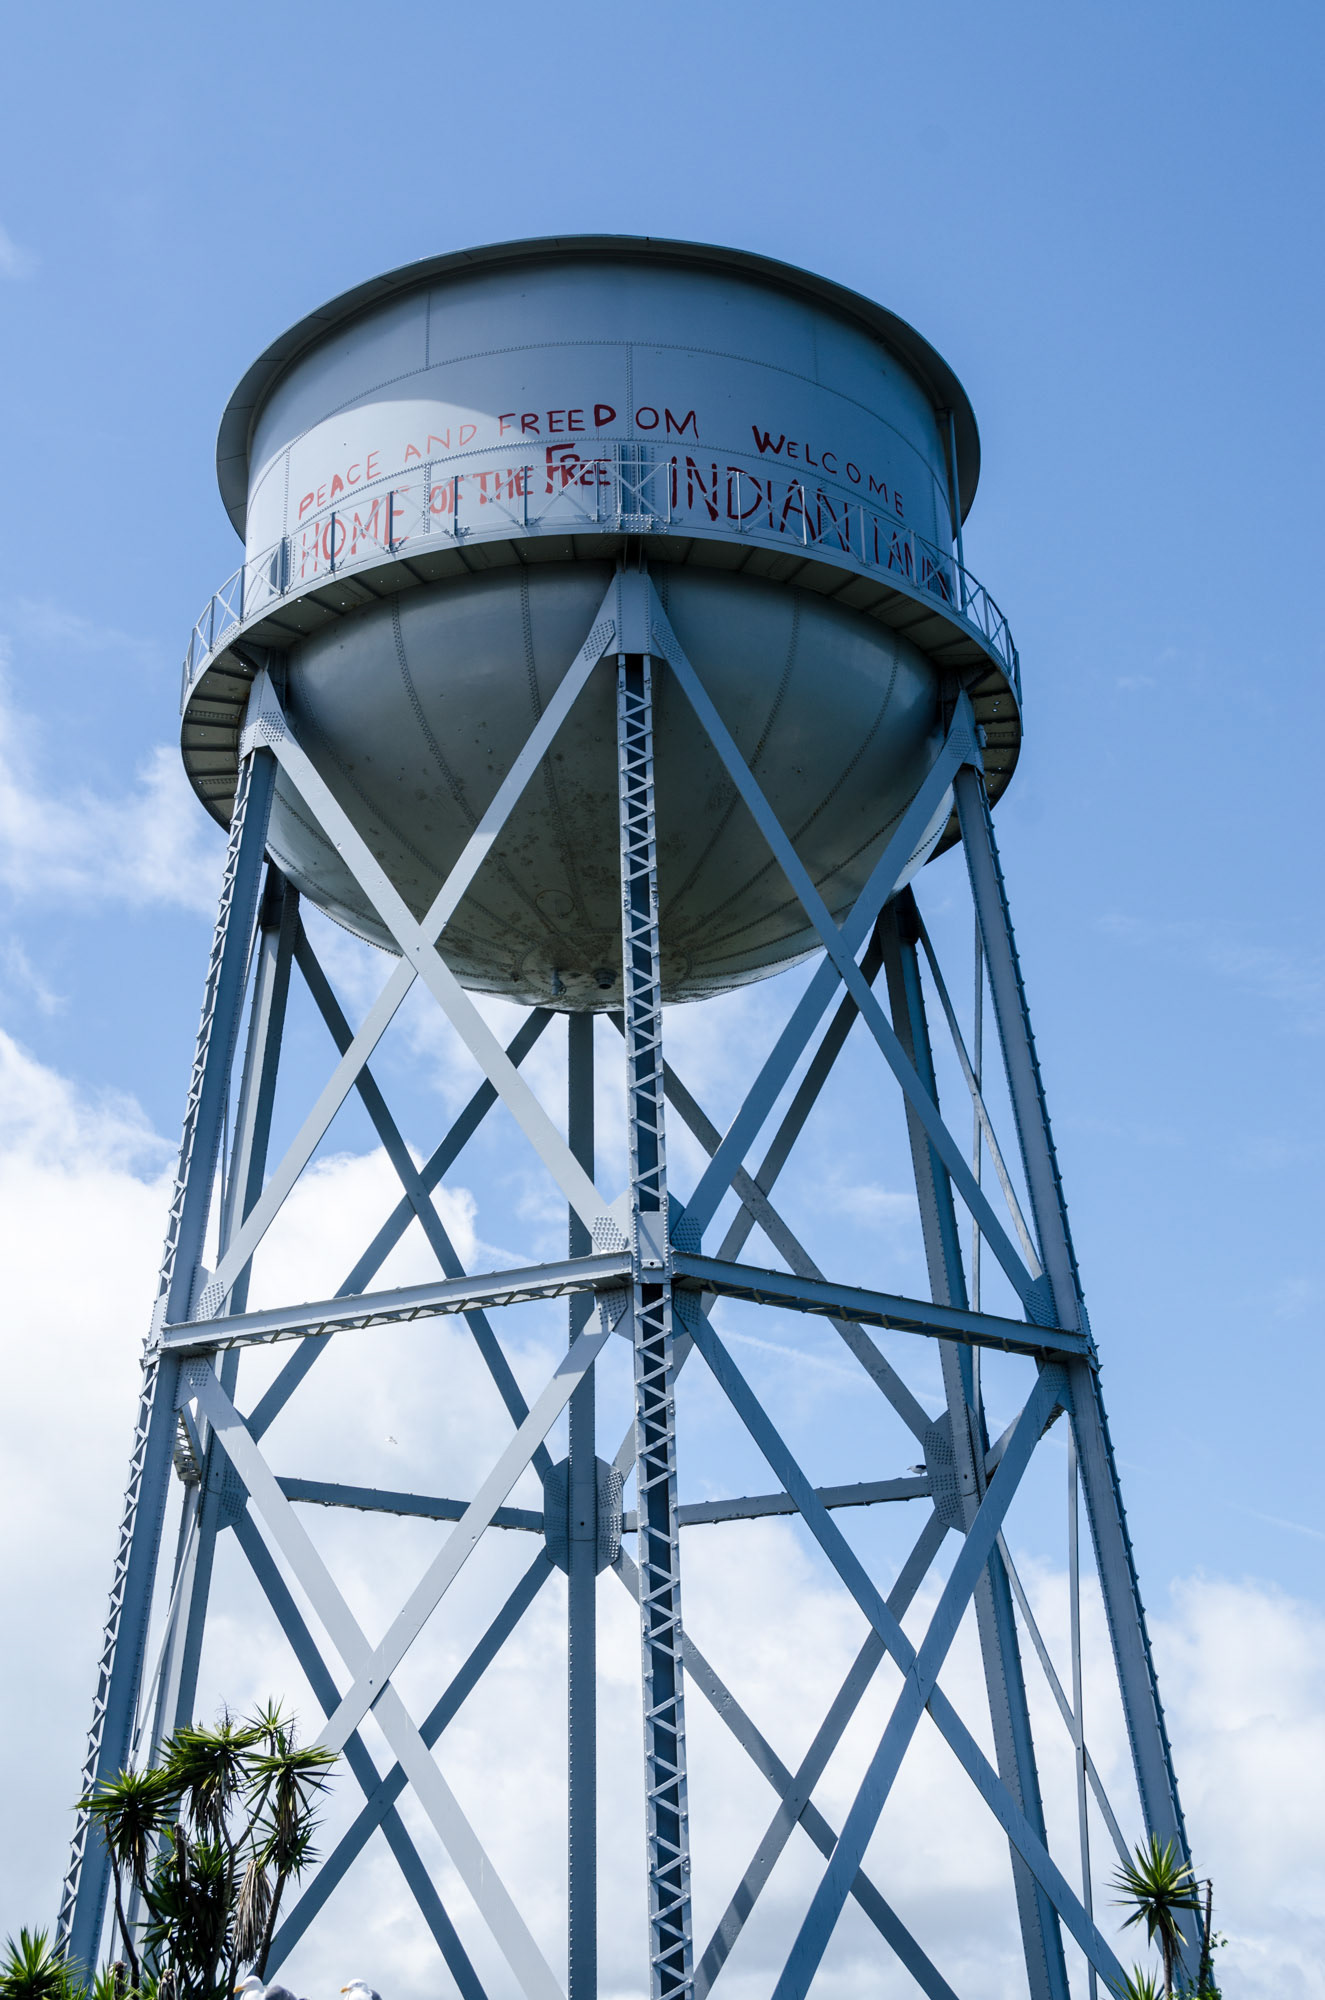
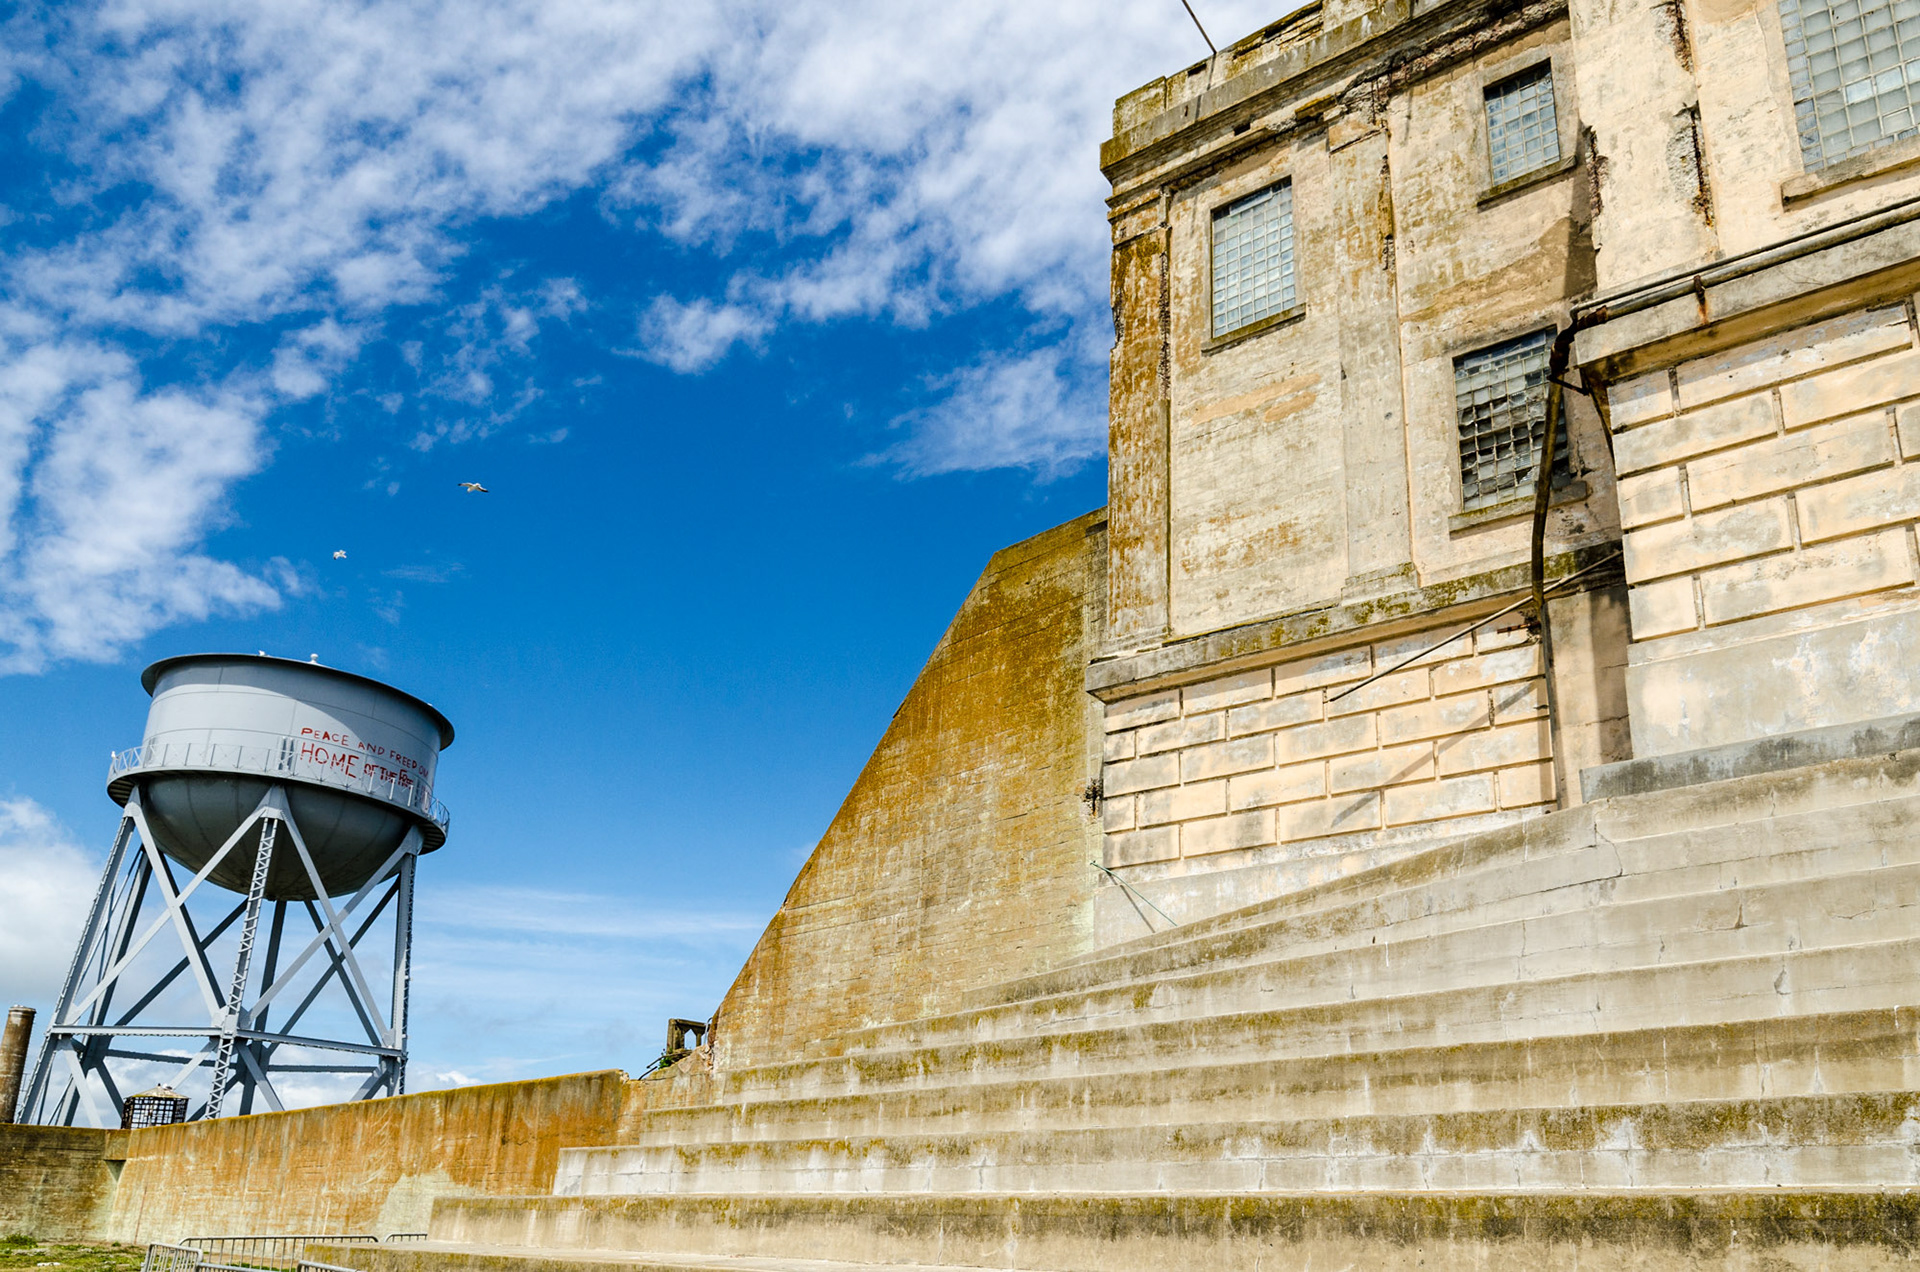
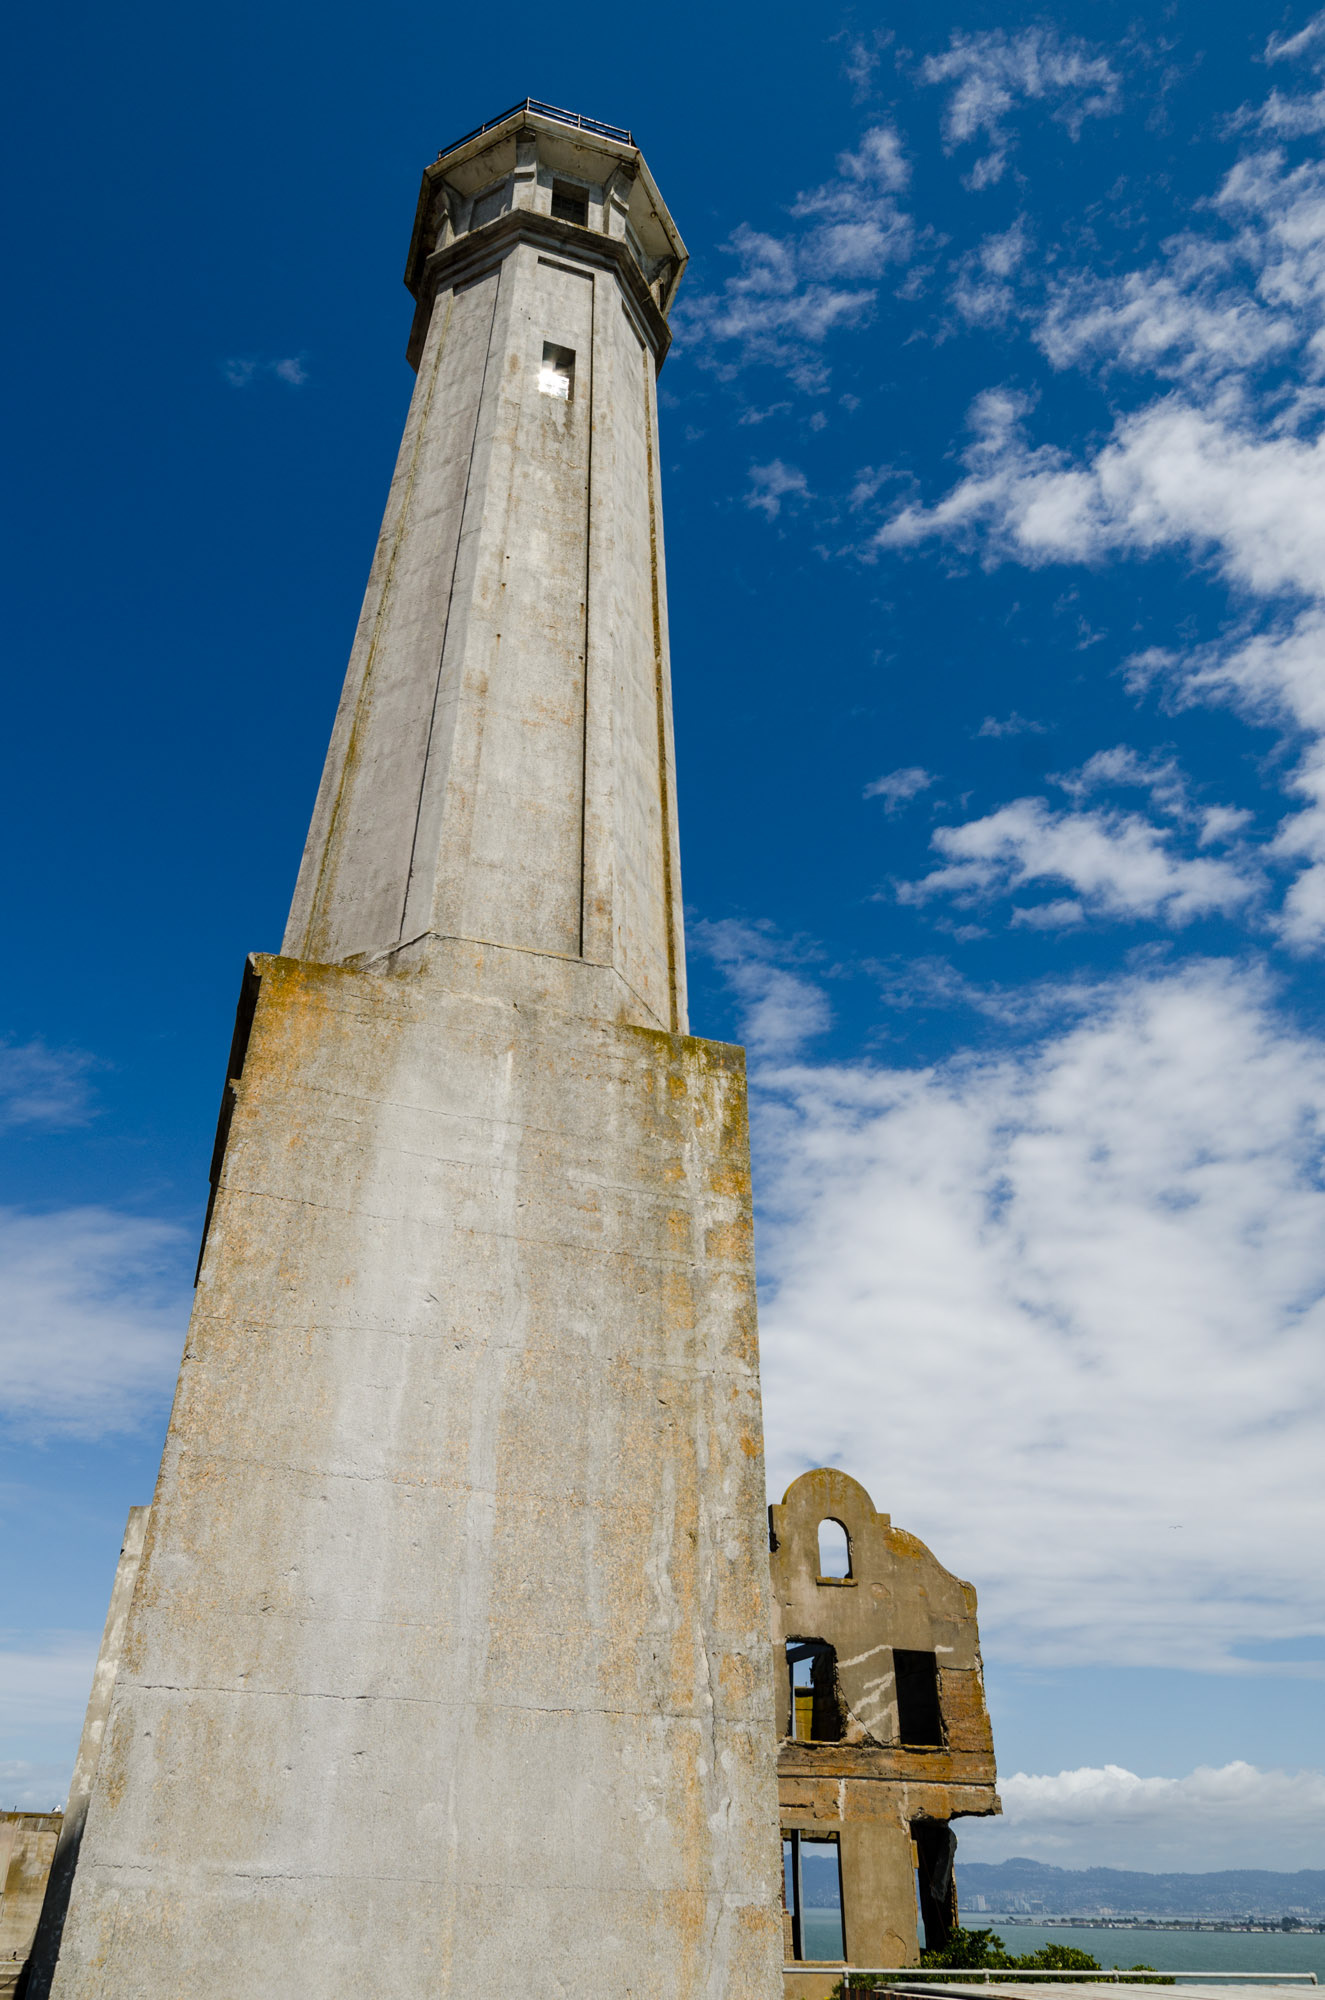
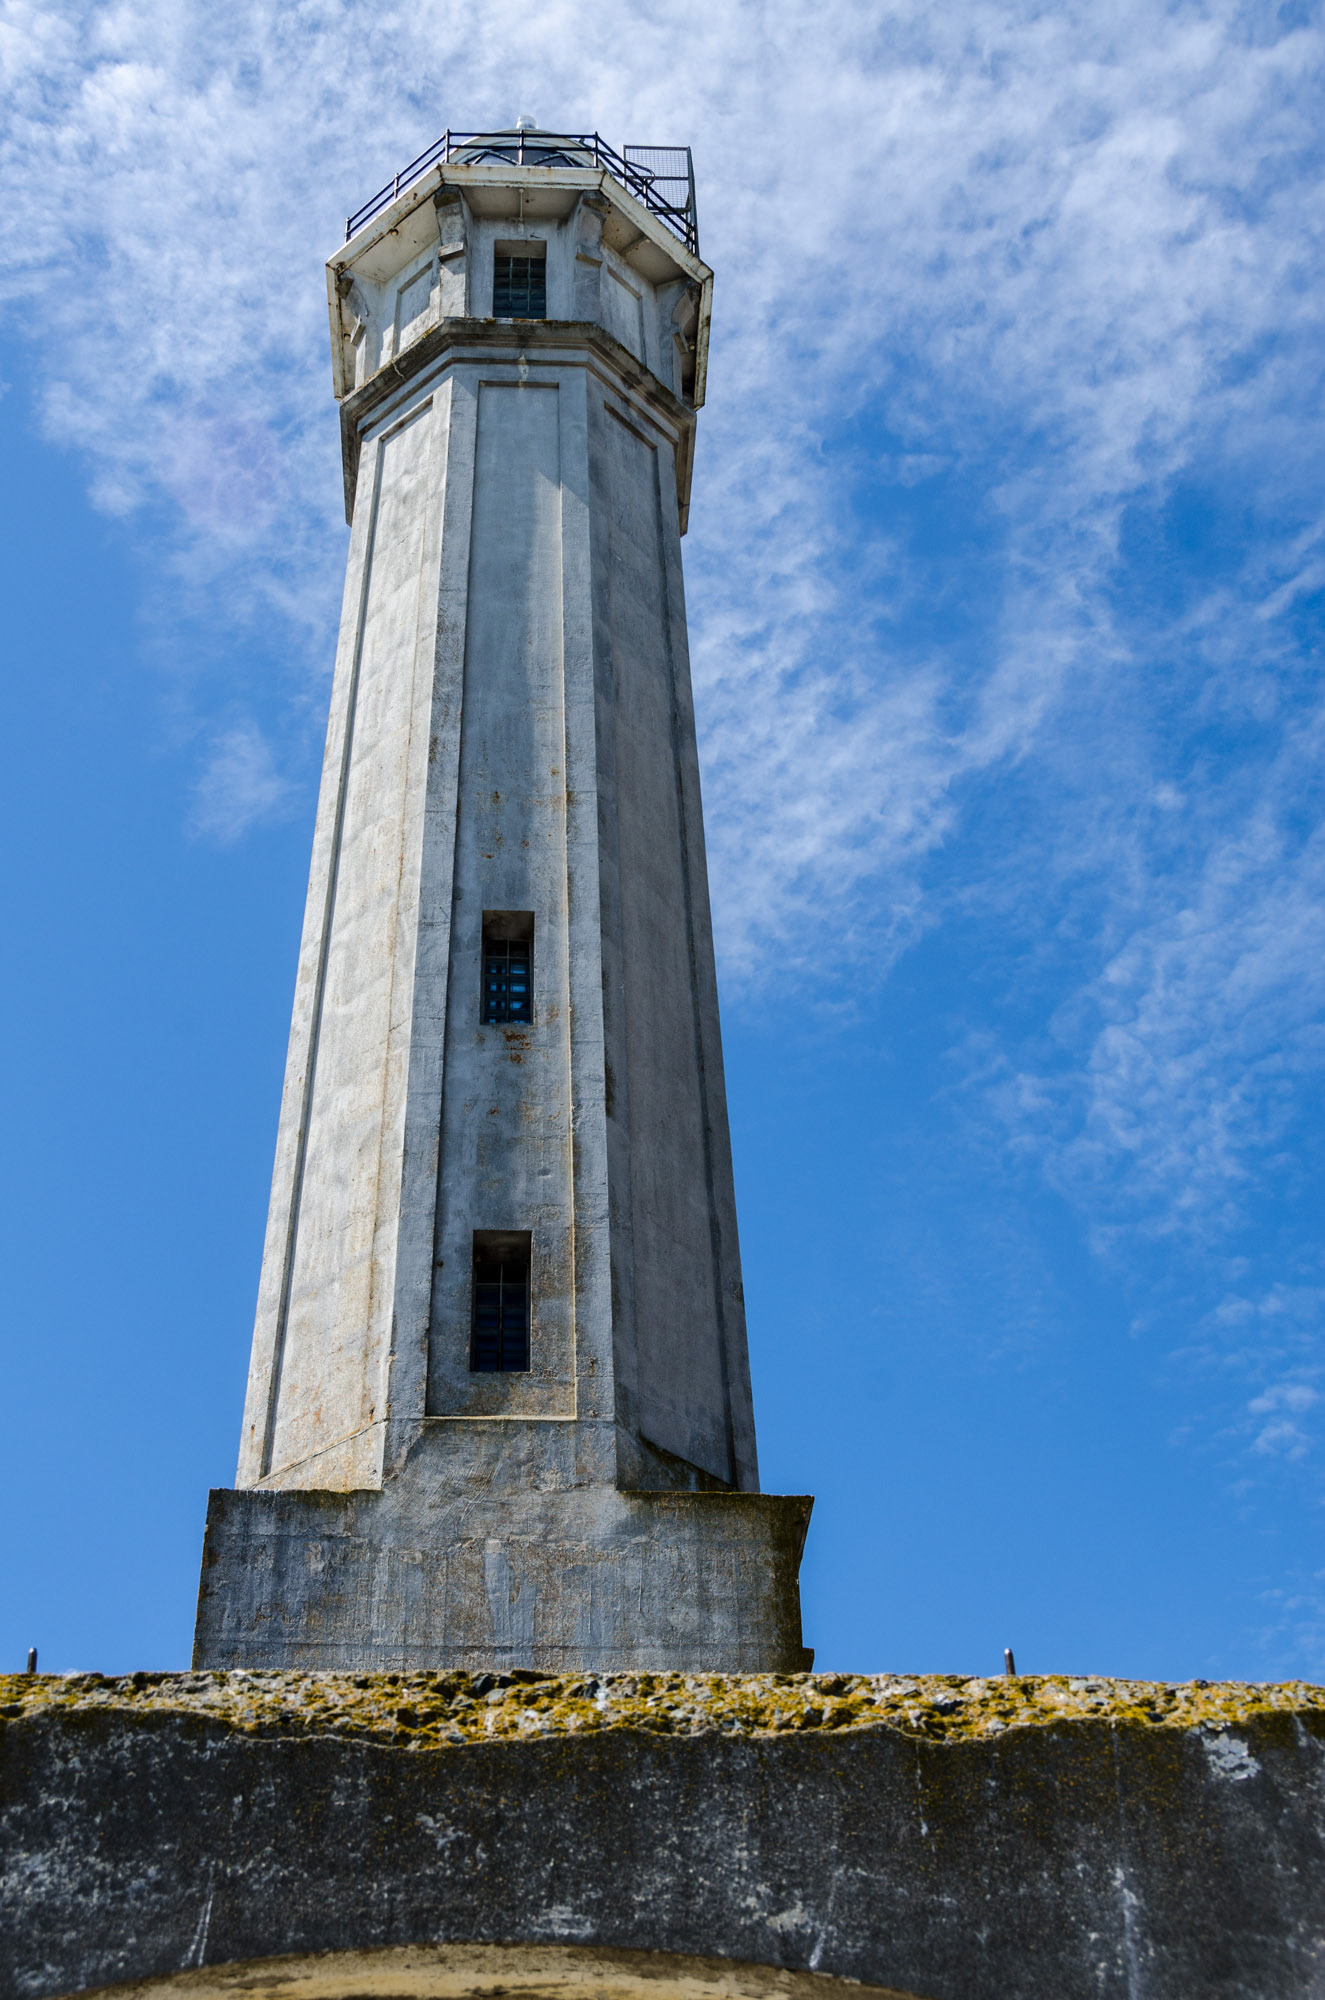
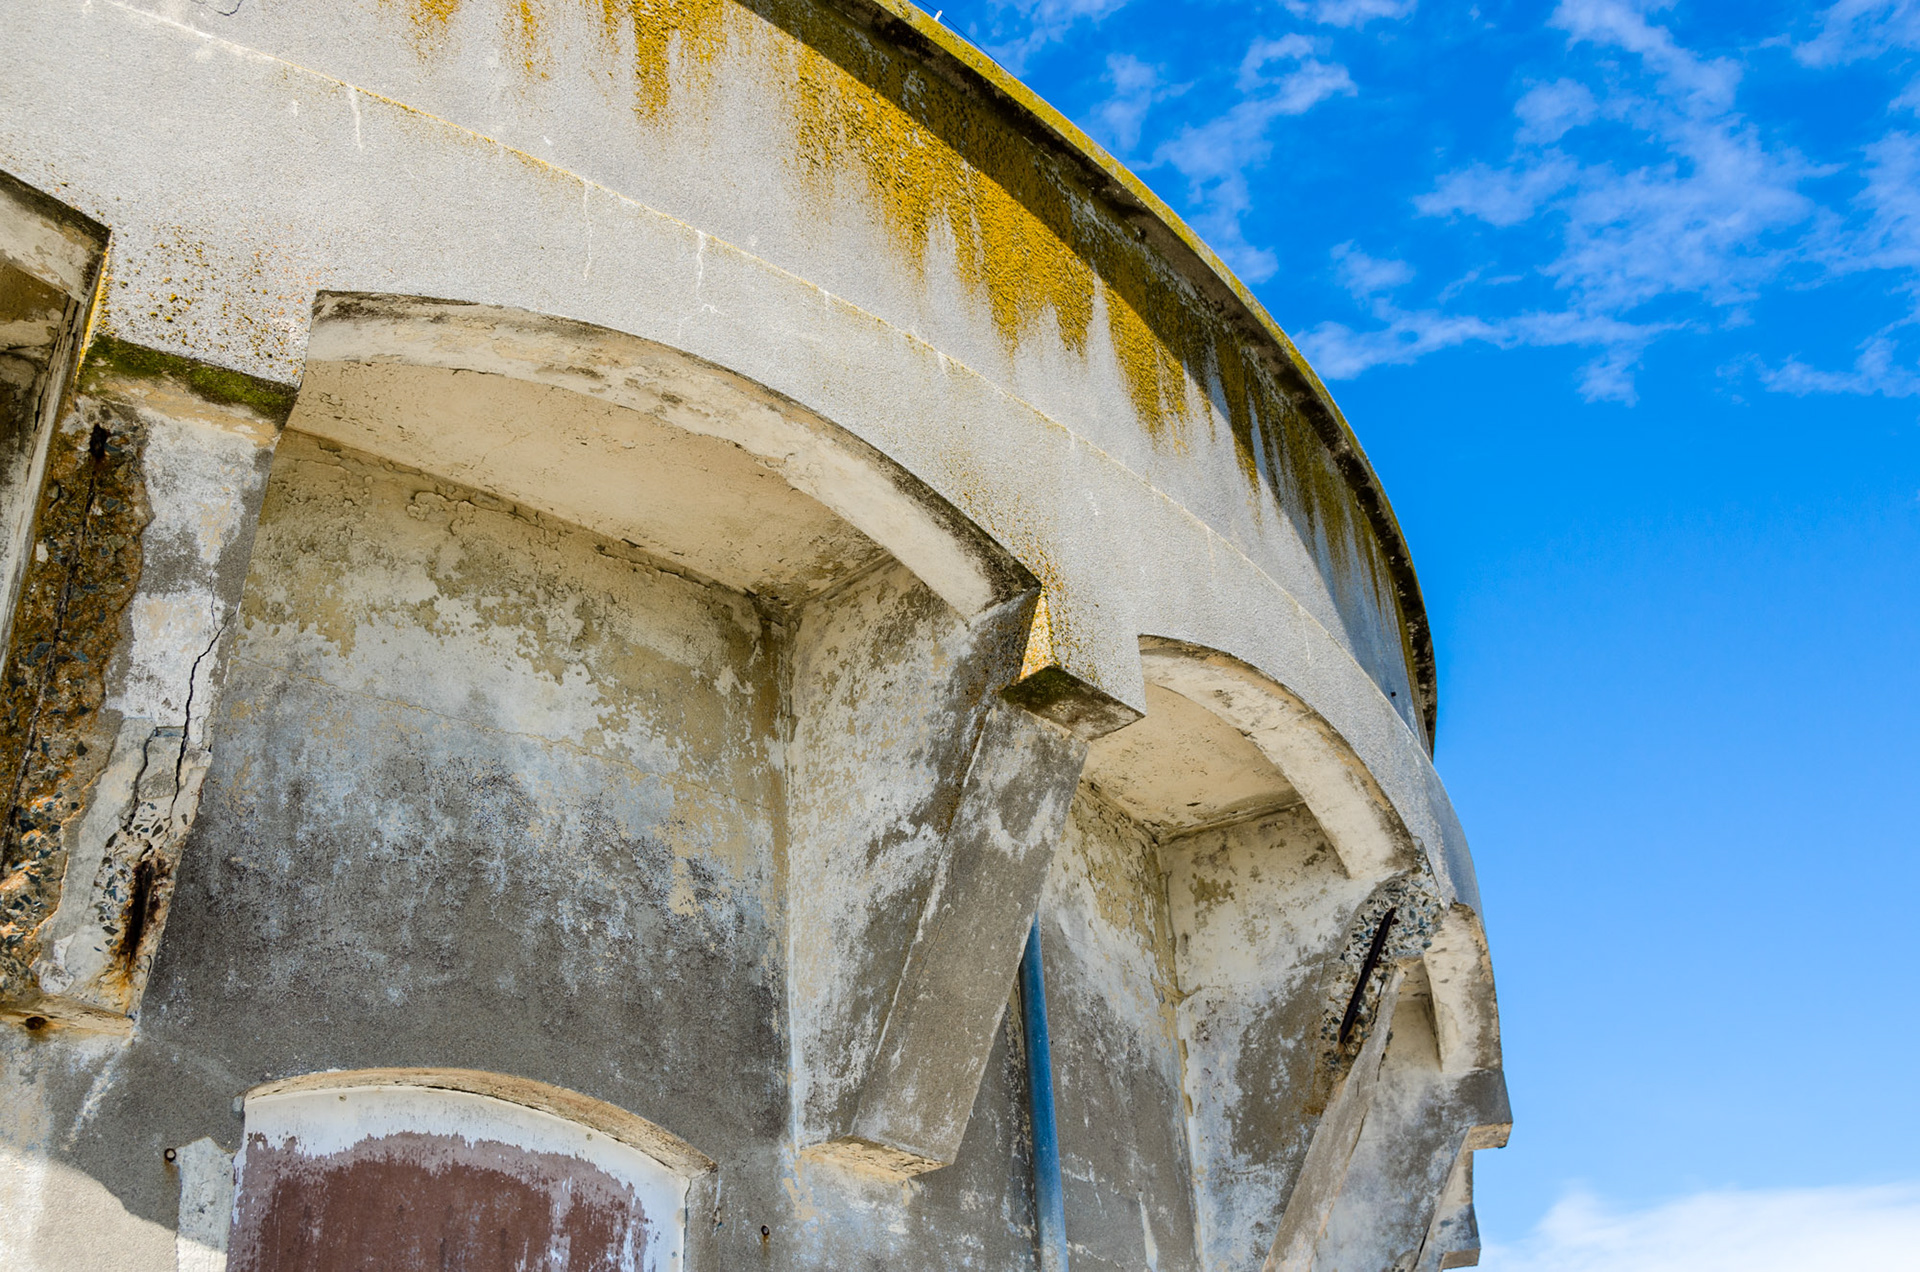
From my viewpoint, this ithe lens used to shoot this image produced significant distortion (pointing up will do that), but I was able to bring things back to almsot true using the Upright function in Adobe LIghtroom. Some cropping occurred, but nothing that impacted the composition.
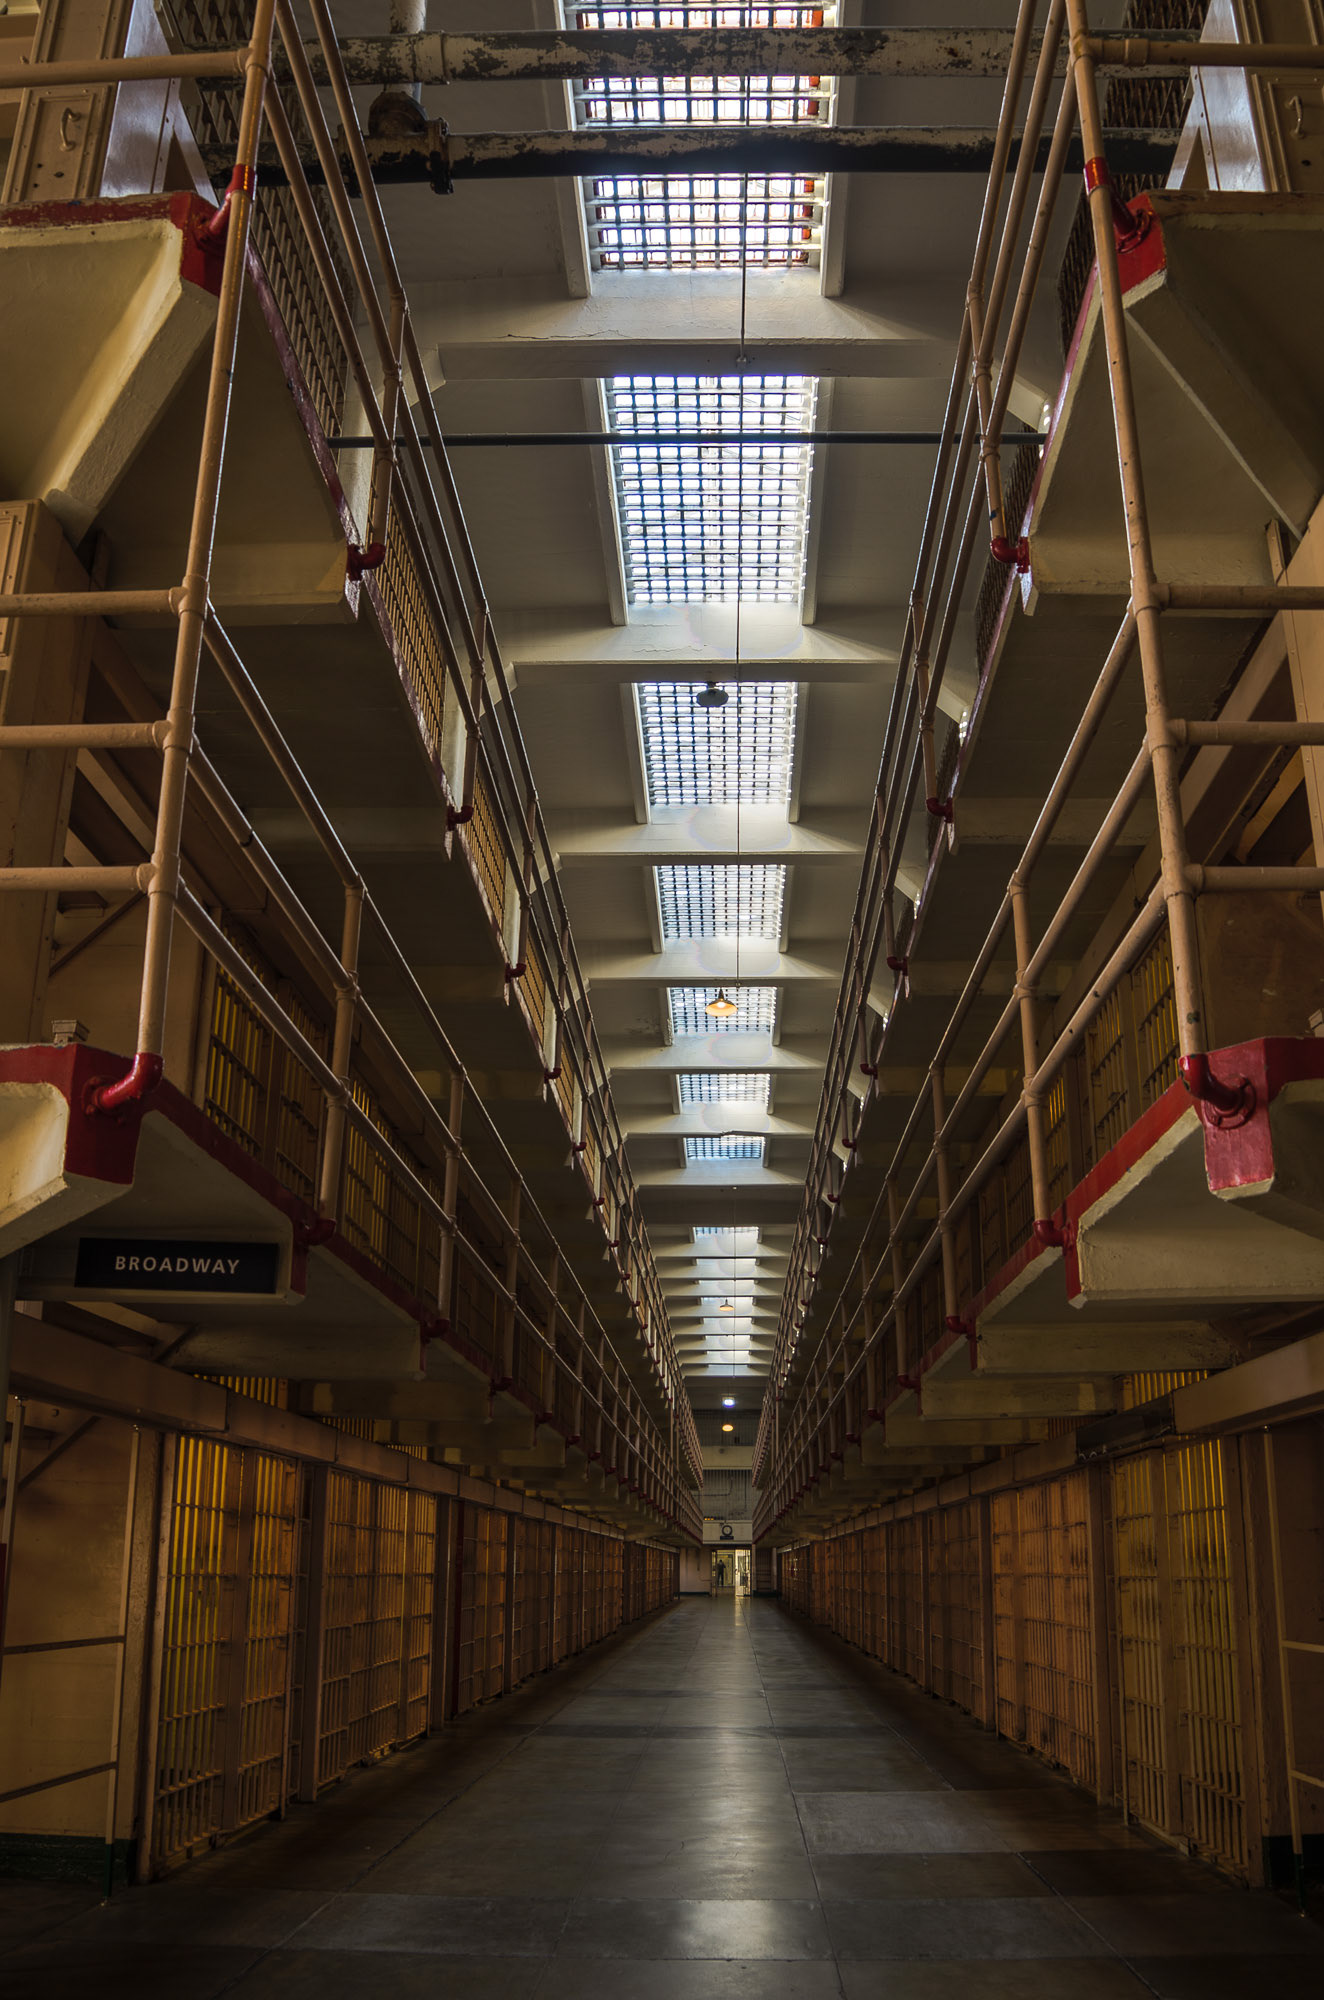
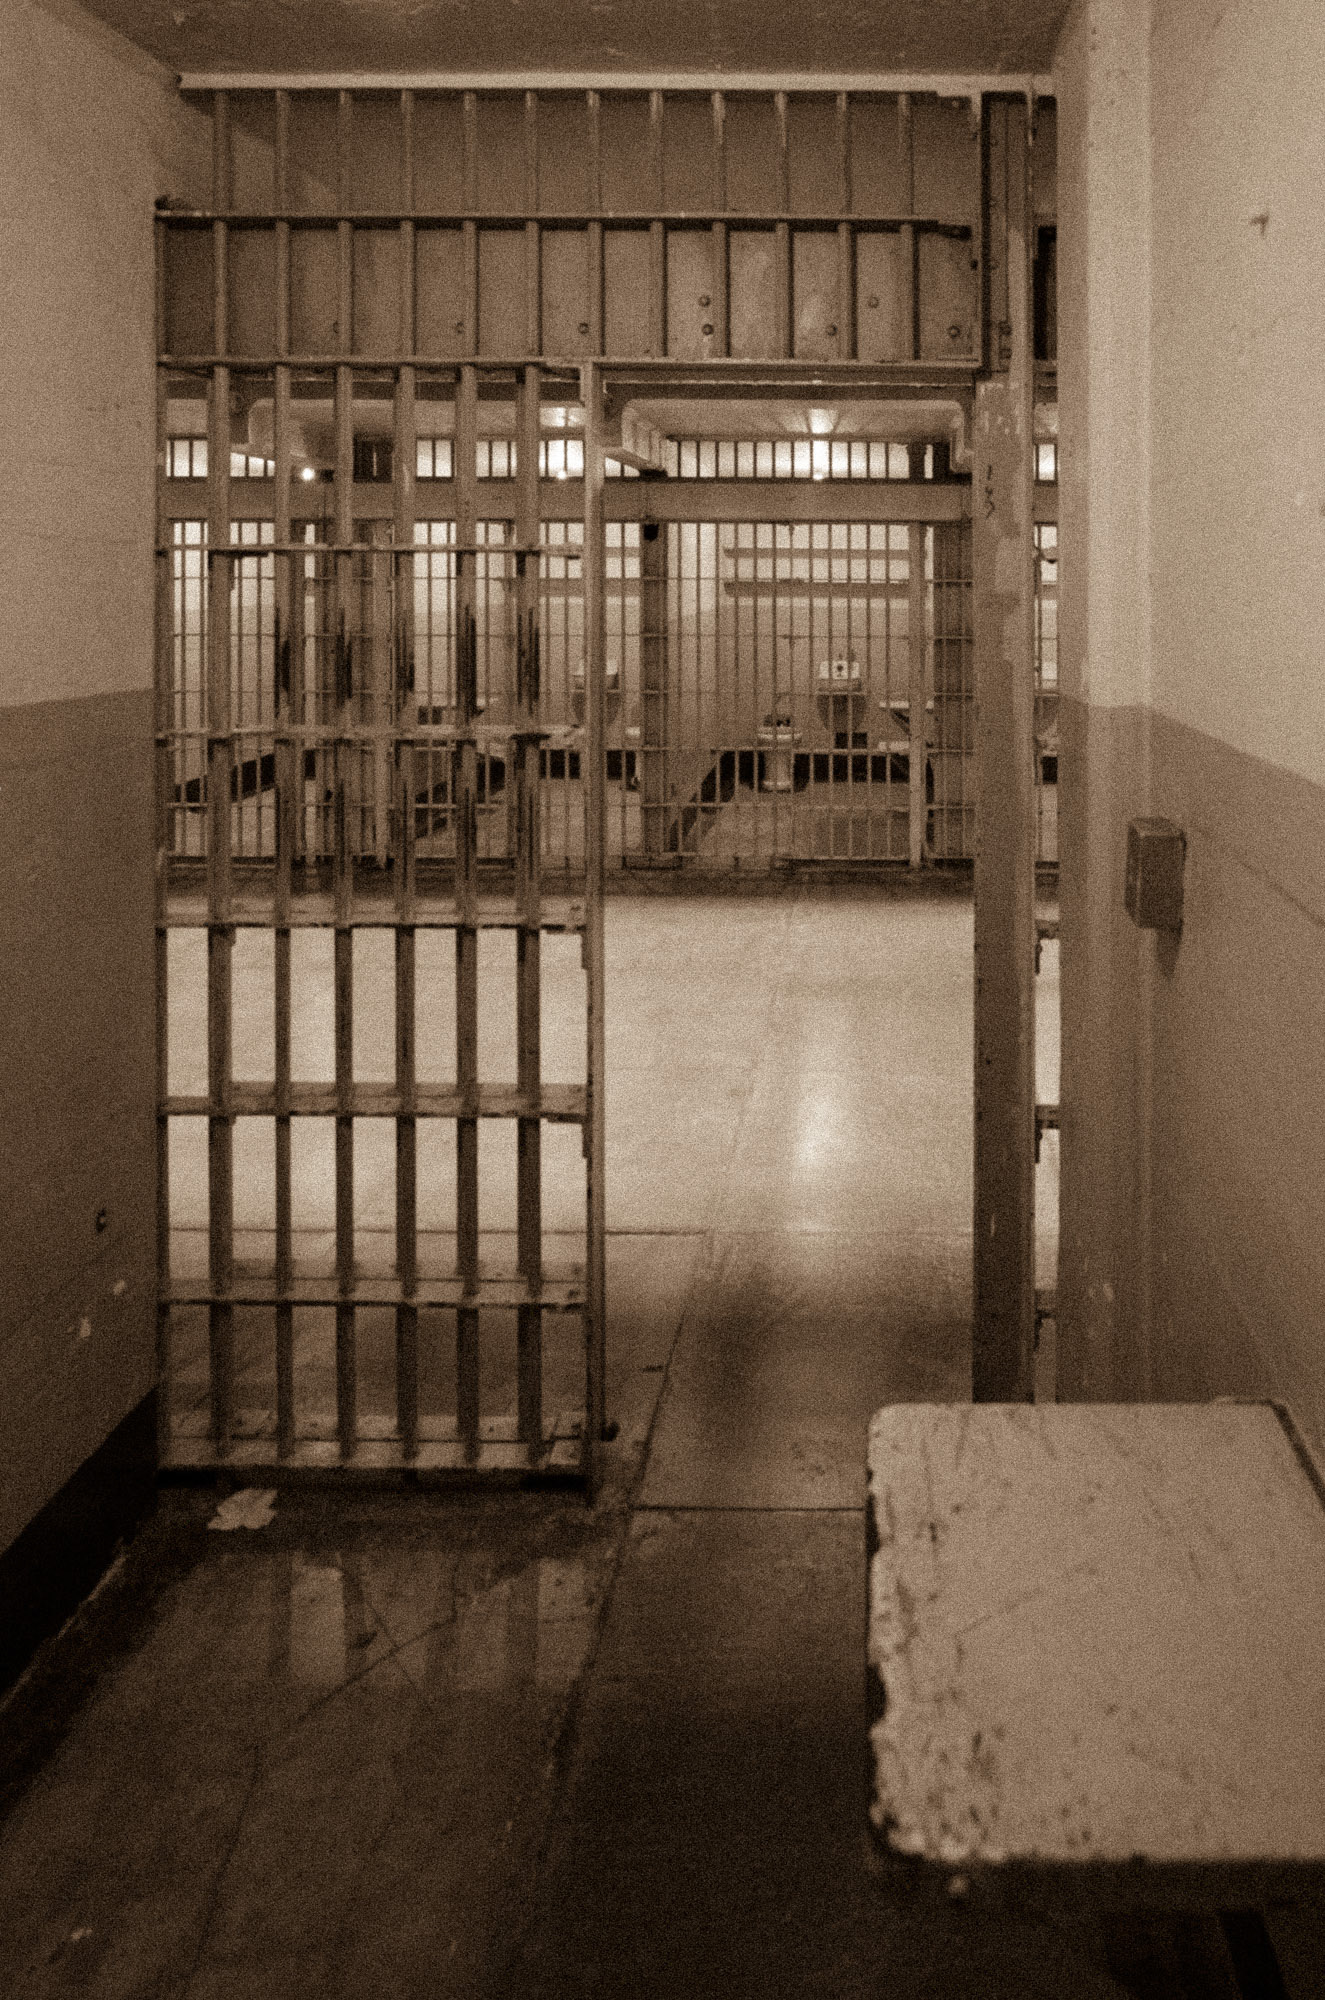
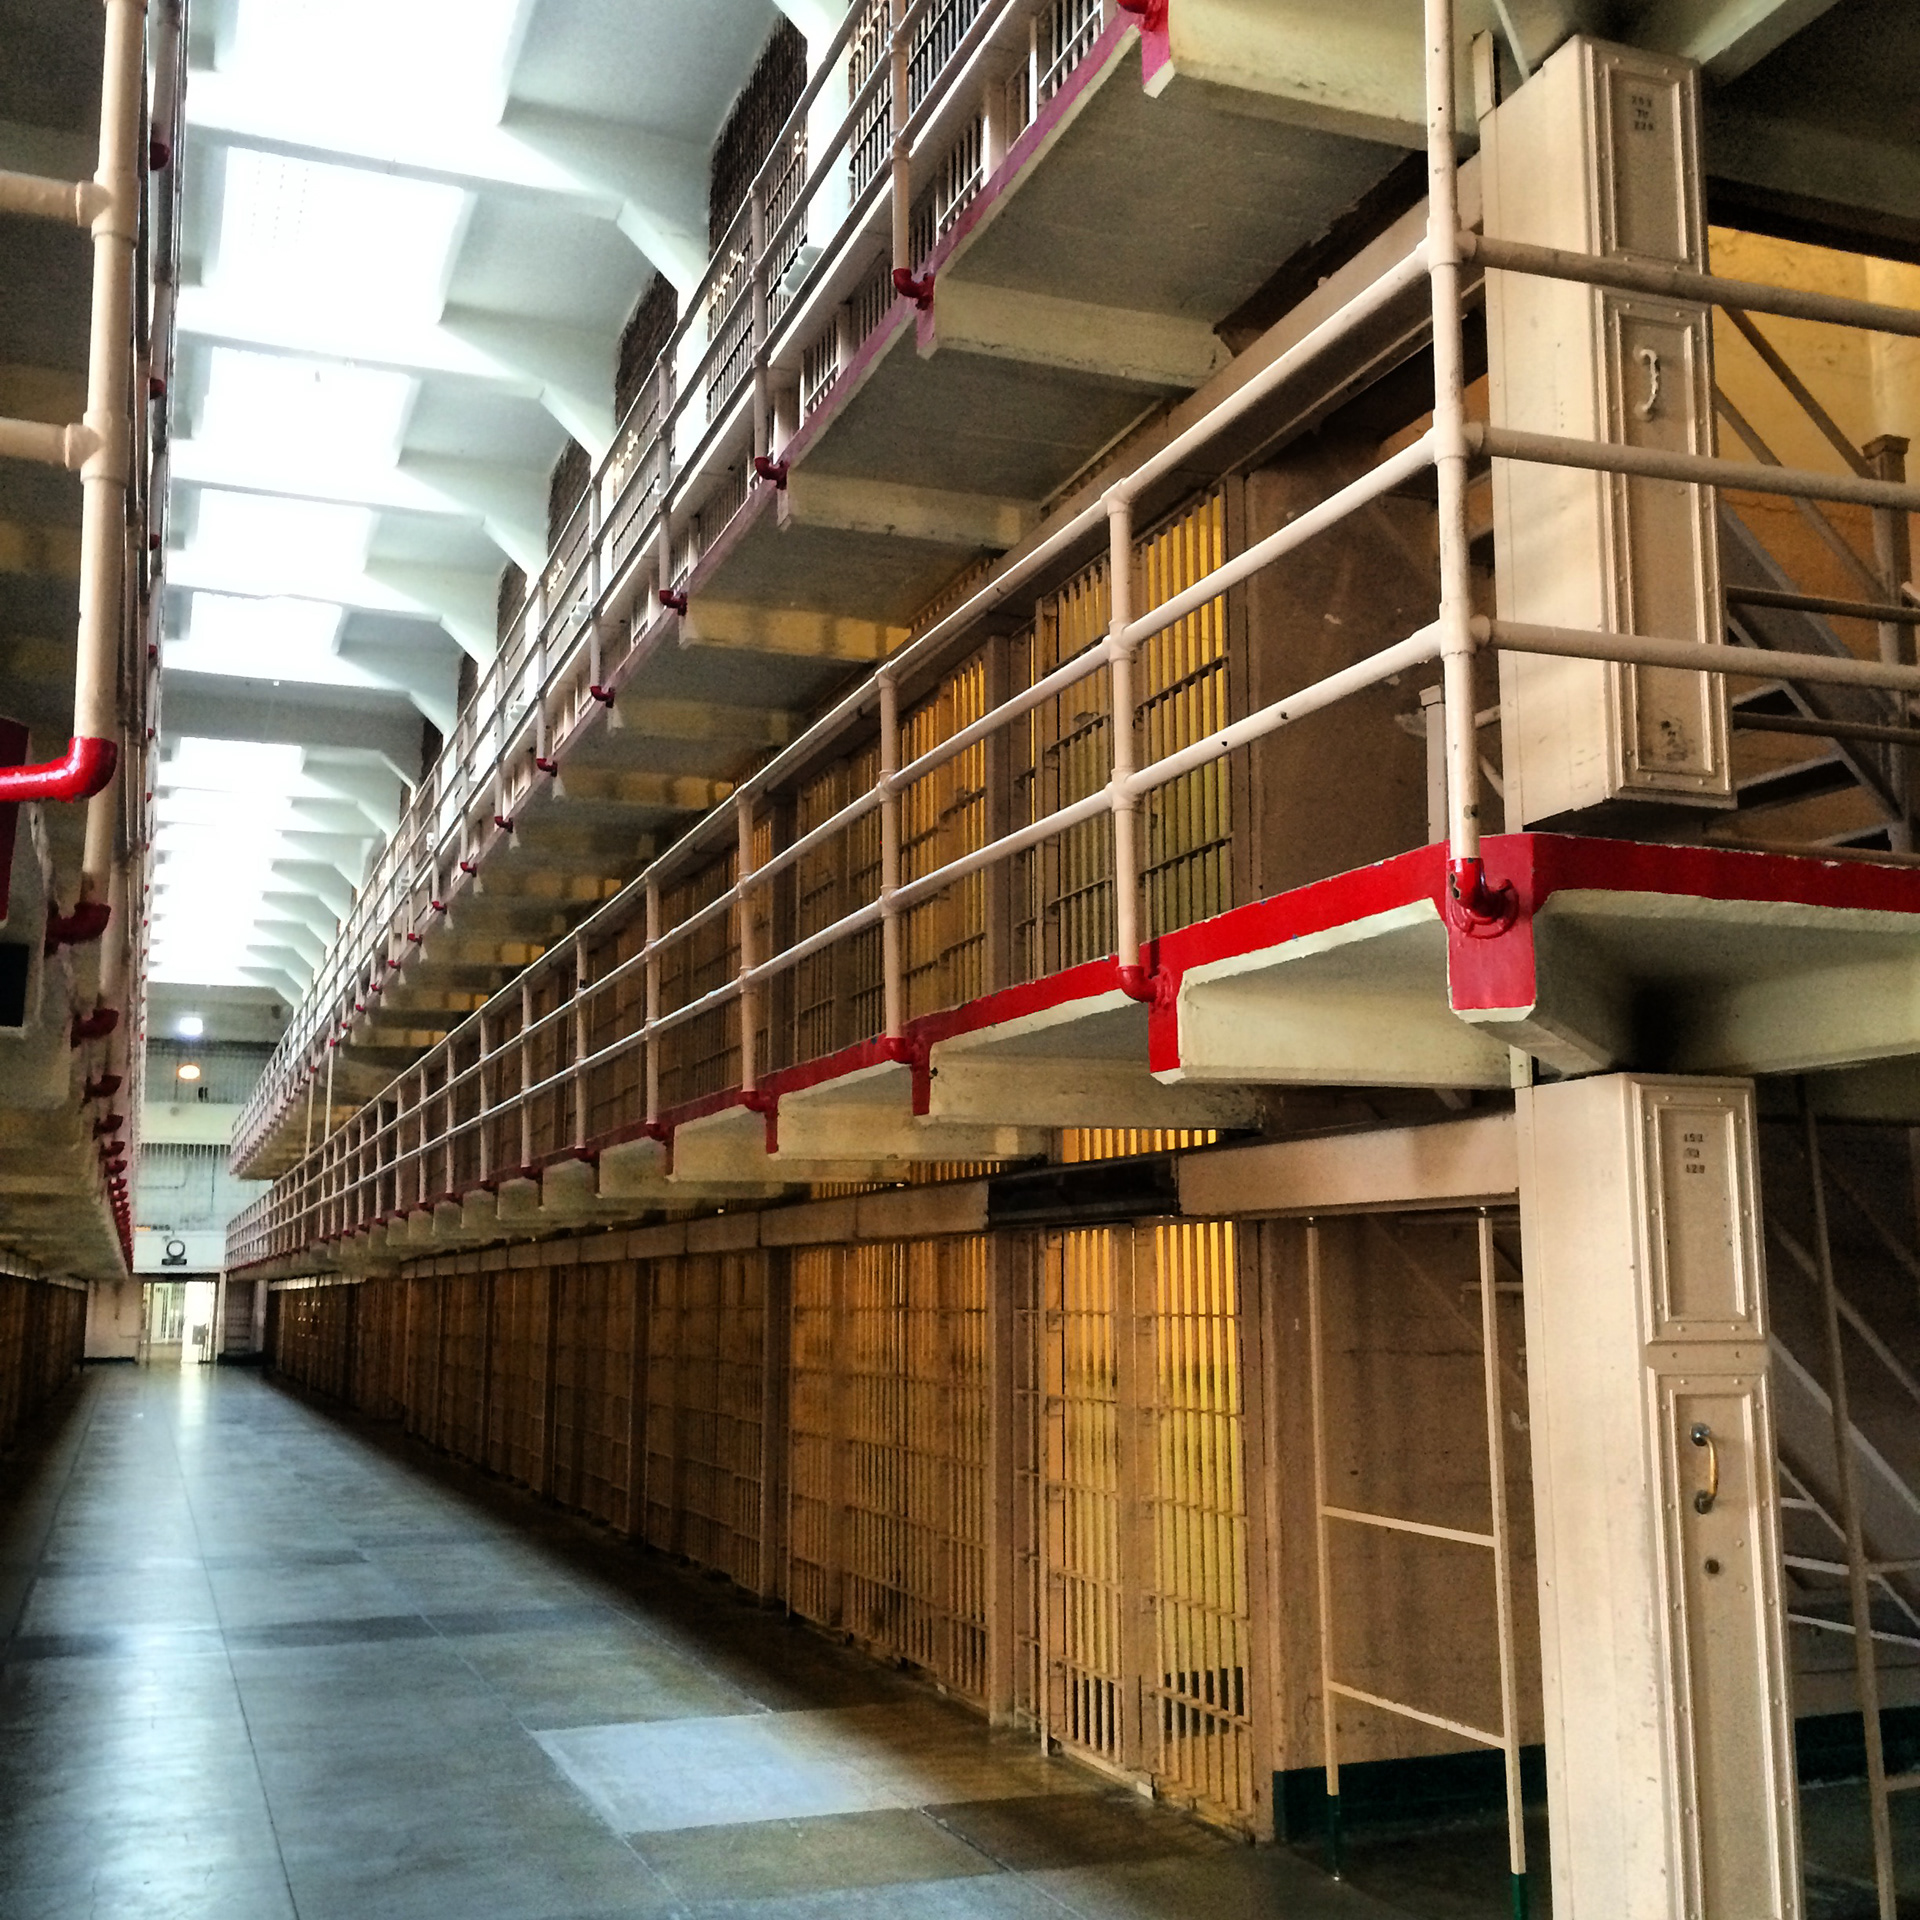
HDR image # 2. This was the result of 5 exposures merged in HDR Pro, but I really should have made at least one more exposure to truly capture the detail in the block glass at the top. Live and learn. I used the Adjustment brush in Lightroom to tone down the ceiling and also open up the detail in the main floor cells. "Painting" on your exposure can really give you a lot of control. It's the digital equivalent of dodging and burning in the darkroom.
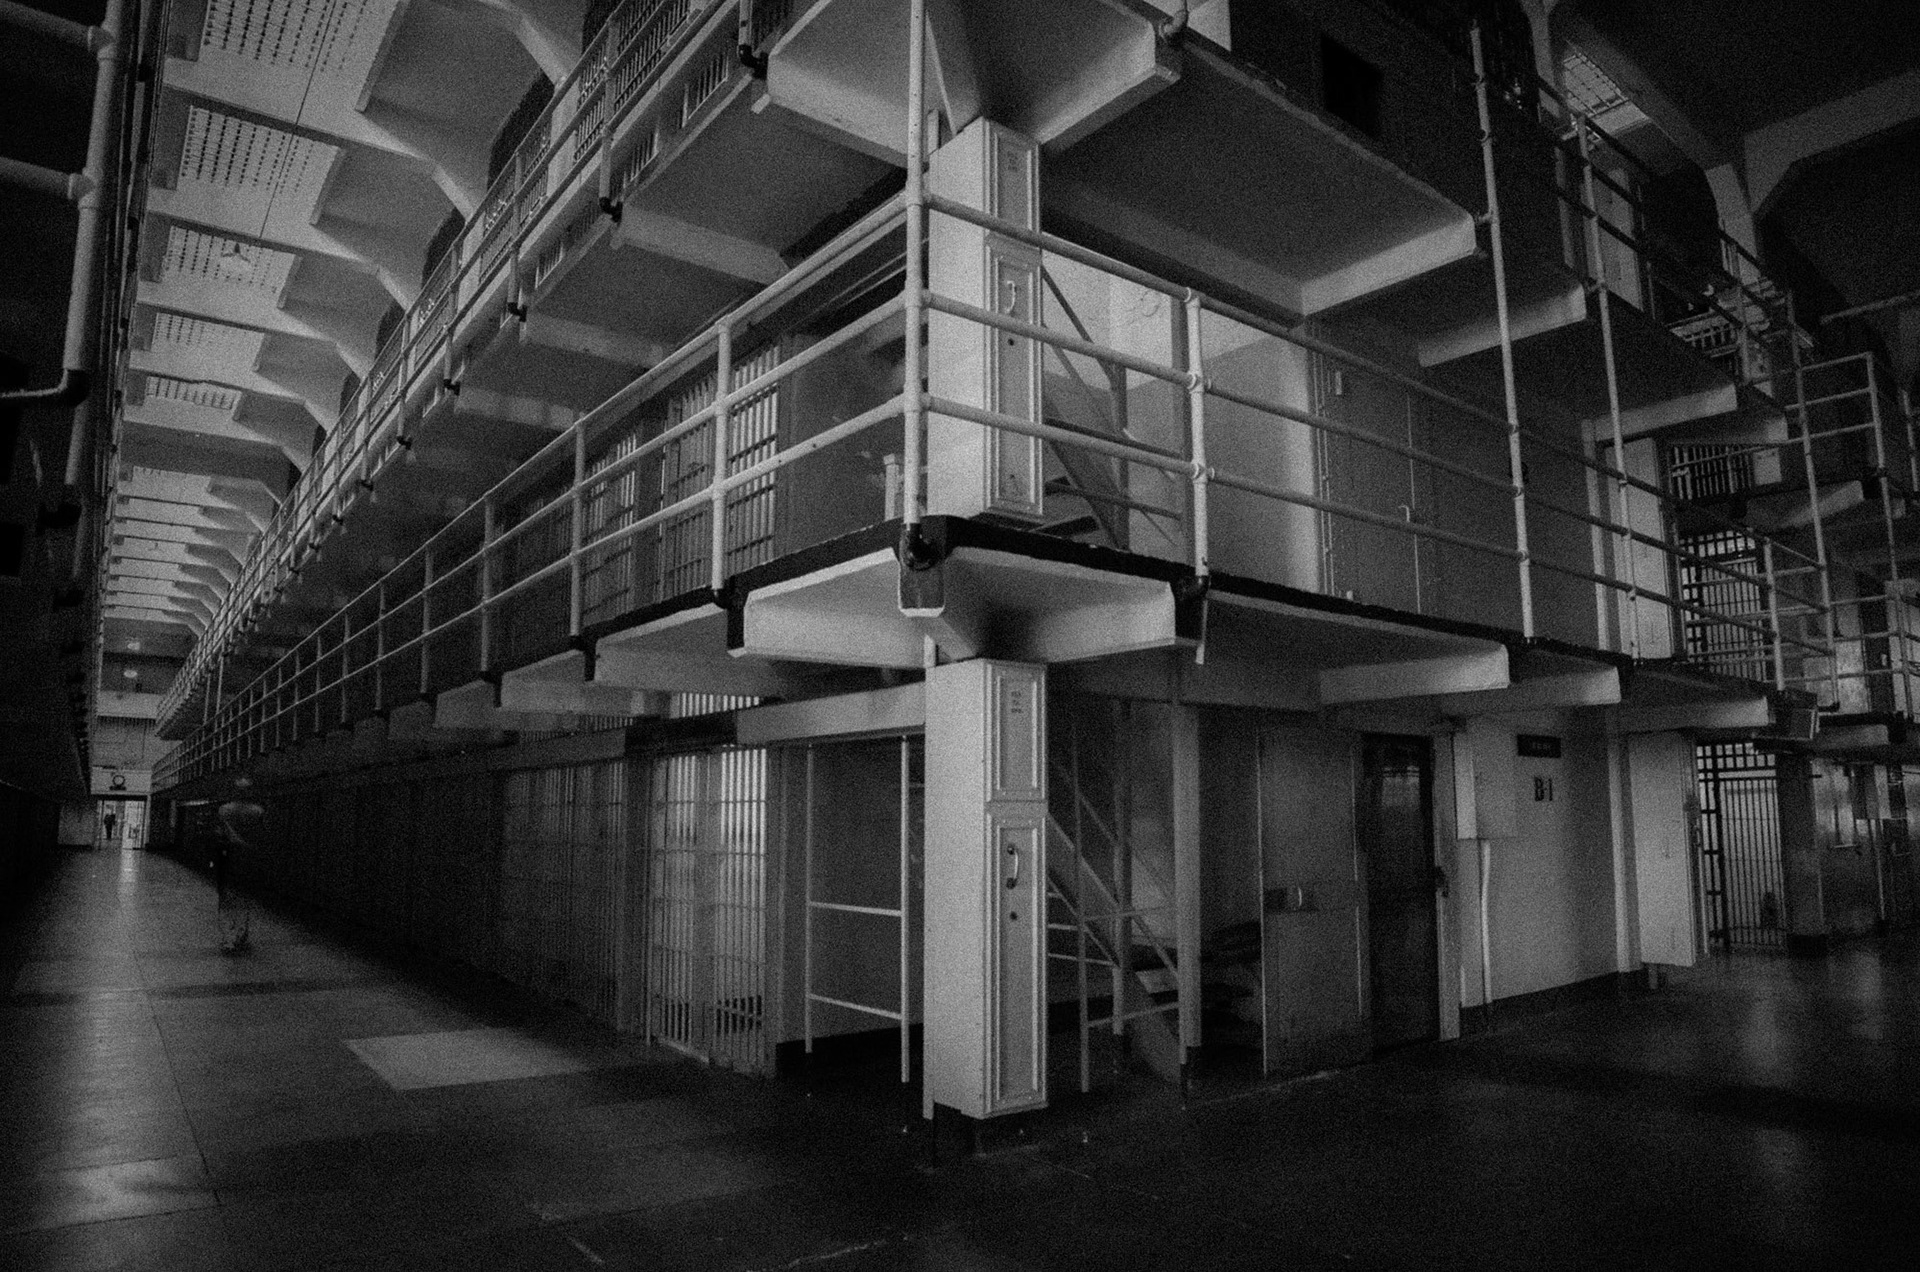
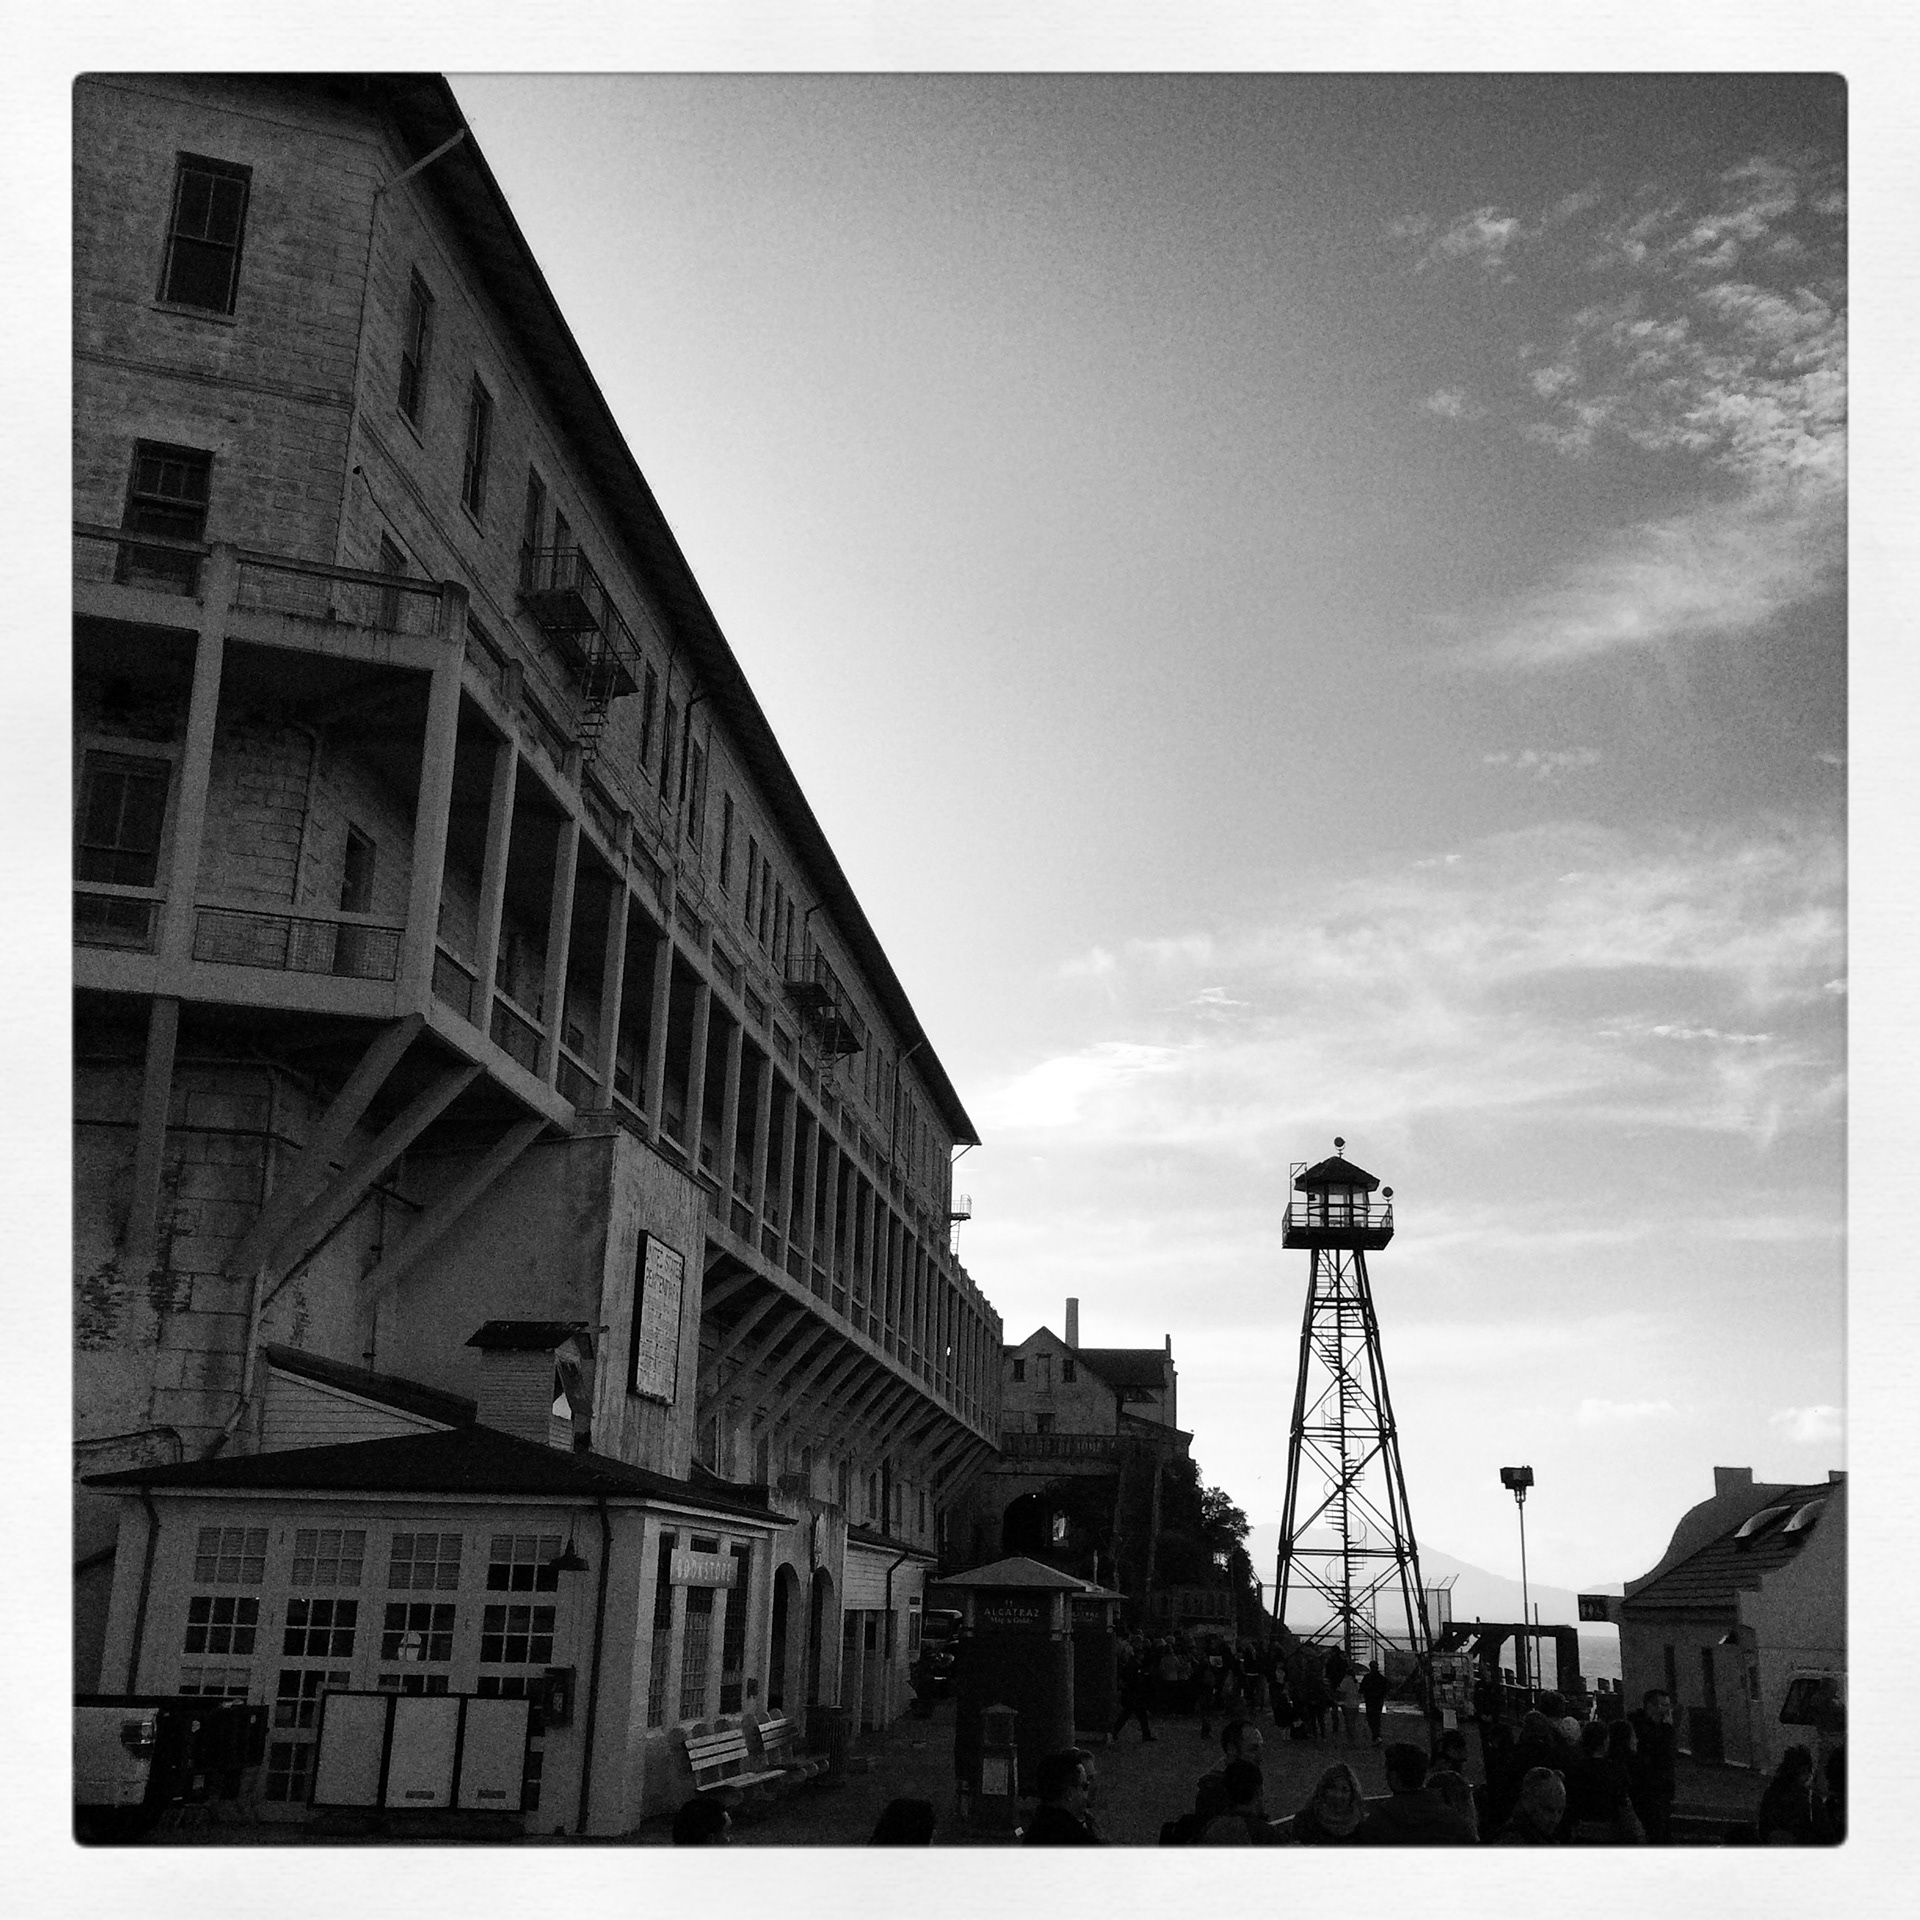
Another HDR image, this time converted to black and white and a strong dose of added grain. If you look carefully, you will see a lone "guard" patrolling the cell block.

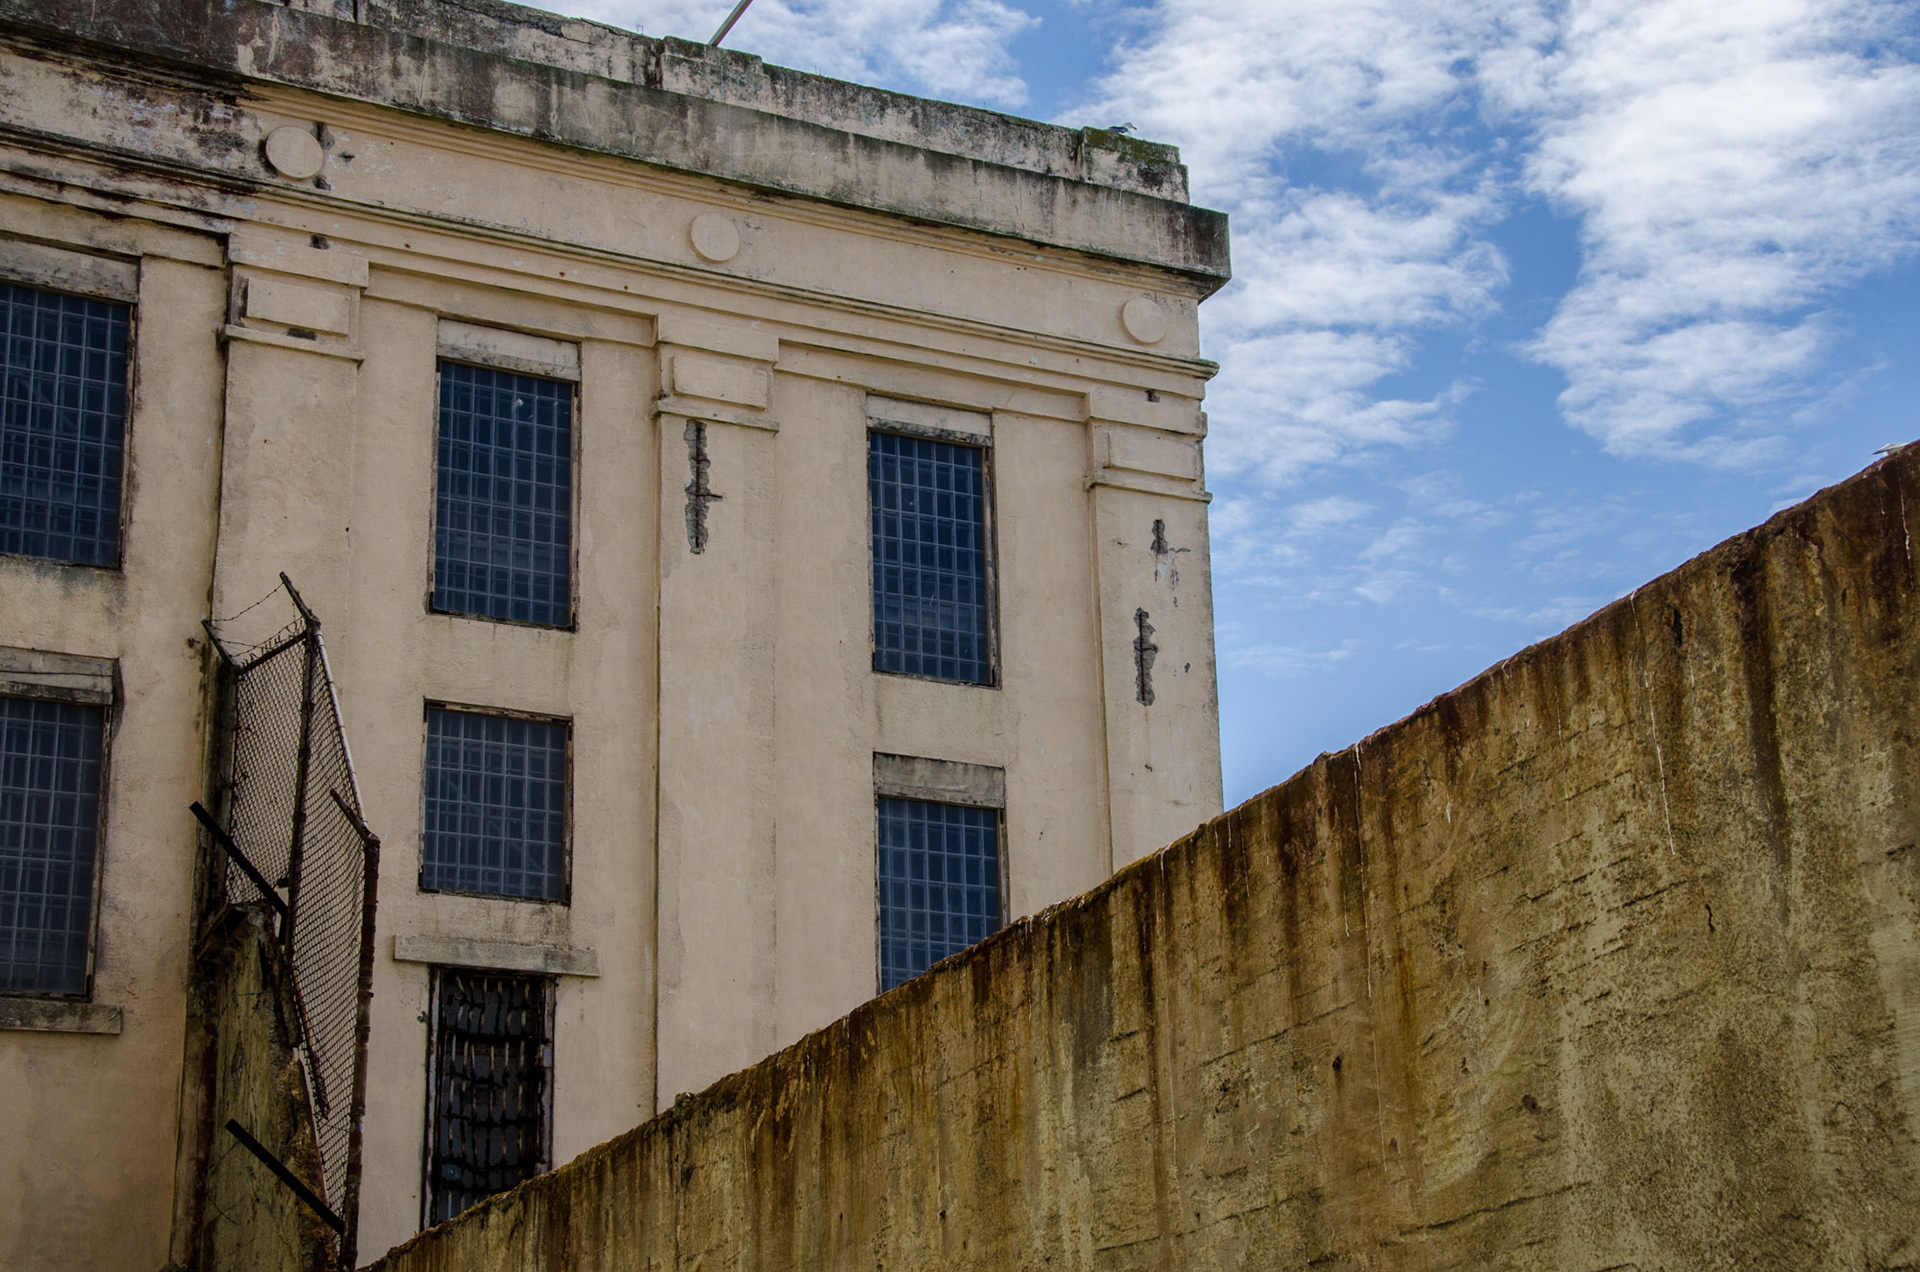
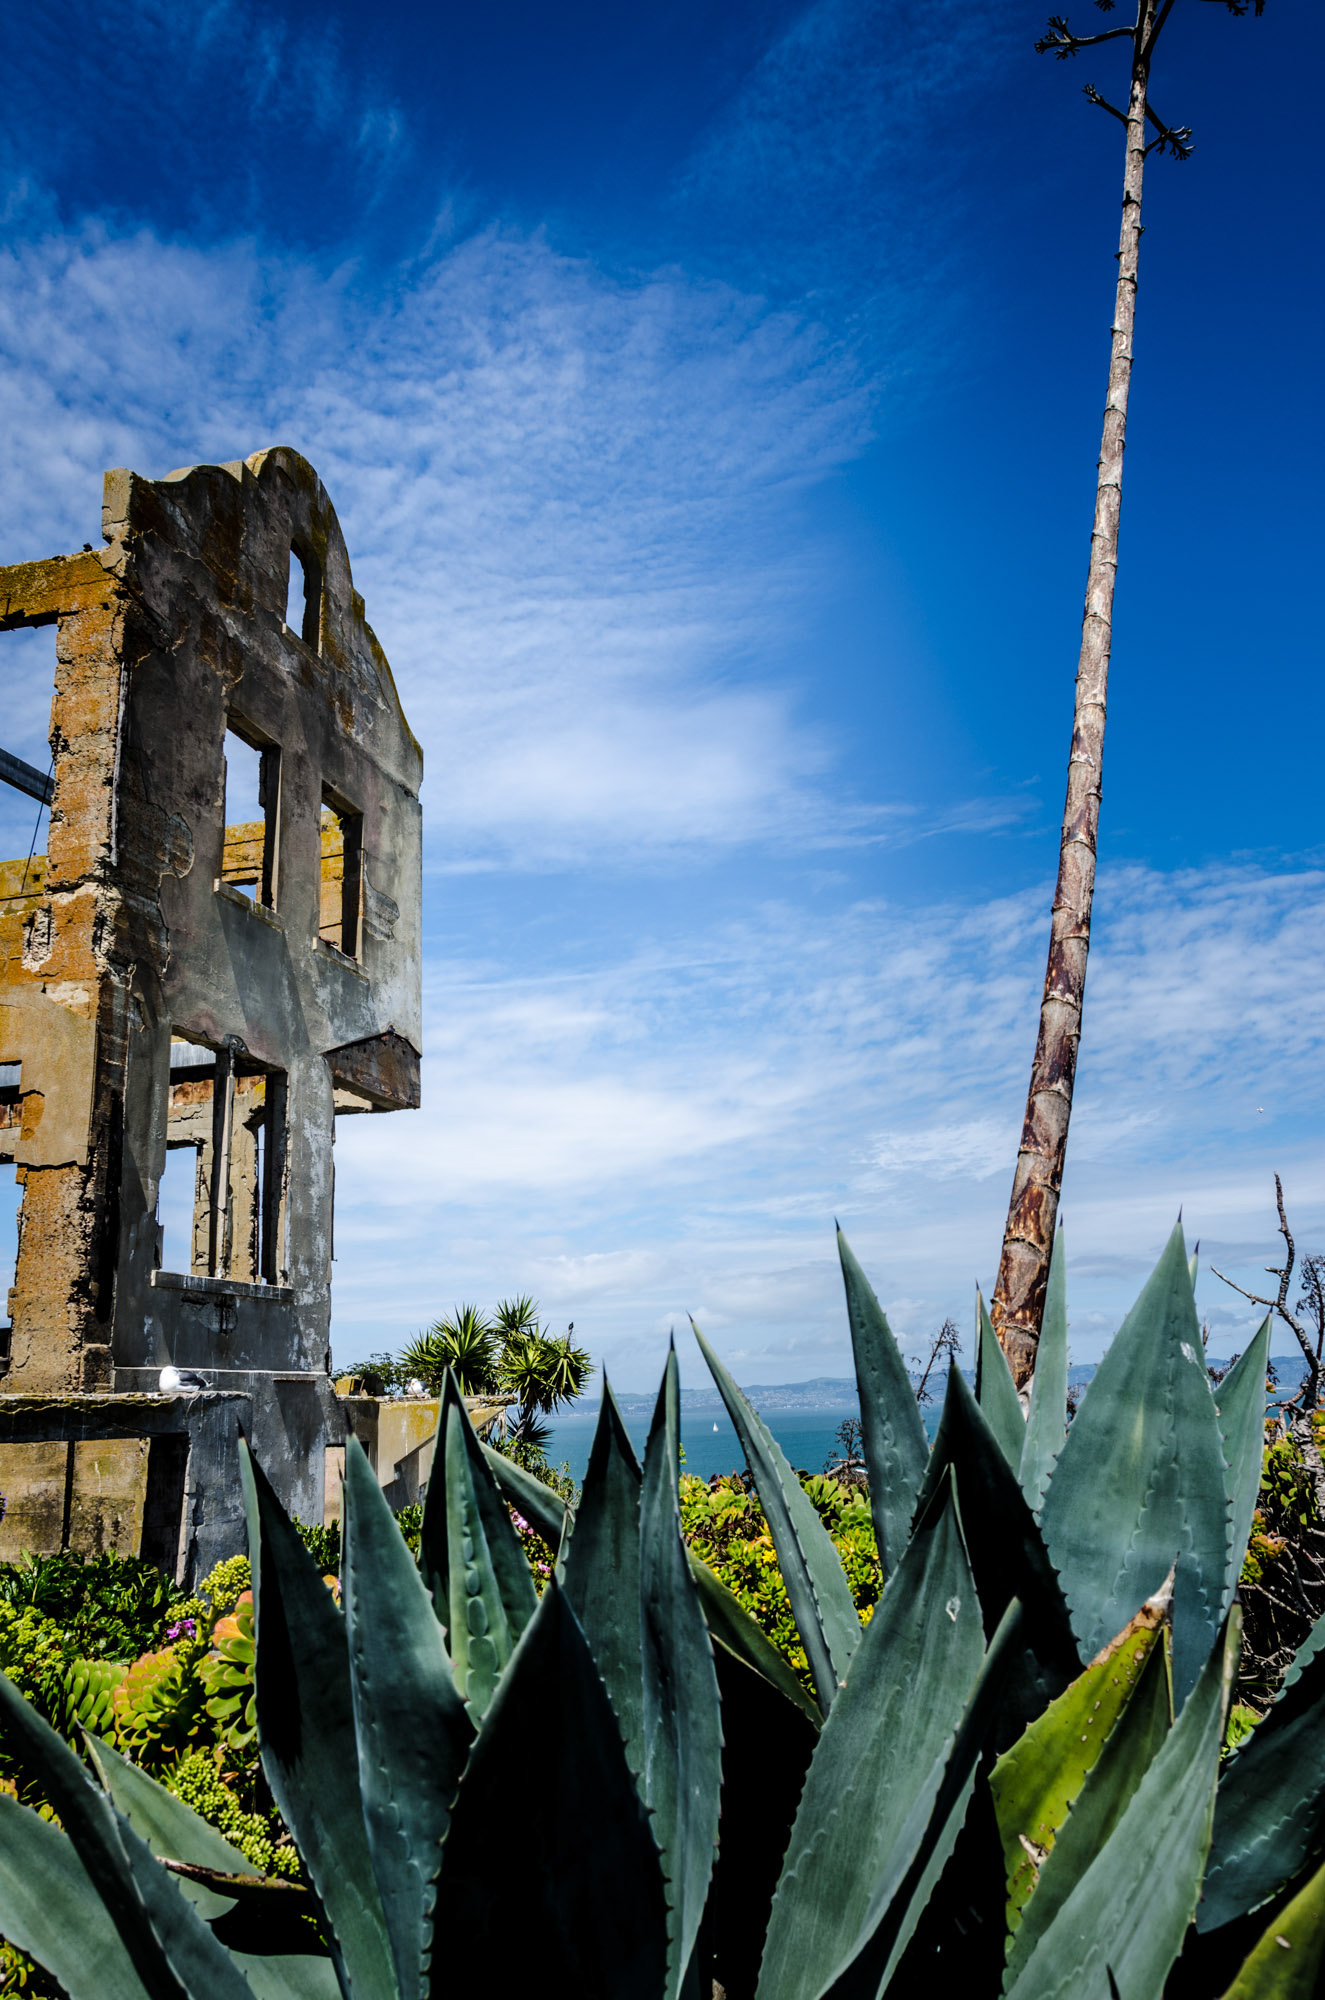
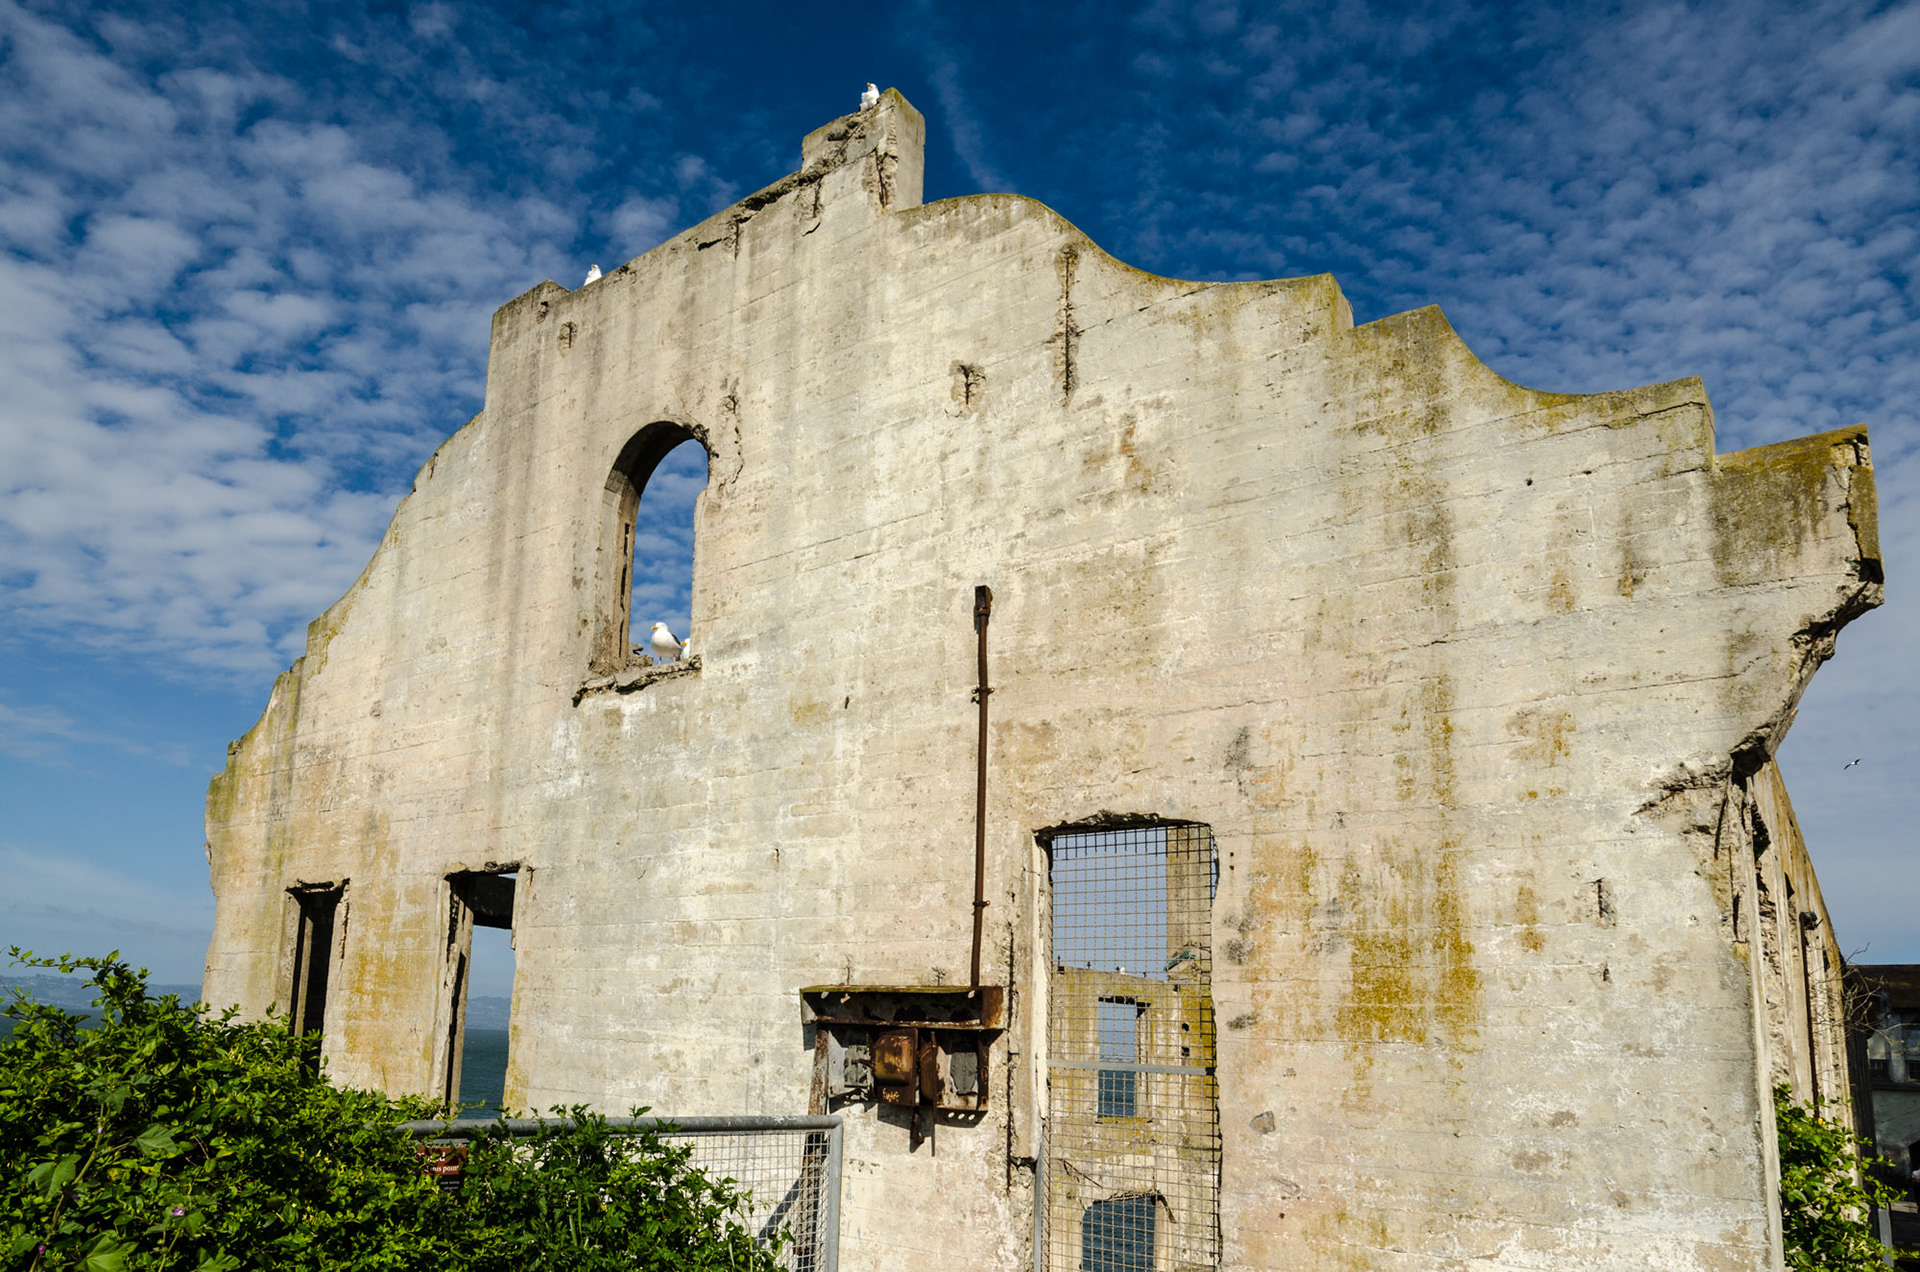
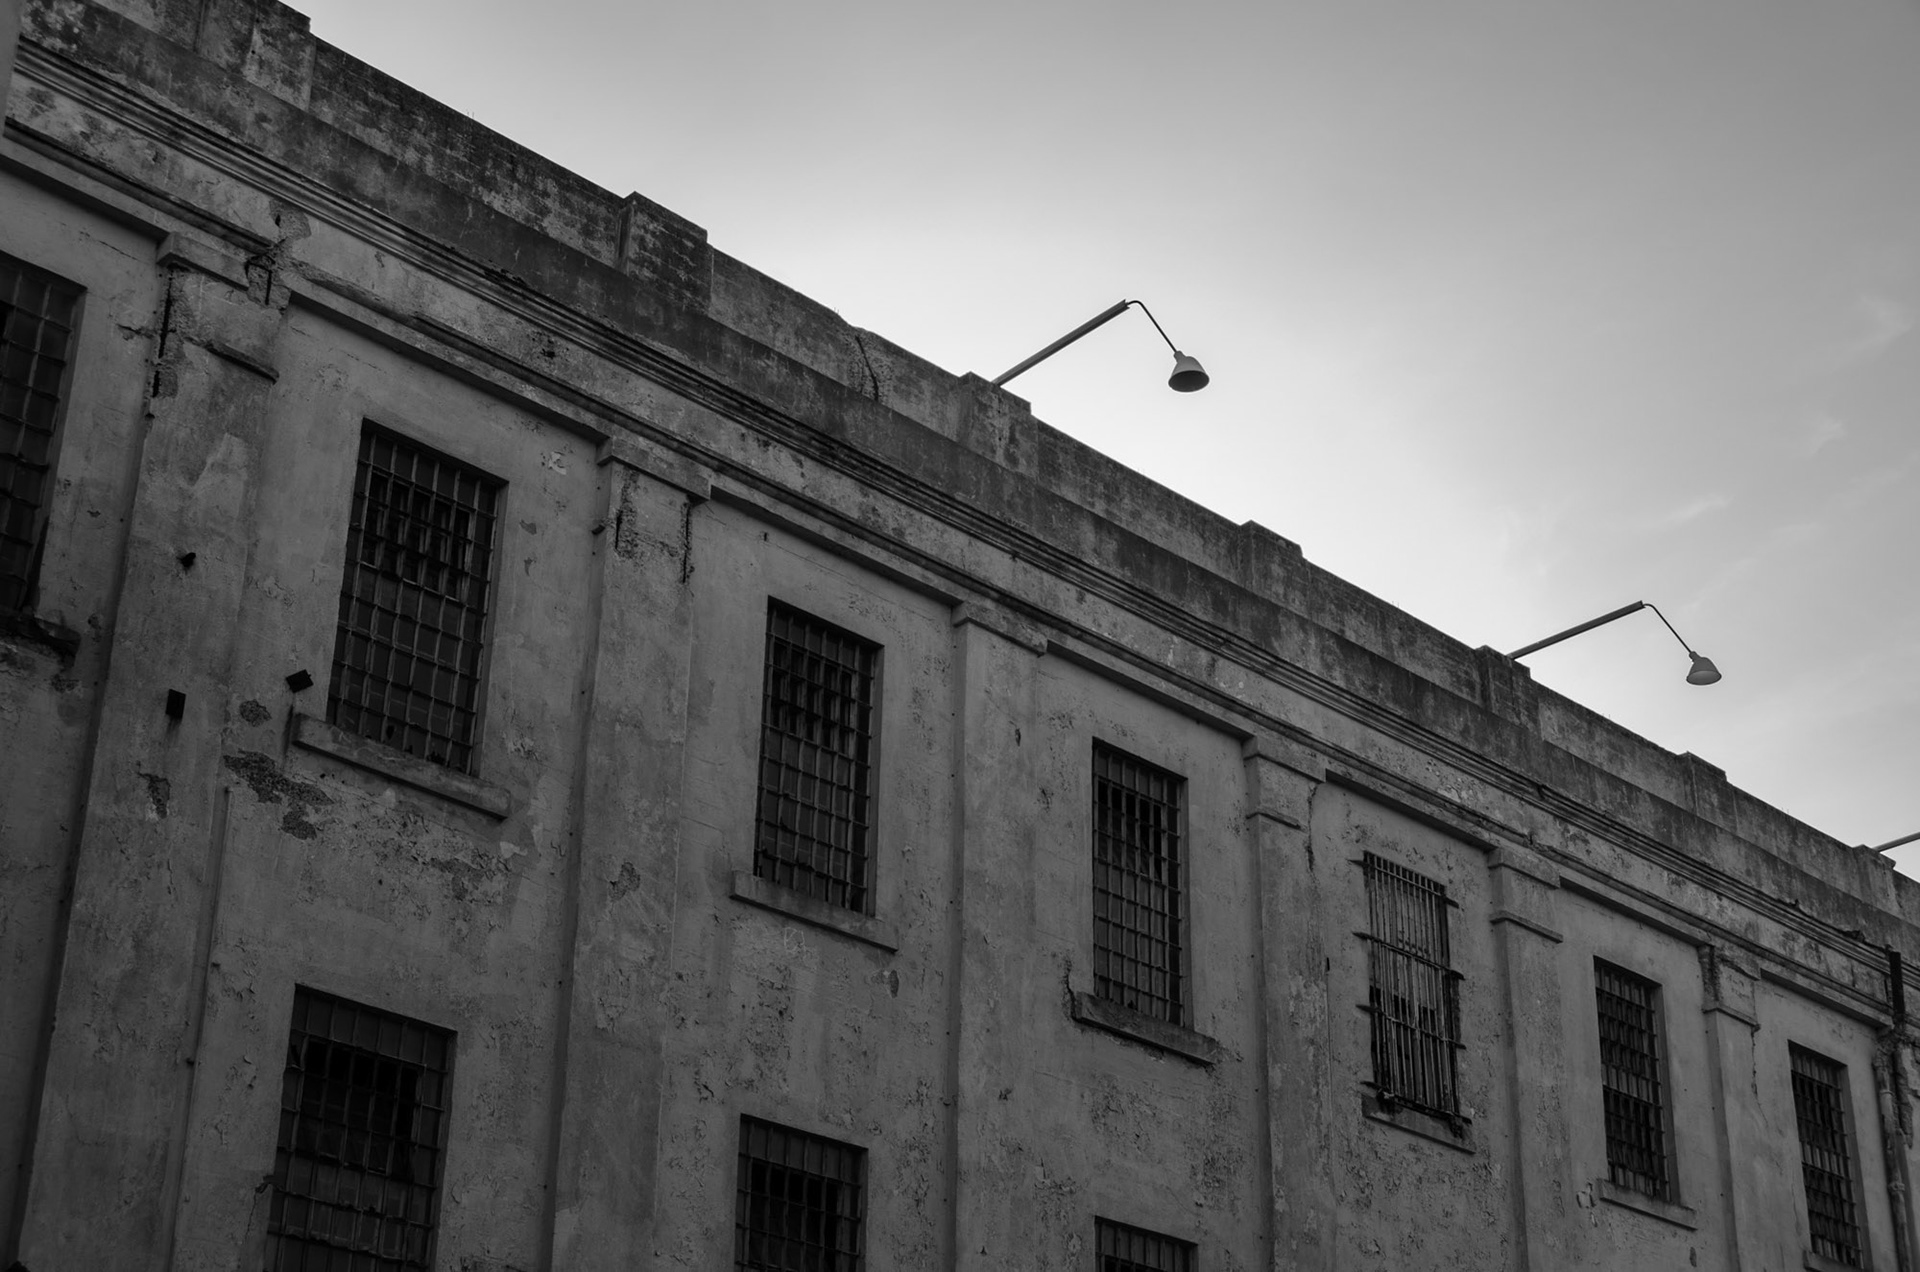
A combination of HDR, Adaptive Wide Angle for distortion correction, and a reduction in Vibrance to mute the colors.